CRAFTSMAN °
Operator's Manual
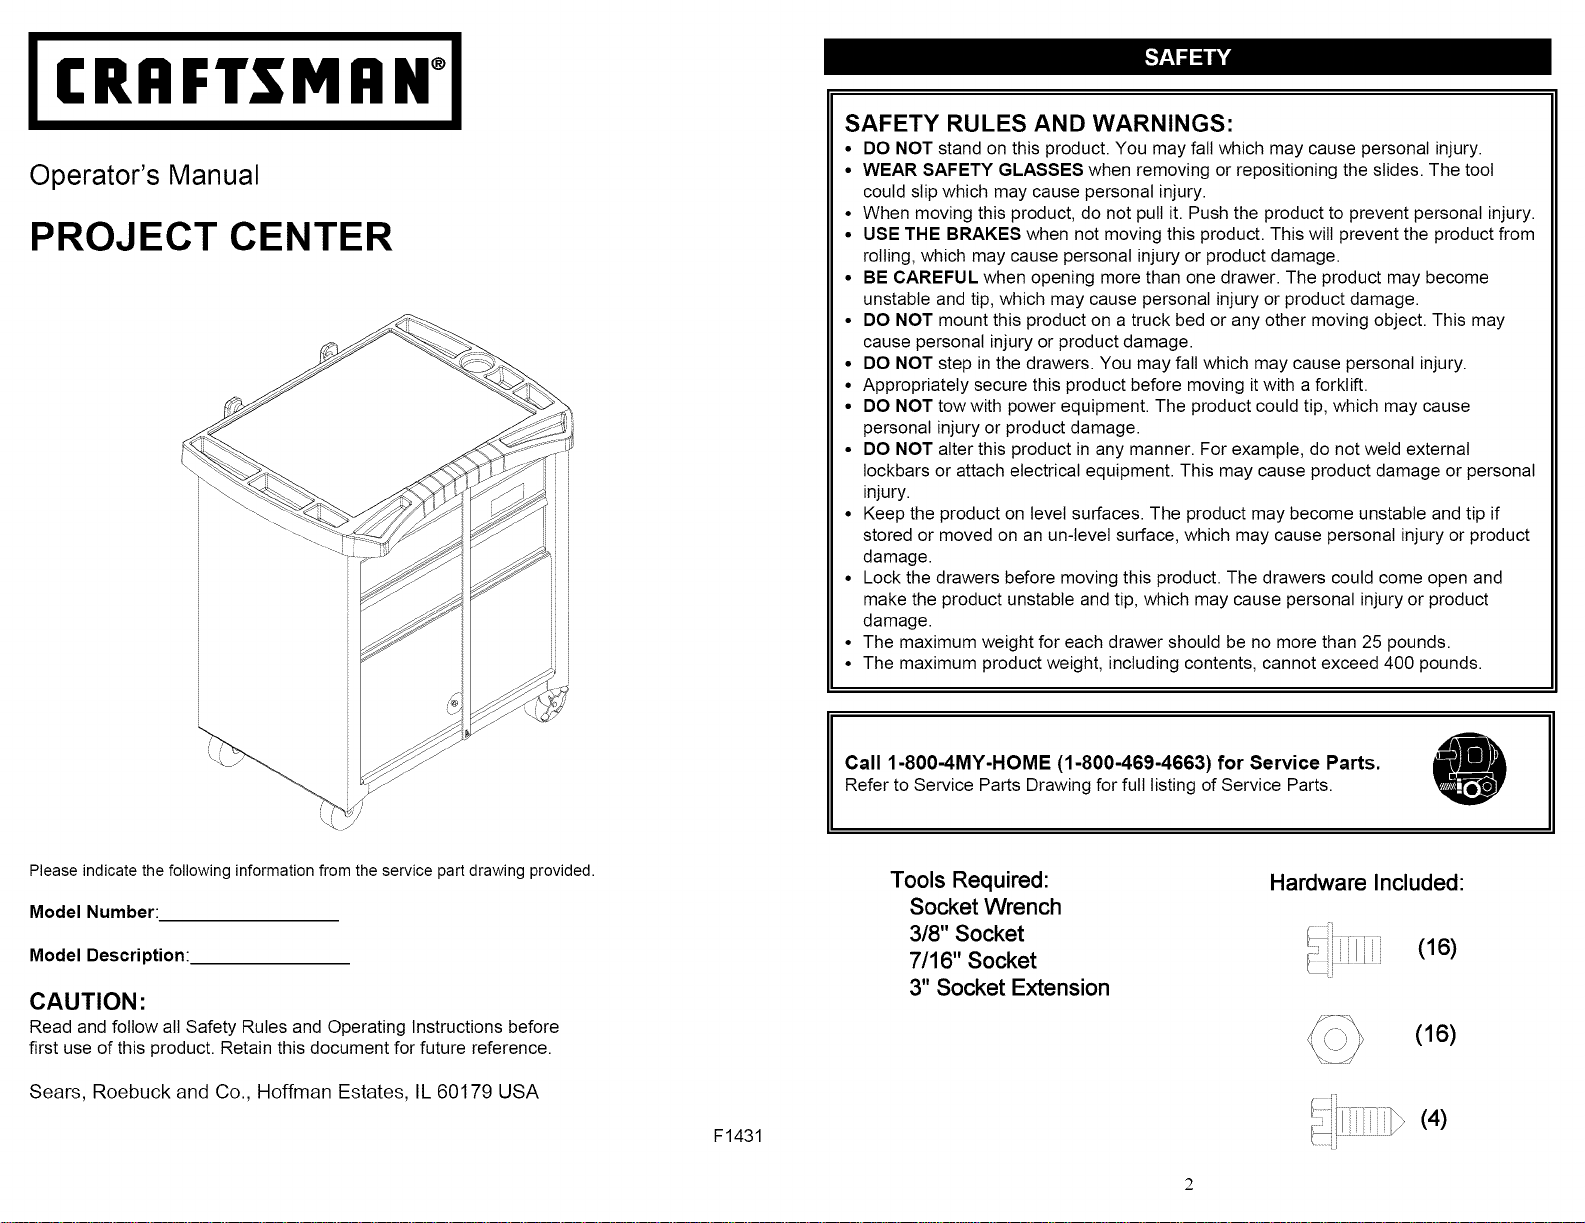
PROJECT CENTER
Pleaseindicate the following information from the servicepart drawing provided.
Model Number:
Model Description:
CAUTION:
Read and follow all Safety Rules and Operating Instructions before
first use of this product. Retain this document for future reference.
Sears, Roebuck and Co., Hoffman Estates, IL 60179 USA
F1431
SAFETY RULES AND WARNINGS:
• DO NOT stand on this product. You may fall which may cause personal injury.
• WEAR SAFETY GLASSES when removing or repositioning the slides. The tool
could slip which may cause personal injury.
• When moving this product, do not pull it. Push the product to prevent personal injury.
• USE THE BRAKES when not moving this product. This will prevent the product from
rolling, which may cause personal injury or product damage.
• BE CAREFUL when opening more than one drawer. The product may become
unstable and tip, which may cause personal injury or product damage.
• DO NOT mount this product on a truck bed or any other moving object. This may
cause personal injury or product damage.
• DO NOT step in the drawers. You may fall which may cause personal injury.
• Appropriately secure this product before moving it with a forklift.
• DO NOT tow with power equipment. The product could tip, which may cause
personal injury or product damage.
• DO NOT alter this product in any manner. For example, do not weld external
lockbars or attach electrical equipment. This may cause product damage or personal
injury.
• Keep the product on level surfaces. The product may become unstable and tip if
stored or moved on an un-level surface, which may cause personal injury or product
damage.
• Lock the drawers before moving this product. The drawers could come open and
make the product unstable and tip, which may cause personal injury or product
damage.
• The maximum weight for each drawer should be no more than 25 pounds.
• The maximum product weight, including contents, cannot exceed 400 pounds.
Call 1-800-4MY-HOME (1-800-469-4663) for Service Parts.
Refer to Service Parts Drawingfor full listing of Service Parts.
Tools Required:
Socket Wrench
3/8" Socket
7/16" Socket
3" Socket Extension
Hardware Included:
(16)
(16)
CASTER INSTALLATION:
NOTE: Use adequate manpower for this
operation.
• Lay the unit on its back, use packaging
material to protect the paint finish
• Attach the casters to unit using (4) 1/4-
20 x 7/16" screws and (4) 1/4-20 nuts
Mount both swivel casters on the same
side of the unit Wrench tighten
\\\
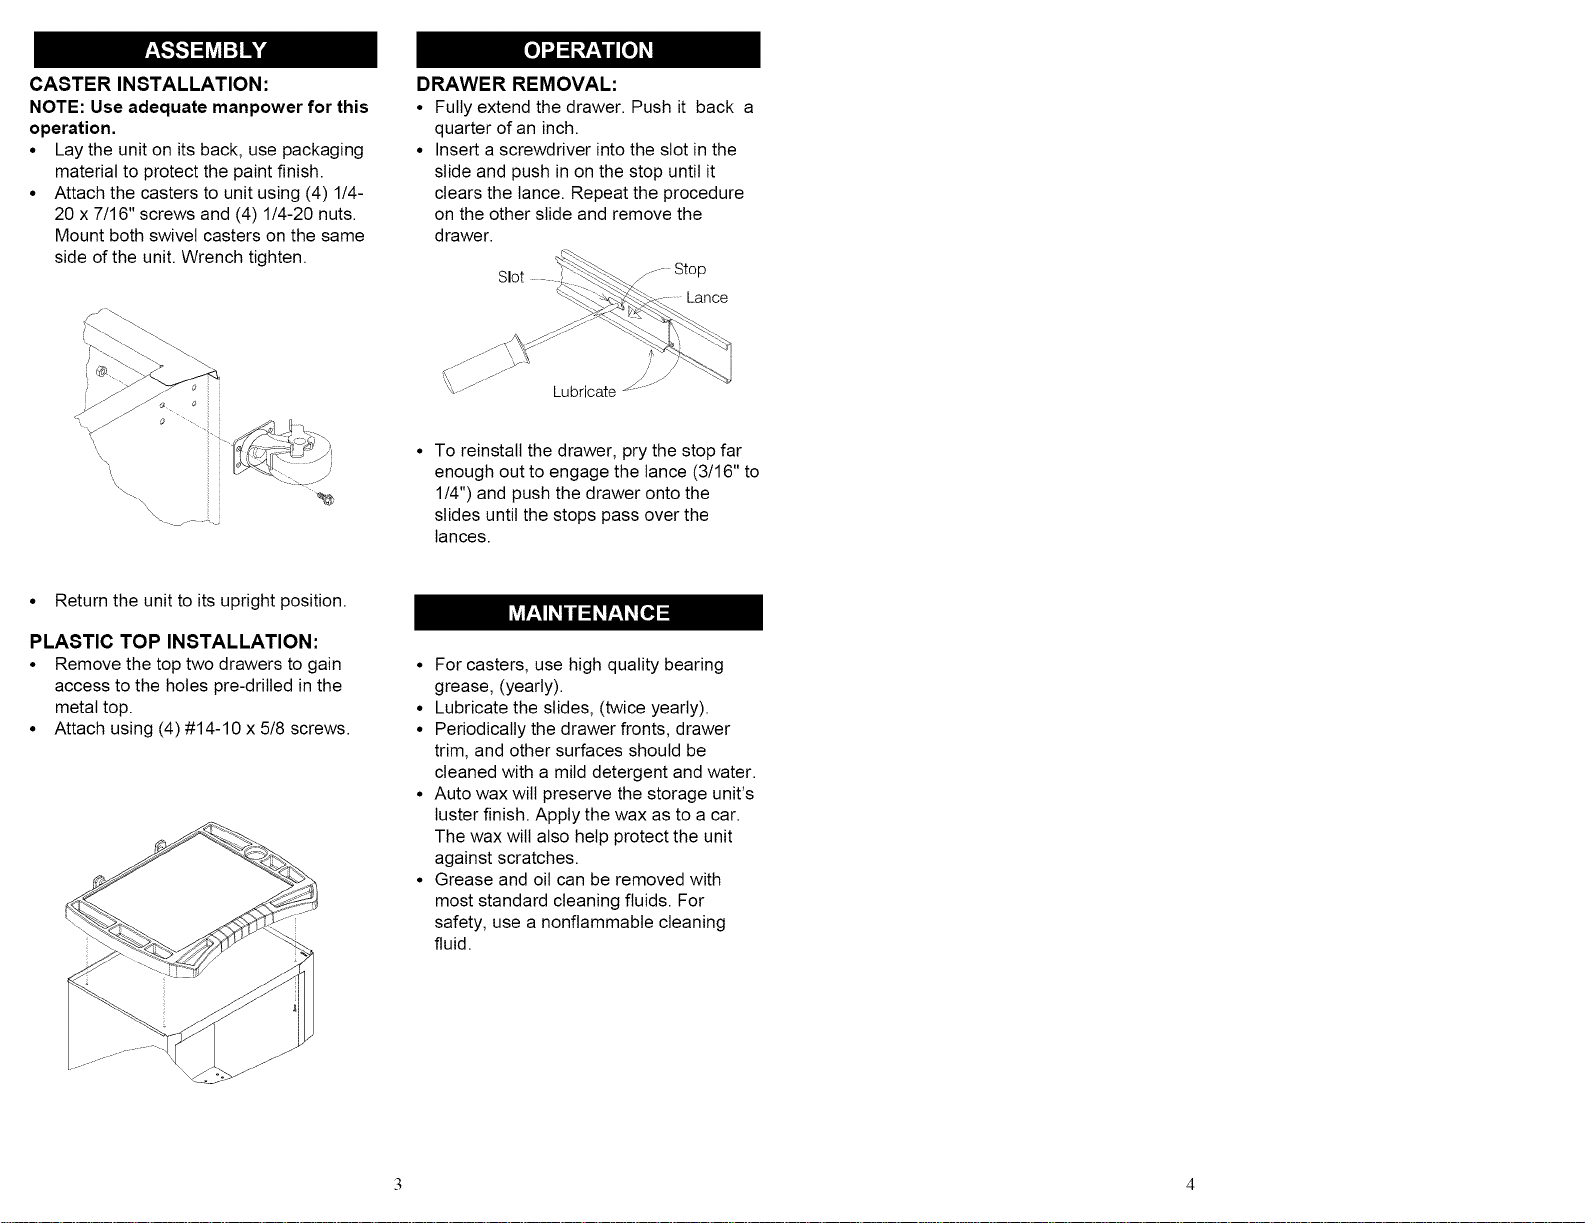
DRAWER REMOVAL:
• Fully extend the drawer. Push it back a
quarter of an inch.
• Insert a screwdriver into the slot in the
slide and push in on the stop until it
clears the lance. Repeat the procedure
on the other slide and remove the
drawer.
Slot
y-Stop
..... Lubricate
To reinstall the drawer, pry the stop far
enough out to engage the lance (3/16" to
1/4") and push the drawer onto the
slides until the stops pass over the
lances.
• Return the unit to its upright position.
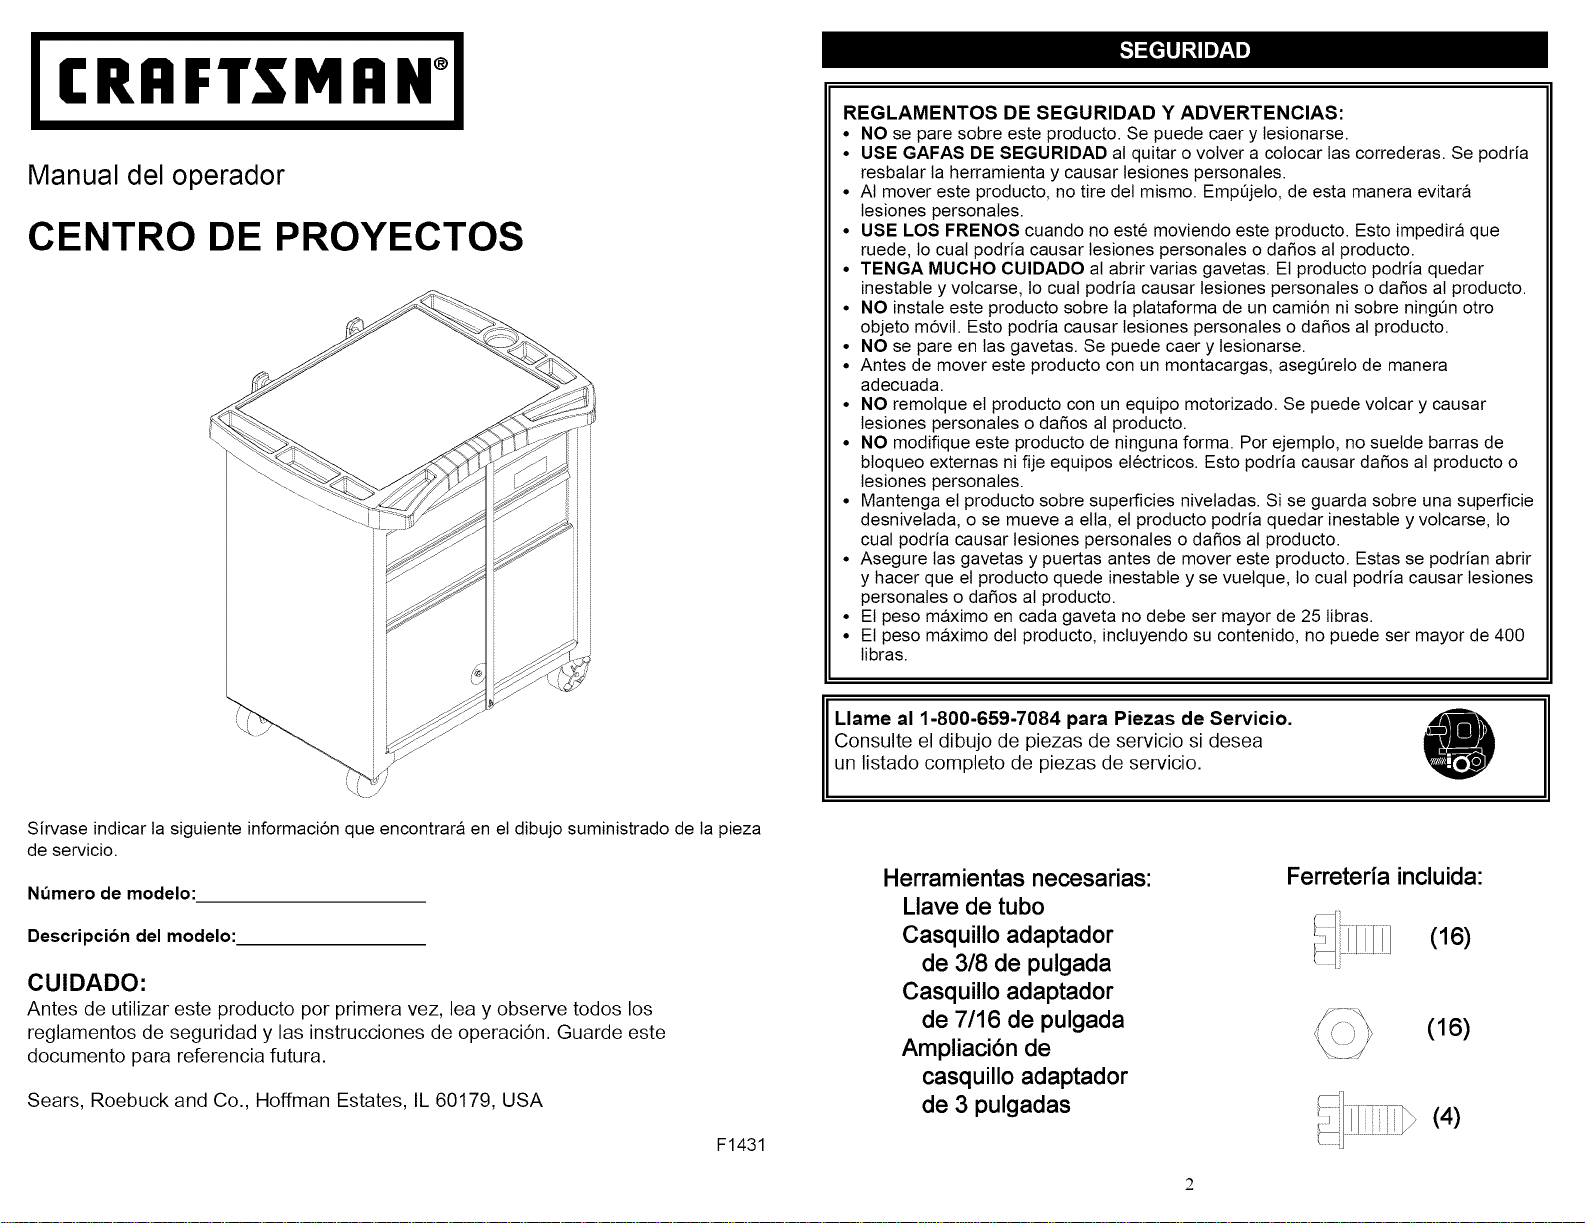
PLASTIC TOP INSTALLATION:
• Remove the top two drawers to gain
access to the holes pre-drilled in the
metal top.
• Attach using (4) #14-10 x 5/8 screws.
• For casters, use high quality bearing
grease, (yearly).
• Lubricate the slides, (twice yearly).
• Periodically the drawer fronts, drawer
trim, and other surfaces should be
cleaned with a mild detergent and water.
• Auto wax wilt preserve the storage unit's
luster finish. Apply the wax as to a car.
The wax wilt also help protect the unit
against scratches.
• Grease and oil can be removed with
most standard cleaning fluids. For
safety, use a nonflammable cleaning
fluid.
3 4
CRRFTSMRN °
Manual del operador
CENTRO DE PROYECTOS
ii
i
Sirvase indicar la siguiente informaci6n que encontrara en el dibujo suministrado de la pieza
de servicio.
Numero de modelo:
Descripcion del modelo:
CUIDADO:
Antes de utilizar este producto por primera vez, lea y observe todos los
reglamentos de seguridad y las instrucciones de operaci6n. Guarde este
documento para referencia futura.
Sears, Roebuck and Co., Hoffman Estates, IL 60179, USA
F1431
REGLAMENTO8 DE 8EGURIDAD Y ADVERTENCIA8:
• NO se pare sobre este producto. Se puede caer y tesionarse.
• USE GAFAS DE SEGURIDAD al quitar o volver a colocar tas correderas. Se podria
resbalar ta herramienta y causar lesiones personales.
• AI mover este producto, no tire del mismo. Empt_jelo, de esta manera evitara
lesiones personales.
• USE LOS FRENOS cuando no este moviendo este producto. Esto impedira que
ruede, 1ocual podria causar lesiones personales o dafios al producto.
• TENGA MUCHO CUlDADO al abrir varias gavetas. El producto podria quedar
inestable y volcarse, lo cual podria causar tesiones personales o dafios al producto.
• NO instale este producto sobre ta plataforma de un cami6n ni sobre ningen otro
objeto m6vil. Esto podria causar tesiones personales o dafios al producto.
• NO se pare en las gavetas. Se puede caer y tesionarse.
• Antes de mover este producto con un montacargas, asegerelo de manera
adecuada.
• NO remolque el producto con un equipo motorizado. Se puede volcar y causar
lesiones personales o dafios al producto.
• NO modifique este producto de ninguna forma. Pot ejemplo, no suelde barras de
bloqueo externas ni fije equipos electricos. Esto podria causar dafios al producto o
lesiones personales.
• Mantenga el producto sobre superficies niveladas. Si se guarda sobre una superficie
desnivelada, o se mueve a ella, el producto podria quedar inestable y volcarse, 1o
cual podria causar tesiones personales o dafios al producto.
• Asegure tas gavetas y puertas antes de mover este producto. Estas se podrian abrir
y hacer que el producto quede inestable y se vuelque, 1ocual podria causar lesiones
personales o dafios al producto.
• Et peso maximo en cada gaveta no debe ser mayor de 25 tibras.
• El peso maximo del producto, incluyendo su contenido, no puede ser mayor de 400
libras.
Llarne al 1-800-659-7084 para Piezas de 8ervicio.
Consulte el dibujo de piezas de servicio si desea
un listado completo de piezas de servicio.
Herramientas necesarias:
Llave de tubo
Casquillo adaptador
de 3/8 de pulgada
Casquillo adaptador
de 7/16 de pulgada
Ampliaci6n de
casquillo adaptador
de 3 pulgadas
Ferreteda incluida:
(16)
(16)
(4)
INSTALACION DE LAS RUEDAS:
NOTA: Necesitara la fuerza necesaria
para realizar esta operacion.
• Coloque ta unidad boca arriba, utitice
el material de embalaje para proteger
el acabado en pintura.
• Acopte tas ruedas a la unidad
utilizando (4) tornitlos ¼-20 x 7/16" y
(4) tuercas ¼-20. Monte tas dos
ruedas giratorias en el mismo lado de
la unidad. Fije con una Ilave.
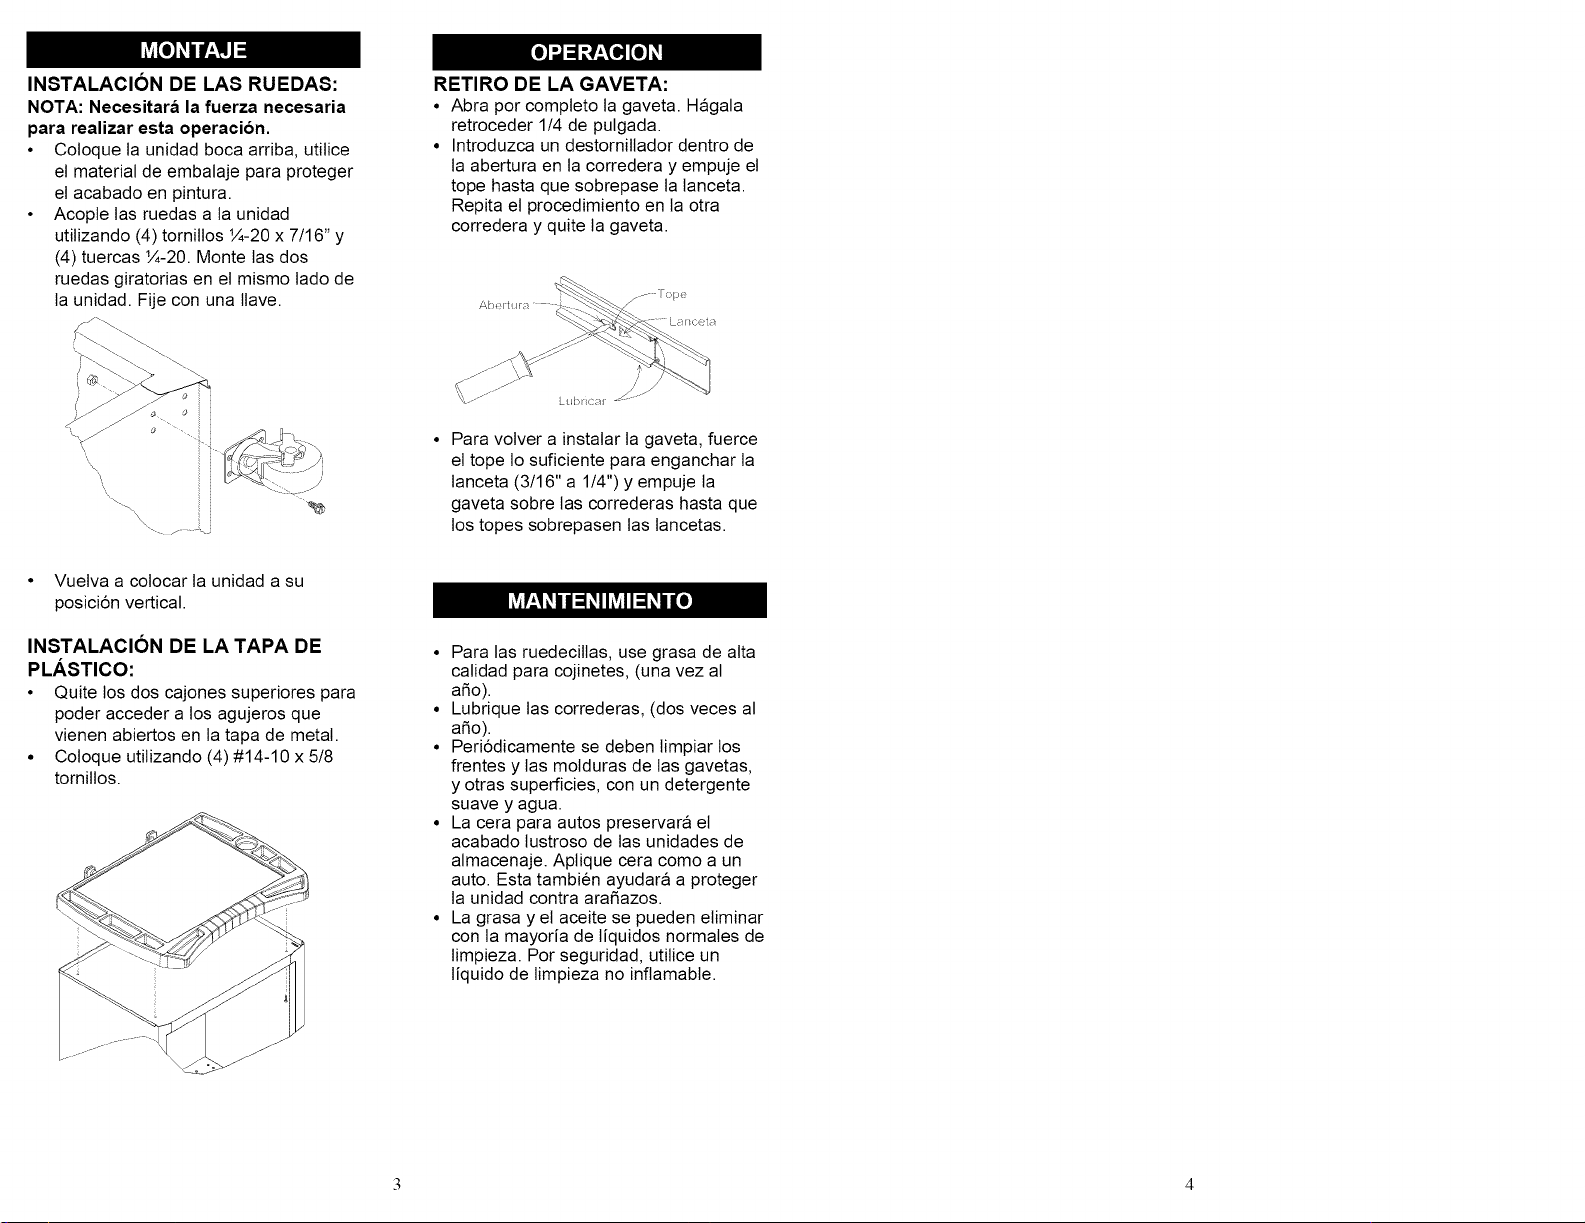
RETIRO DE LA GAVETA:
• Abra por completo ta gaveta. Hagala
retroceder 1/4 de pulgada.
• Introduzca un destorniltador dentro de
ta abertura en la corredera y empuje el
tope hasta que sobrepase ta lanceta.
Repita el procedimiento en la otra
corredera y quite la gaveta.
/
• Para volver a instalar ta gaveta, fuerce
el tope to suficiente para enganchar la
lanceta (3/16" a 1/4") y empuje ta
gaveta sobre tas correderas hasta que
los topes sobrepasen las lancetas.
• Vuelva a colocar la unidad a su
posici6n vertical.
INSTALACION DE LA TAPA DE
PLASTICO:
• Quite los dos cajones superiores para
poder acceder a los agujeros que
vienen abiertos en la tapa de metal.
• Coloque utilizando (4) #14-10 x 5/8
tornillos.
• Para las ruedecitlas, use grasa de alta
calidad para cojinetes, (una vez al
afio).
• Lubrique las correderas, (dos veces al
afio).
• Peri6dicamente se deben limpiar los
frentes y tas molduras de tas gavetas,
y otras superficies, con un detergente
suave y agua.
• La cera para autos preservara el
acabado lustroso de las unidades de
almacenaje. Aplique cera como a un
auto. Esta tambien ayudara a proteger
la unidad contra arafiazos.
• La grasa y el aceite se pueden eliminar
con la mayoria de tiquidos normales de
limpieza. Por seguridad, utitice un
liquido de limpieza no inflamable.
3 4