
Loading ...
Loading ...
Loading ...
Installation Instructions
Proper installation will ensure this refrigerator operates
most efficiently.
CAUTION
To avoid unit malfunction, make sure unit is stored in
an upright position for at least 24 hours before
plugging into electrical outlet. Failure to do so may
cause damage to compressor.
Space Requirements
WARNING
Keep flammable materials and vapors, such as
gasoline, away from refrigerator. Failure to do so
can result in death, explosion, fire, or burns.
To ensure proper ventilation for your refrigerator,
allow for a _½"(1.3 cm) space at the top of your
refrigerator.
If your refrigerator has an ice maker, make sure
you leave some extra space at the back to allow for
the water line connection. The refrigerator can be
flush with the back wall if you do not have an ice
maker installed.
If you are installing your refrigerator next to a fixed
wall, leave 2 V2"(6.4 cm) minimum on hinge side
(depending on your model) to allow for the door to
swing open 90 °.
W NOTE: Do not install the refrigerator near an oven,
radiator, or other heat source. Do not install the
refrigerator in a location where the temperature will fall
below 55°F (13°C).
Leveling Refrigerator
Some installations may require door reversal to achieve
full door swing. If so, proceed to "Door Reversal" section
before leveling your refrigerator.
If your refrigerator requires ice maker water supply
connection, proceed to "Connect ice maker water
supply" section on page 6 before leveling your
refrigerator.
1. Plug in power cord.
2. Move refrigerator into final location.
3. Level refrigerator using a level placed on top of the
refrigerator.
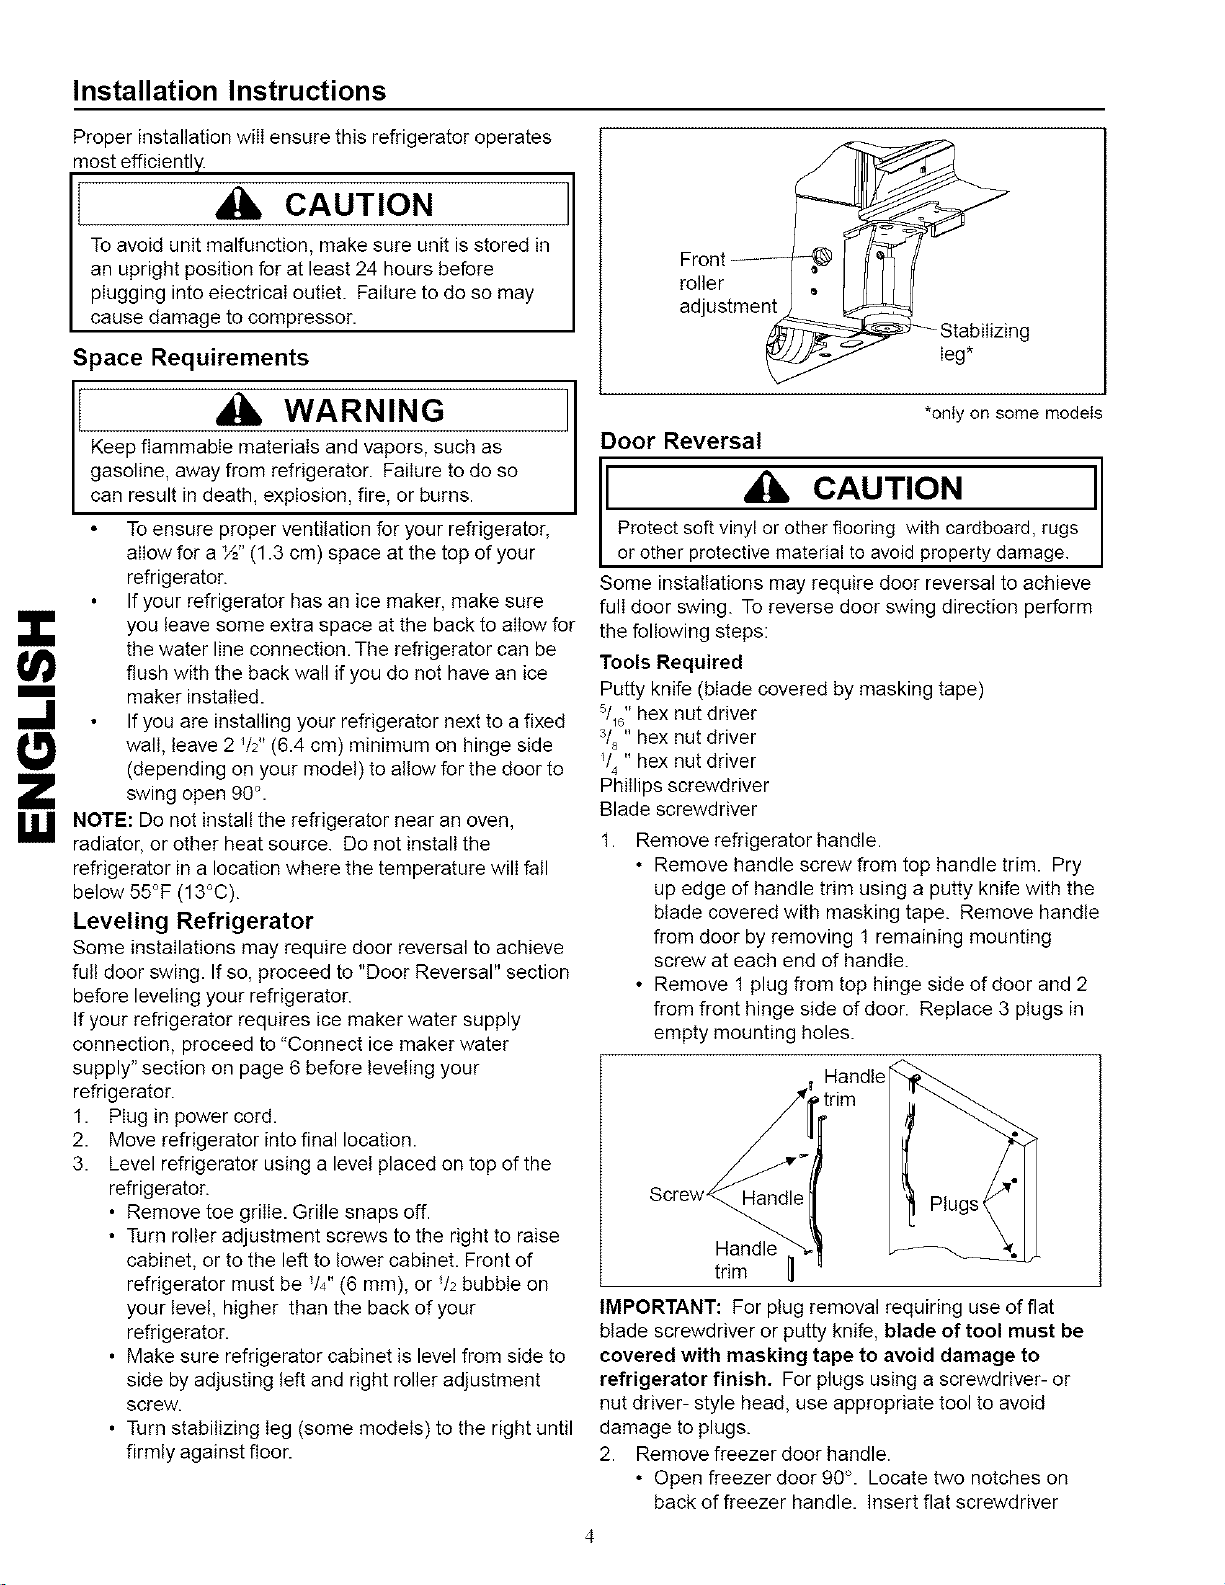
• Remove toe grille. Grille snaps off.
• Turn roller adjustment screws to the right to raise
cabinet, or to the left to lower cabinet. Front of
refrigerator must be /4" (6 mm), or h bubble on
your level, higher than the back of your
refrigerator.
• Make sure refrigerator cabinet is level from side to
side by adjusting left and right roller adjustment
screw.
• Turn stabilizing leg (some models) to the right until
firmly against floor.
roller
adjustment
*only on some models
Door Reversal
I CAUTION I
Protect soft vinyl or other flooring with cardboard, rugs
or other protective material to avoid property damage.
Some installations may require door reversal to achieve
full door swing. To reverse door swing direction perform
the following steps:
Tools Required
Putty knife (blade covered by masking tape)
_/_6"hex nut driver
3/8" hex nut driver
V4 " hex nut driver
Phillips screwdriver
Blade screwdriver
1.
Remove refrigerator handle.
• Remove handle screw from top handle trim. Pry
up edge of handle trim using a putty knife with the
blade covered with masking tape. Remove handle
from door by removing 1 remaining mounting
screw at each end of handle.
• Remove 1 plug from top hinge side of door and 2
from front hinge side of door. Replace 3 plugs in
empty mounting holes.
Handle
Handle
trim
IMPORTANT: For plug removal requiring use of flat
blade screwdriver or putty knife, blade of tool must be
covered with masking tape to avoid damage to
refrigeratorfinish. For plugs using a screwdriver- or
nut driver- style head, use appropriate tool to avoid
damage to plugs.
2. Remove freezer door handle.
• Open freezer door 90 °. Locate two notches on
back of freezer handle. Insert flat screwdriver
Loading ...
Loading ...
Loading ...