Loading ...
Loading ...
Loading ...
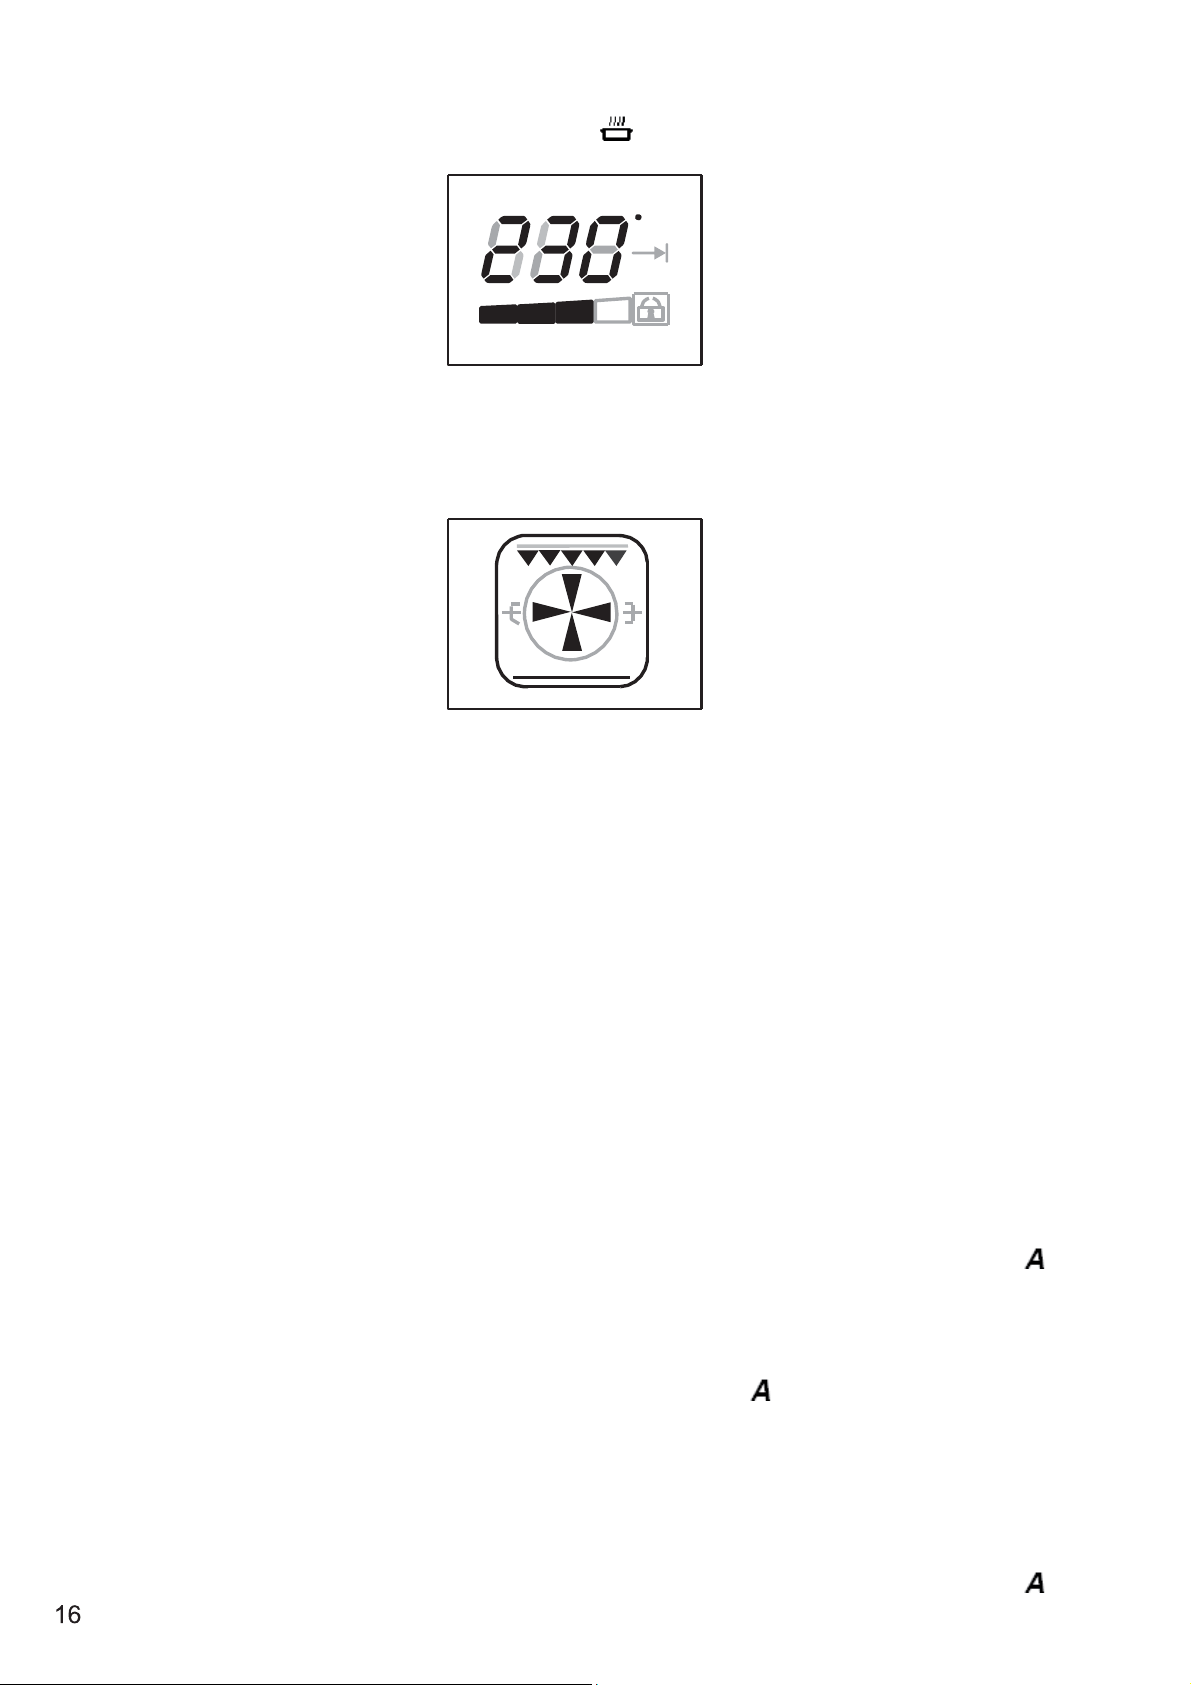
If the selected function works using any heating elements, the symbol is displayed (it doesn’t appear in defrost
position).
c
min
Fig.
9b
As soon as the oven starts, the preheat bar on the temperature display turns on, step by step, showing when the
oven is at 25%, 50%, 75% and finally 100% of the set-point. As soon as each level is reached, its step becomes
steady, the next one start flashing. All the four segments become steadily on when the preheat ends.
Fig
9c
The icon display shows the oven elements in use (heaters, working fan, turnspit) whenever any function is
active.
Touch the [H] key (On/Off) to stop any oven activity immediately. The “OFF” writing appears on the clock display.
Setting an
automatic
oven
function
After having selected a function as described before, the control can be programmed in order to set timed cooking
activities. The time program remains active even if the function is changed (exception: pyrolysis). The following
options are available:
1. Timed cooking setting the cooking time (duration).
2. Timed cooking setting the end of cooking time (stop time).
3. Delayed cooking setting duration and stop time.
Touch the [C] in order to toggle between cooking duration (cook time) and end of cooking time (stop time): the
words “dur” or “End” are displayed respectively.
Touch [D] or [E] keys (-/+) to edit the duration or the stop time when the proper word is displayed:
1. When the word “
dur
”
is displayed, the control shows 30’ as the standard cooking duration. Touch [D] or
[E] in order to set the actually desired cooking time in a range between 0 and 240 minutes. As soon as the
value is accepted the display switches to clock mode. It will show the time of day, the pot symbol and the
letter to indicate that a timed cooking is active. The end of cooking time is updated automatically.
2. When the word “End” is displayed, the control shows the current time as the initial stop time. In order to set
the actually desired end of cooking time in a 24 hours range. As soon as the value is accepted the display
switches to clock mode. It will show the time of day, the pot symbol and the letter to indicate that a timed
cooking is active. The cooking time is updated automatically.
3. Repeat the same operations of point 1 then touch [C] key until End appears. The control shows the
“current time + cooking time” as the initial stop time. It’s not possible to lower the end of cooking time below this
value.
Touch [D] or [E] keys (-/+) in order to set the actually desired end of cooking time in a 24 hours range. The
display will flash End and its value alternatively for a few seconds then it will show the time of day and the
Loading ...
Loading ...
Loading ...