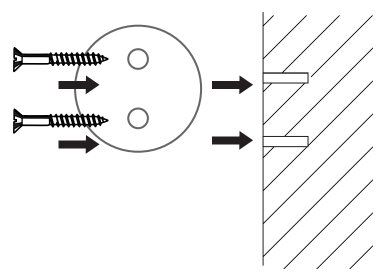
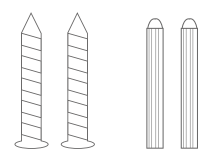
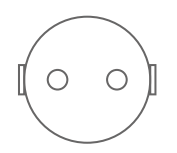
Use the included mounting screws for wooden walls or studs. They will first go through the screw holes on the mounting plate, and then screw into the wall.
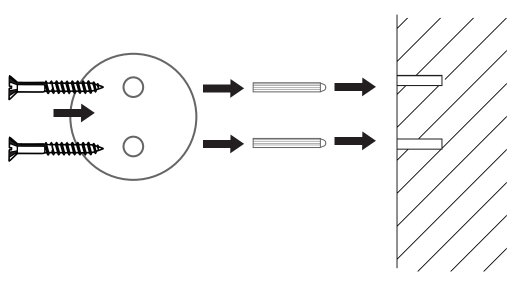
FOR CONCRETE, BRICK OR STUCCO WALLS
Use the included mounting anchors for concrete, brick or stucco walls. First screw the mounting anchors into the wall. Then the mounting screws will go through the screw holes on the mounting plate, and then screw into the mounting anchors.
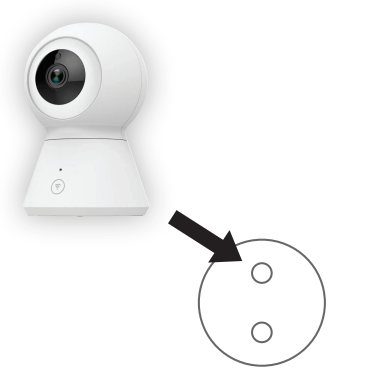
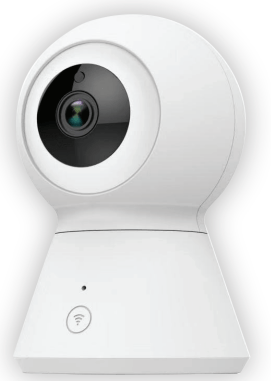
Once the mounting plate is attached to the wall, attach your camera to the mounting plate. Make sure the camera stays in place securely.
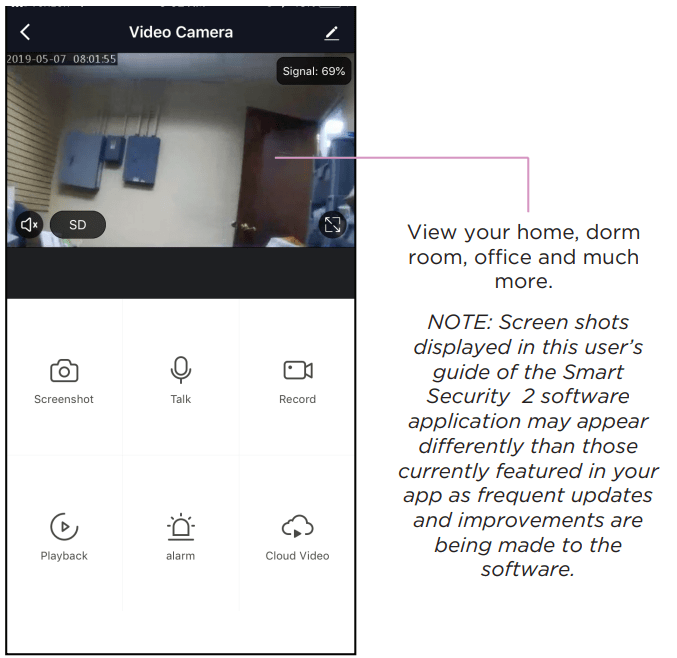
APP INSTALLATION
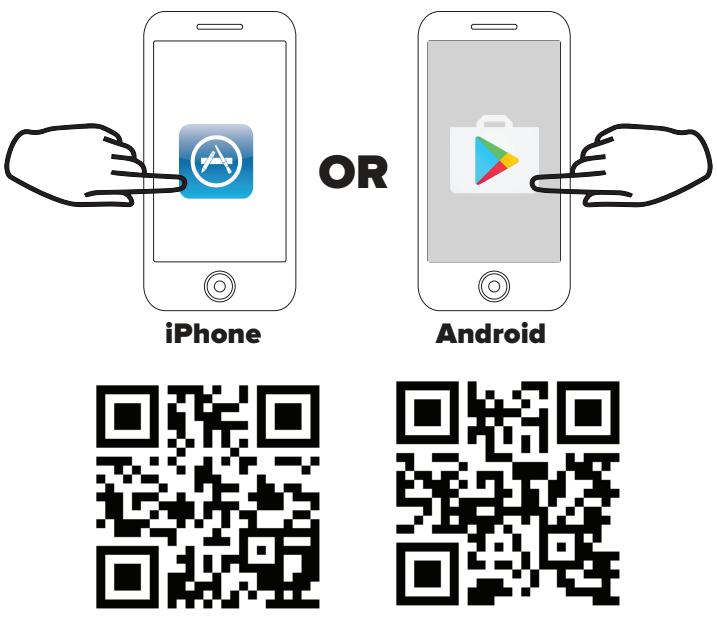
In order to use your camera, you will first need to download the Vivitar Smart Security 2 App, which is available on the Google Play Store and on the iPhone App Store.
APP REGISTRATION
To successfully use the Vivitar Smart Security 2 App, you will first need to create an account. To do so, follow the steps below.
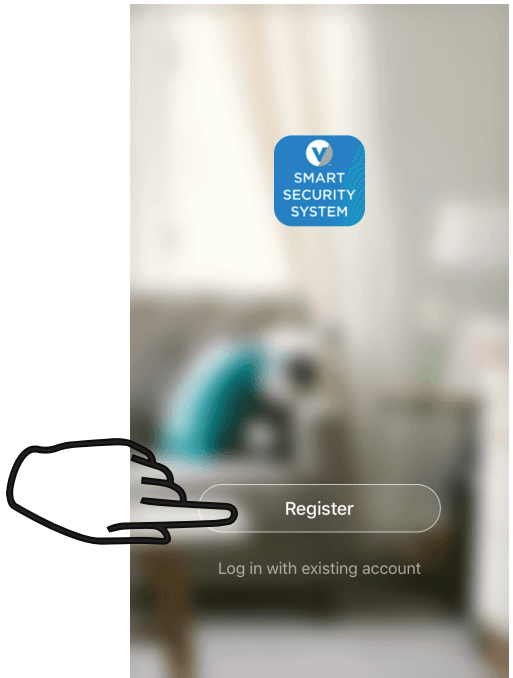
1. Open the Vivitar Smart Security 2 App and press “Register.”
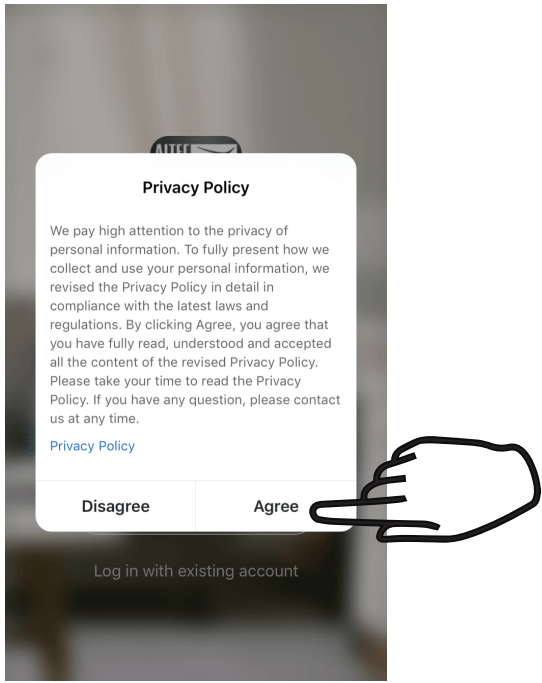
2. Agree to the terms of the privacy policy.
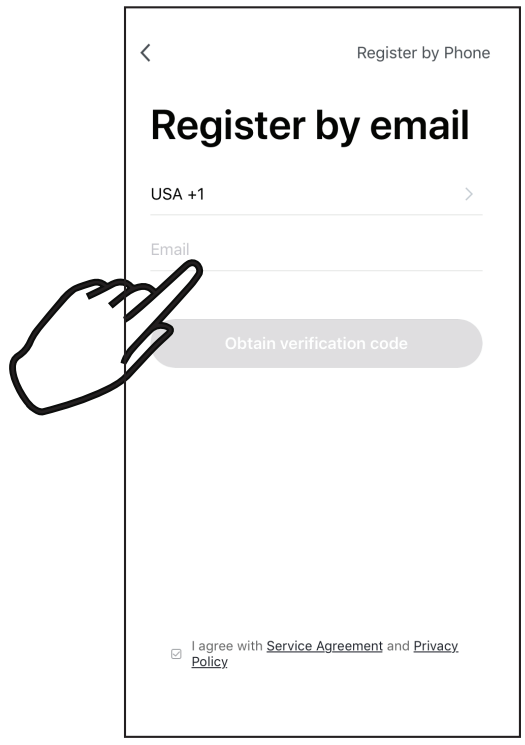
3. Enter your e-mail address or phone number to create an account.
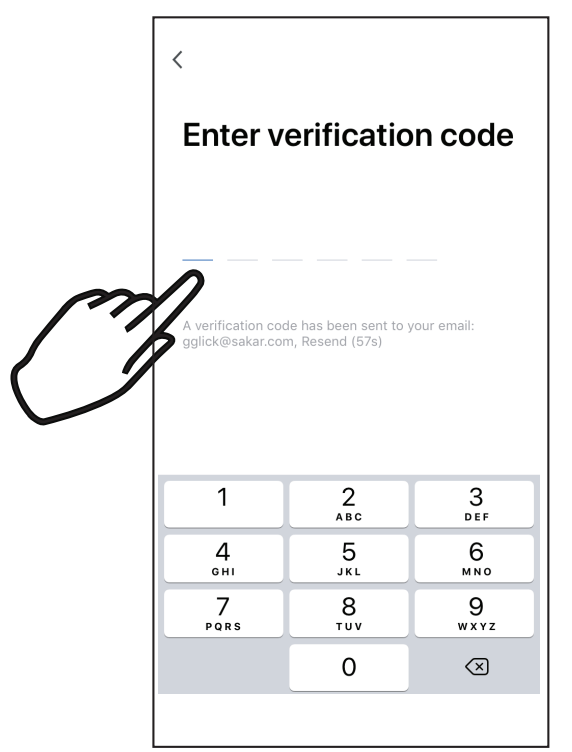
4. You will receive a verification code over email or text message. Enter it here.
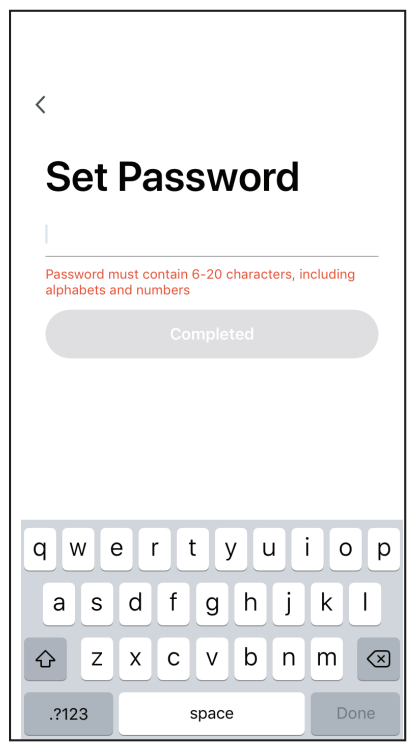
5. Set up a password for your account. Once finished, you can login to your account.
CAMERA SETUP
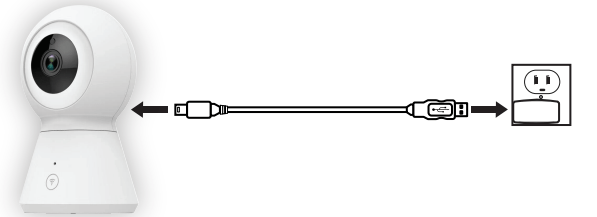
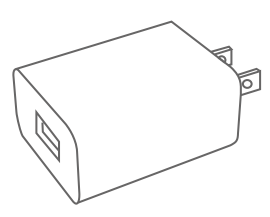
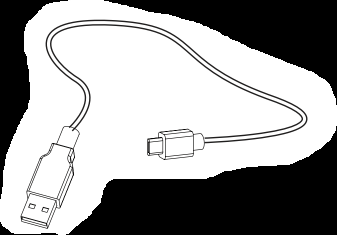
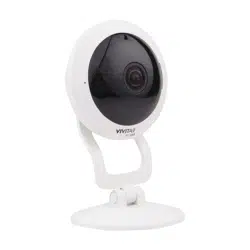
1. On the rear of your camera is a Micro USB port. Plug the included USB cable into this port, and connect the other end to the included power adapter.
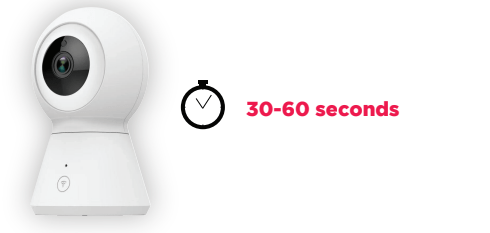
2. Wait as your camera gets ready to enter Wi-Fi setup mode. This might take up to a minute.
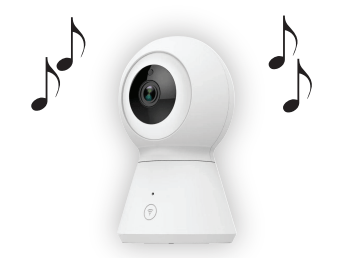
3. Once in Wi-Fi setup mode, your camera will emit a prompt musical melody and then beep every few seconds.
NOTE: If you are having trouble connecting to Wi-Fi, press and hold the reset button on the rear of the camera for approximately seconds in order to reset your camera.
WI-FI CONNECTION
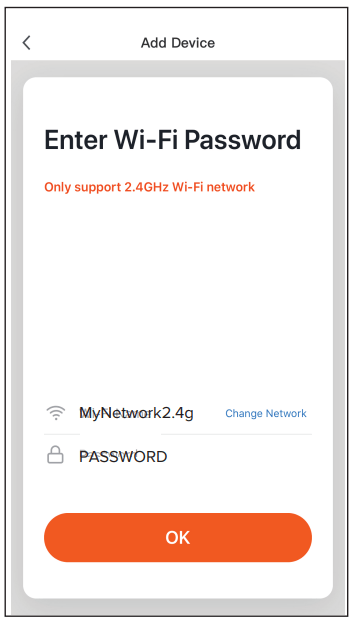
NOTE: Go to your phone’s settings menu, and make sure that your phone is connected to a 2.4GHz Wi-Fi network.
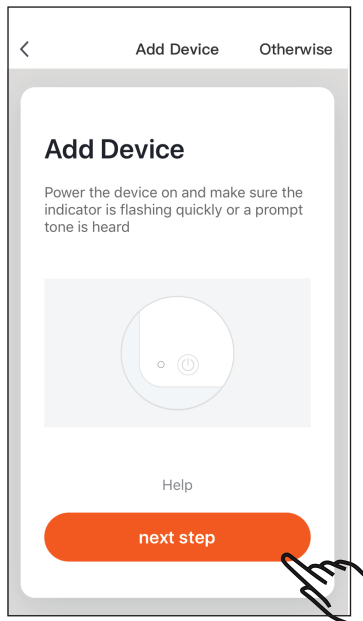
1. Open your Vivitar Smart Security 2 app. Choose to add a device, and In the Add Device screen, select to add a Smart Camera.
2. Confirm that the LED Indicator Light on your camera is still blinking rapidly, then proceed to the next step.
NOTE: For models without an LED Indicator Light, you can continue if your camera is beeping consistently.
3. Enter your Wi-Fi network name and password.
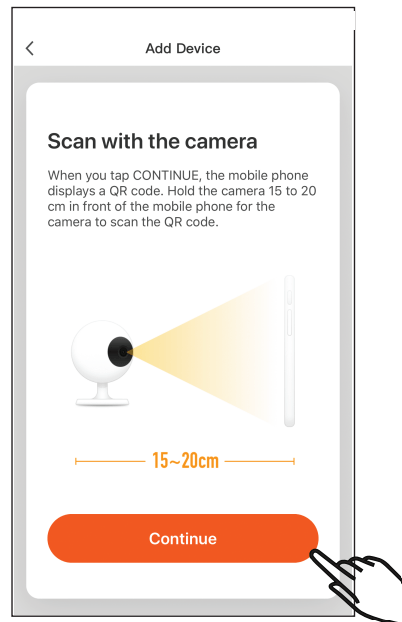
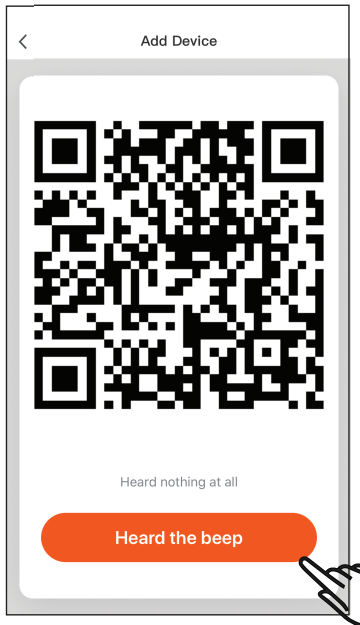
4. Your app will display a QR code. Once displayed on the screen, hold your phone directly in front of your camera’s lens.
5. Your camera should emit a beep to indicate that it is ready to connect to your network.
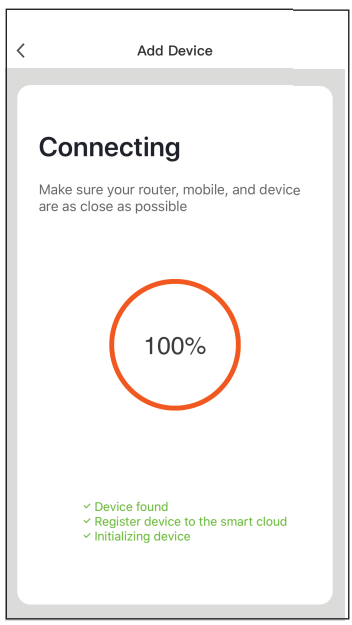
6. Wait as the Wi-Fi connection is established.
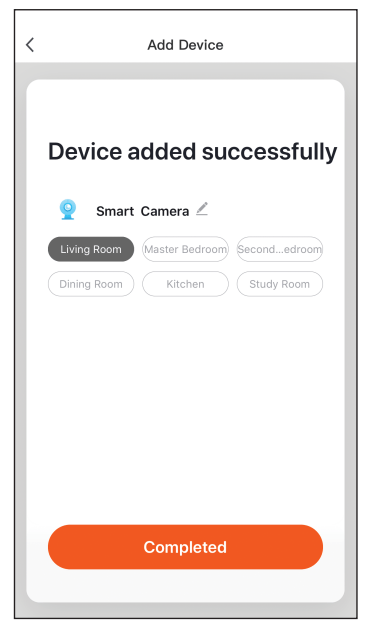
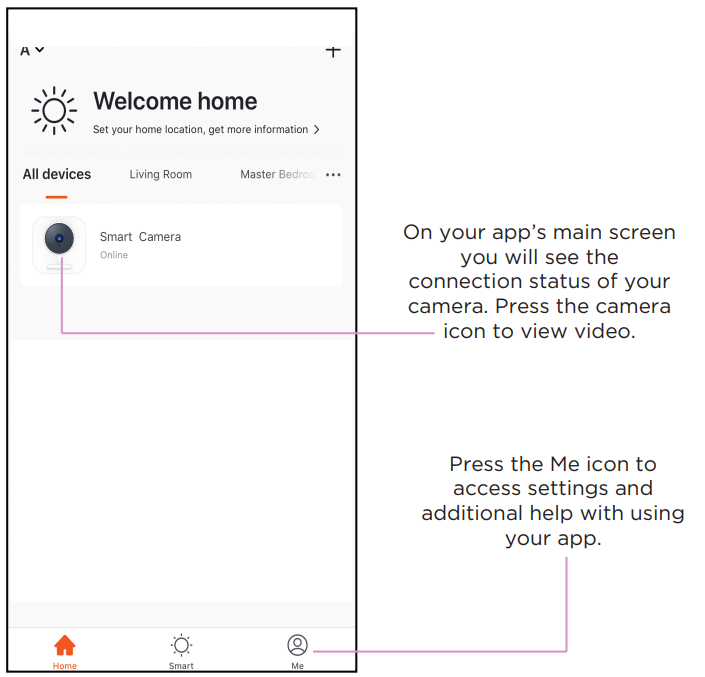
7. Once the connection is established, you can use the App to control your camera.
Q: I've done all the steps as mentioned in the manual I'm at the step where it's supposed to be blinking rapidly I have a LED indicator light and then beeping is supposed to be heard but I'm only getting the beeping the light is not flashing rapidly so I continue to the next step and go to the QR screen so my camera can scan my phone QR code but it's still not working Reply