Loading ...
Loading ...
Loading ...
For other methods, please refer to NFPA 211.
REMEMBER, UNPROTECTED SINGLE OR DOUBLE WALL STOVE PIPE SHOULD NOT PASS THROUGH A COMBUSTIBLE
WALL OR CEILING TO CONNECT TO THE CHIMNEY
. YOU MUST USE AN APPROVED METHOD WHICH PROVIDES
GREATER PROTECTION THAN SINGLE OR DOUBLE WALL PIPE
.
Prefabricated Metal Chimneys:
For high efficiency, freestanding woodstoves, like your Woodstock Soapstone stove, a
Prefabricated Metal Chimney must be listed as Class A and carry a UL Listing of 103 HT
(high temperature). The “UL 103 Type HT Class A” prefabricated
chimney will have a temperature rating of 2,100° F.
There are prefabricated chimney systems that are approved to 1,700° F and are generally
used with fireplace inserts or
factory built fireplaces. These ARE NOT suitable for use with your Woodstock Soapstone stove.
At the point of the first penetration of a combustible surface (i.e., wall or ceiling) all subsequent venting
components need to be prefabricated “UL Type HT Class A”. If your prefabricated chimney goes through
a living space it must be enclosed, and that enclosure must conform to clearance standards for the prefab-
ricated chimney. Your chimney must pass through your roof and extend above the roof line in accordance
with code standards. Please refer to height requirements on Page 2.
PREFABRICATED CHIMNEY CONFIGURATIONS
The diagrams below represent the most common and acceptable installations using prefabricated chim-
ney pipe. The necessary components are listed and shown in their appropriate locations. These compo-
nents are Class A listed to U.L. 103HT (tested to 2100 degrees F.) Only components listed to U.L. 103HT
can be used to install your wood stove. Installation instructions are described below for examples only.
More detailed instructions are available through Woodstock Soapstone or the pipe manufacturer. AL-
WAYS FOLLOW THE MANUFACTURER’S SPECIFIC INSTALLATION INSTRUCTIONS.
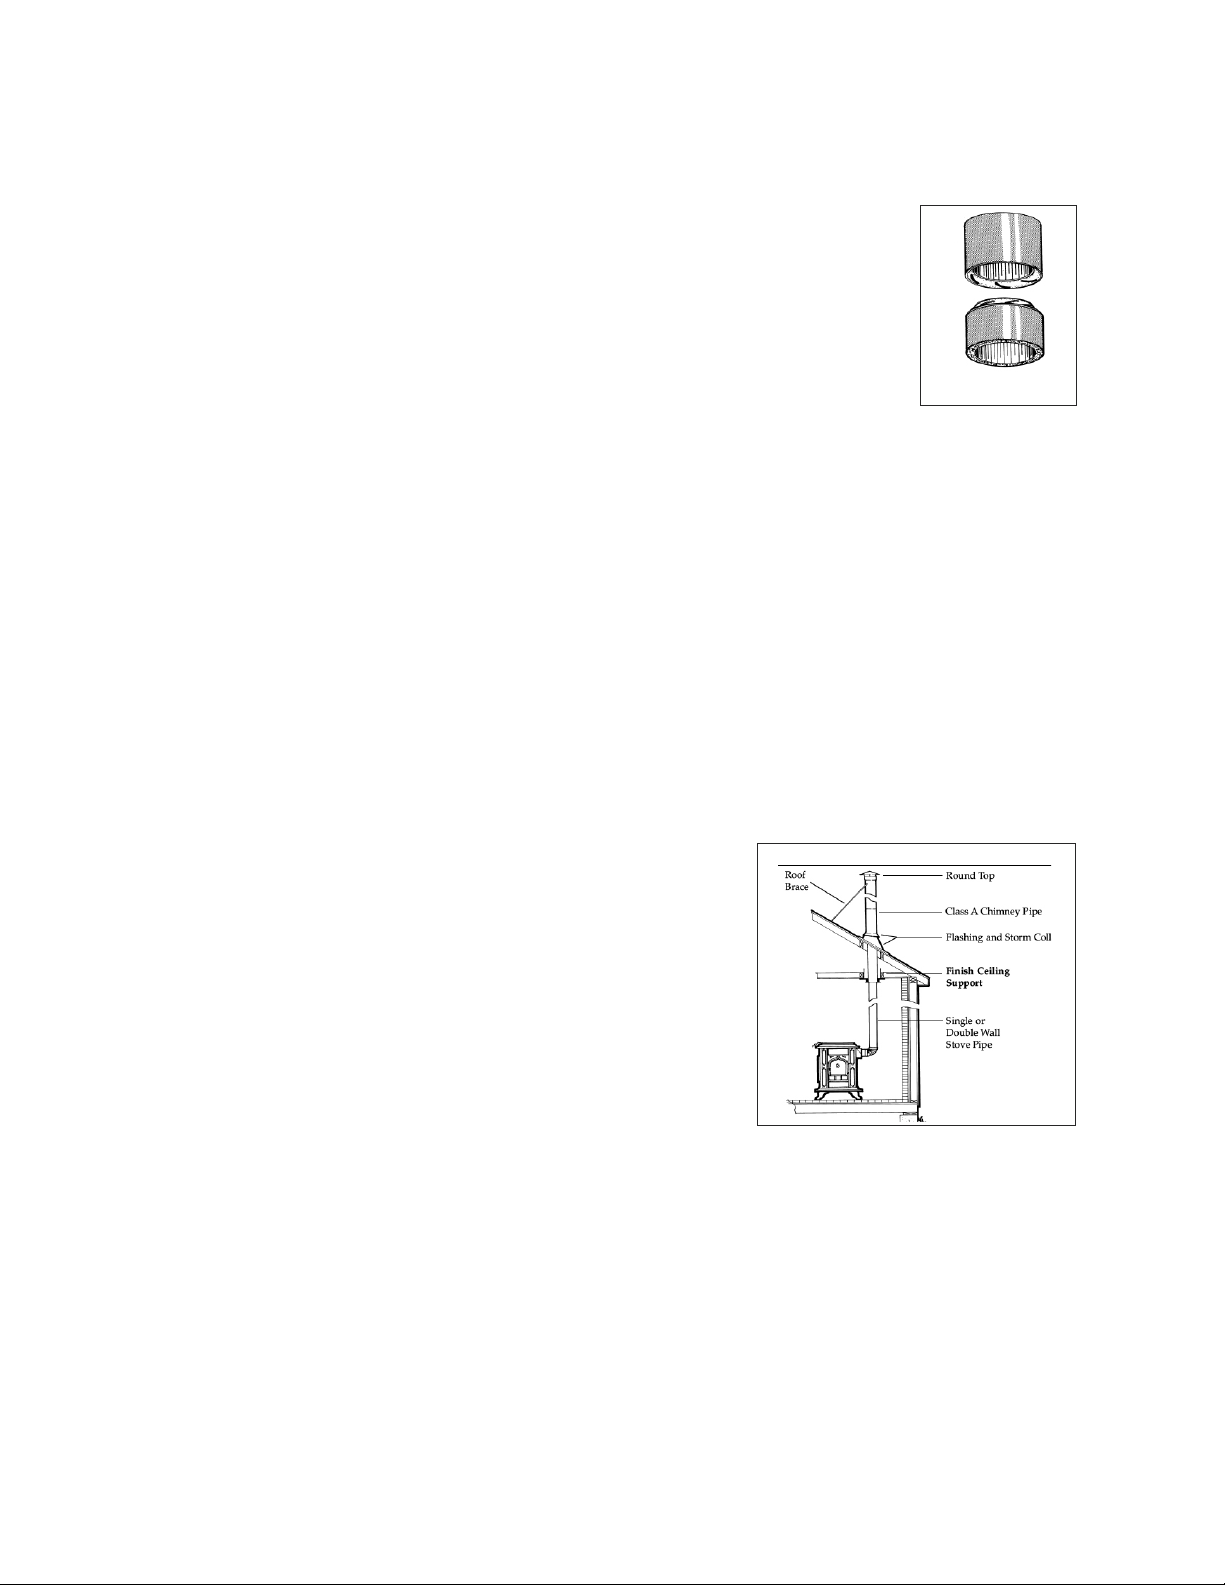
Installtion 1- Flat ceiling through the roof
First, determine where the stove will be placed. Pay close attention
to all required clearances for the stove and connector pipe. Next, use
a plumb line to locate the Finish Ceiling Support in the ceiling above.
Cut the appropriate sized hole in the ceiling and frame in the neces-
sary supports to secure the ceiling support. Install the pipe adapter
onto the first section of chimney pipe, and lower them into the Ceil-
ing support. Use an insulation shield in the attic to keep any insula-
tion away from the pipe. If the attic is a living space the chimney pipe
must be fully enclosed. As the pipe extends through the roof, install
the appropriate flashing and storm collar to keep the weather out. As
the height of the chimney increases to meet code, it may be necessary
to install a roof brace (typically recommended at 5’ intervals). All
chimneys should have the appropriate cap installed at the top to re-
duce wind and weather related downdrafts as well as deter any ani-
mals from building nests. The connector pipe should extend from the flue collar of the stove to the pipe
adapter at the ceiling support. The male (crimped) end should always point down toward the stove. Be
sure that each joint has enough overlap for a secure connection. All connections should be fastened with
screws, including at the flue collar and pipe adapter. (Please refer to the manufacturers full set of installa-
tion instructions)
Installation 2- Pitched/Cathedral Ceiling through the roof
Determine where the stove will be placed. Be sure all clearance requirements are satisfied. Choose the
appropriate support for your installation (Support box or Roof support package). Use a plumb line to lo-
cate the support in the ceiling above. Cut the appropriate sized hole in the ceiling and install the neces-
sary framing to secure the support. Install the support according to its specific instructions.. Be sure that
4
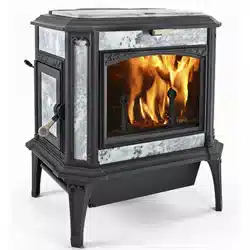
UL 103 HT Stainless
Chimney Connection
Installation 1- Flat ceiling through the roof
Attic Insulation Shield
Loading ...
Loading ...
Loading ...