Loading ...
Loading ...
Loading ...
11
Chilled Door Bin
(on some models)
Cool air from the freezer is directed to the refrigerator door bin
directly beneath the vents.
NOTE: The dairy compartment and can rack are not associated
with the Chilled Door Bin feature.
Chilled Door Bin Control
The chilled door bin control is located on the left-hand side of the
refrigerator compartment.
■ Slide the door chill control to the left to reduce the flow of cold
air to the bin and make it less cold.
■ Slide the door chill control to the right to increase the flow of
cold air to the bin and make it colder.
Water and Ice Dispensers
IMPORTANT: After connecting the refrigerator to a water source
or replacing the water filter, flush the water system. Use a sturdy
container to depress and hold the water dispenser lever for
5 seconds, then release it for 5 seconds. Repeat until water
begins to flow. Once water begins to flow, continue depressing
and releasing the dispenser lever (5 seconds on, 5 seconds off)
until a total of 3 gal. (12 L) has been dispensed. This will flush air
from the filter and water dispensing system, and prepare the
water filter for use. Additional flushing may be required in some
households. As air is cleared from the system, water may spurt
out of the dispenser.
NOTES:
■ The dispensing system will not operate when the freezer door
is open.
■ Allow 24 hours for the refrigerator to cool down and chill
water.
■ Allow 24 hours to produce the first batch of ice. Discard the
first three batches of ice produced.
■ The display screen on the dispenser control panel will turn off
automatically and enter “sleep” mode when the control
buttons and dispenser levers have not been used for
2 minutes or more. While in “sleep” mode, the first press of a
control button will only reactivate the display screen, without
changing any settings. After reactivation, changes to any
settings can then be made. If no changes are made within
2 minutes, the display will re-enter “sleep” mode.
The Water Dispenser
IMPORTANT: Dispense at least 1 qt (1 L) of water every week to
maintain a fresh supply.
To Dispense Water:
1. Press a sturdy glass against the water dispenser lever.
2. Remove the glass to stop dispensing.
The Ice Dispenser
Ice dispenses from the ice maker storage bin in the freezer when
the dispenser lever is pressed. To turn off the ice maker, see “Ice
Maker and Storage Bin.”
Your ice maker can produce both crushed and cubed ice. Before
dispensing ice, select which type of ice you prefer by pressing the
ICE TYPE button.
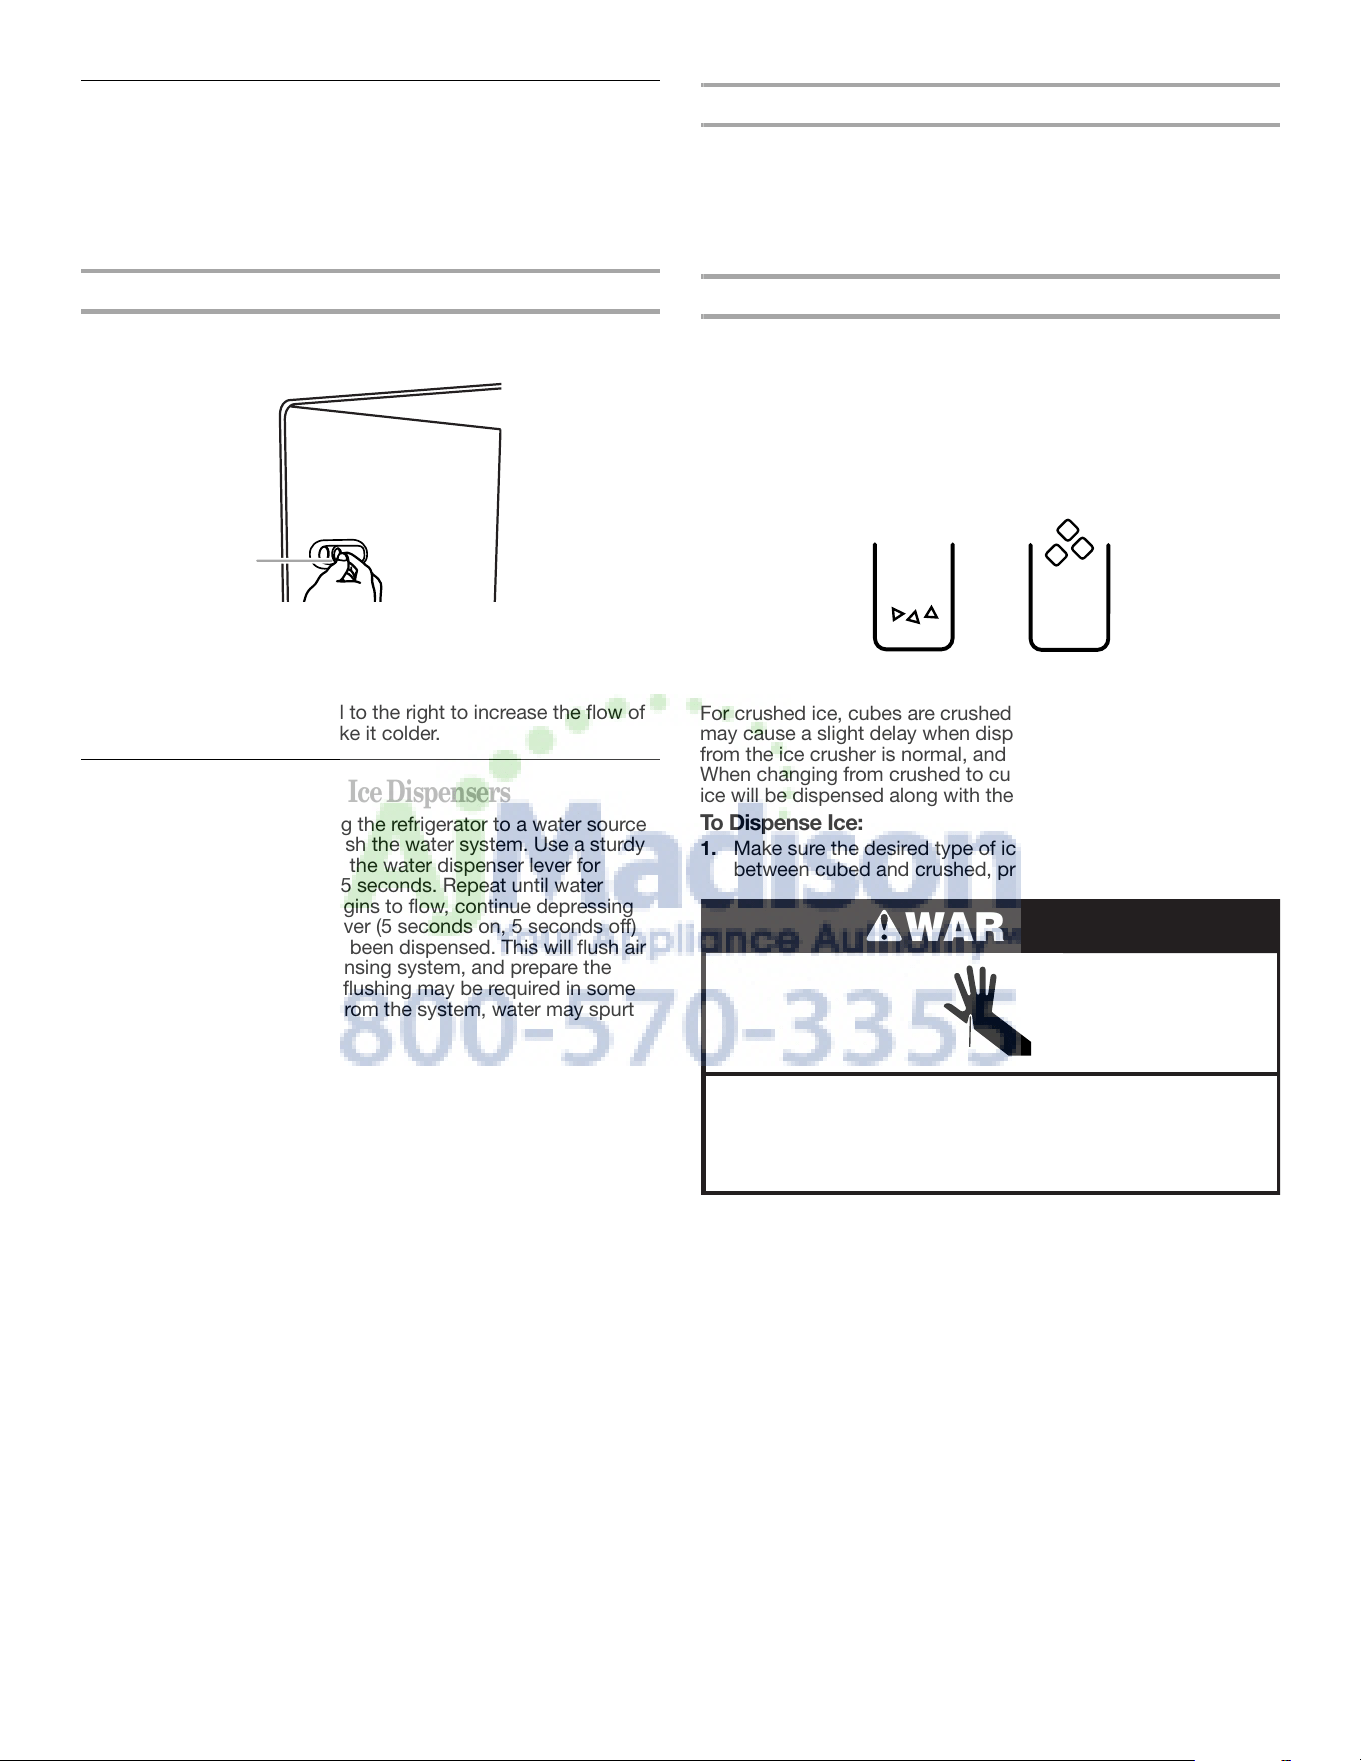
The display screen indicates which type of ice is selected.
For crushed ice, cubes are crushed before being dispensed. This
may cause a slight delay when dispensing crushed ice. Noise
from the ice crusher is normal, and pieces of ice may vary in size.
When changing from crushed to cubed, a few ounces of crushed
ice will be dispensed along with the first cubes.
To Dispense Ice:
1. Make sure the desired type of ice is selected. To switch
between cubed and crushed, press ICE TYPE.
2. Press a sturdy glass against the ice dispenser lever. Hold the
glass close to the dispenser opening so ice does not fall
outside of the glass.
IMPORTANT: You do not need to apply a lot of pressure to the
lever in order to activate the ice dispenser. Pressing hard will
not make the ice dispense faster or in greater quantities.
3. Remove the glass to stop dispensing.
NOTE: Ice may continue to dispense for several seconds after
removing the glass from the lever. The dispenser may
continue to make noise for a few seconds after dispensing.
A. Chilled door bin control
A
CRUSHED CUBED
Cut Hazard
Use a sturdy glass when dispensing ice.
Failure to do so can result in cuts.
WARNING
Loading ...
Loading ...
Loading ...