Loading ...
Loading ...
Loading ...
7
PREPARATION
Before beginning assembly of this appliance, make sure all parts are present. Compare all parts with package
contents list and hardware contents as listed on pages 5 and 6 of this manual. If any part is missing or damaged,
do not attempt to assemble this product. Contact customer service for replacement parts.
ESTIMATED ASSEMBLY TIME: 60 minutes
Tools Required for Assembly (NOT included):
Phillips screwdriver w/medium blade
Leak Test Solution
Adjustable wrench (2) (Note: 10mm wrench or socket should fit M6 bolt; 13mm wrench or socket should fit M8
bolt.)
NOTE: This heater has an Electronic Ignition and will require installation of 1 – AAA battery. The battery should
be installed by unscrewing the RED IGNITER BUTTON.
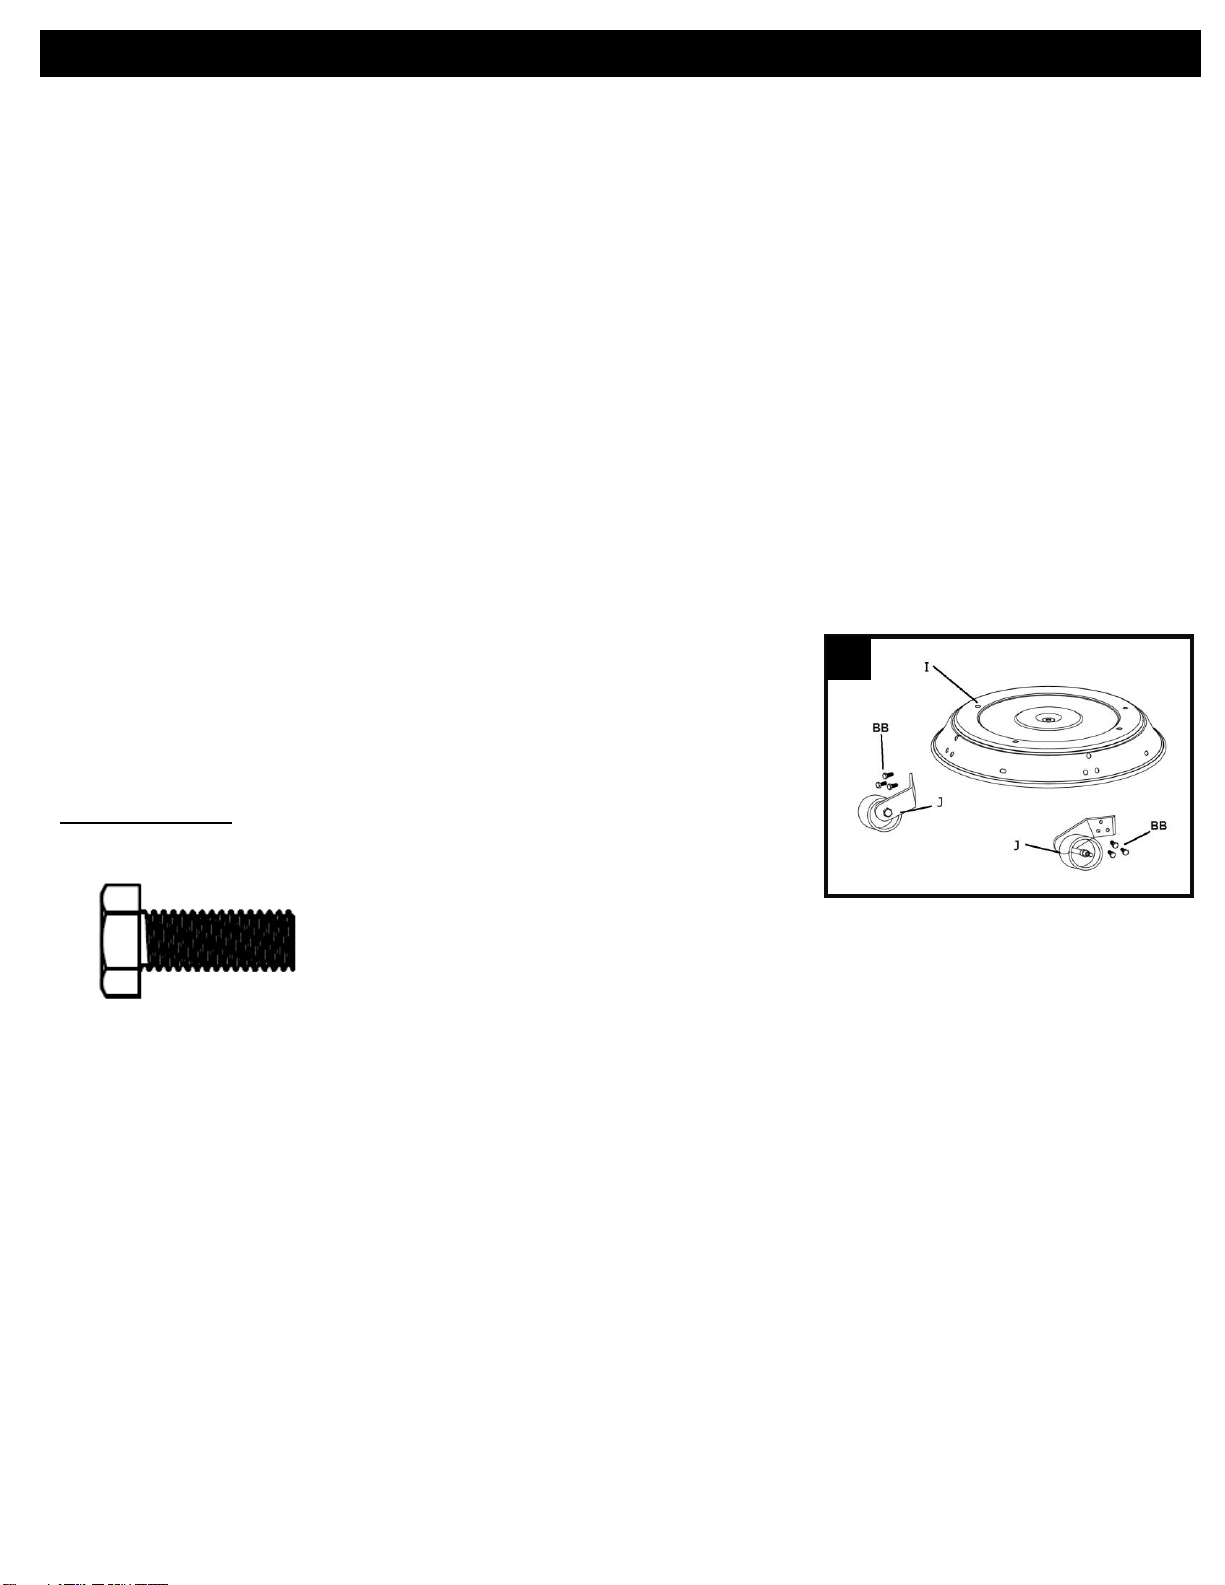
1. Attach Wheels (J) to Base (I). Align holes in Wheel bracket with
corresponding holes in Base, and insert 3 M6x16 (BB) bolts through holes
and finger tighten. Repeat with second wheel. Tighten with wrench once
both wheels have been attached.
Hardware Used: 6 x BB, Bolt M6x16
ASSEMBLY
1
Loading ...
Loading ...
Loading ...