Loading ...
Loading ...
Loading ...
TRANSPORTING YOUR TILLER
AROUND THE YARD
• Pull forward on lift handle until it locks in the up,
transport position.
AROUND TOWN
Disconnect spark plug wire.
Drain fuel tank.
Transport in upright position to prevent oil leakage.
TO ADJUST DEPTH STAKE
• Depth stake has five position holes to select tilling
depth from 1 to 5 inches.
• The top stake hole selects the shallowest tilling
depth and the bottom stake hole selects the deepest
position.
• To change depth, remove the hair cotter pin from the
clevis pin which is connecting the depth stake to the
stake support bracket.
• Grasp the top of the depth stake, remove the clevis
pin and reposition the depth stake. Insert clevis pin
and hair cotter pin.
IMPORTANT: THE DEPTH STAKE SHOULD NEVER
BE REMOVED FROM THE TILLER. IT IS DESIGNED
TO PROTECT THE TRACTOR TRANSAXLE FROM
THRUSTING ACTION OF THE TILLER.
TiLLiNG
The most efficient tillage is obtained when tiller
engine is operated at full throttle. The sound of the
tiller engine will tell you. When tiller engine is lightly
loaded, raise gauge wheels to increase tilling depth.
If engine seems to be overloaded or stalls out, lower
gauge wheels for shallower tilling.
Operate tiller engine at full throttle and operate
tractor in slowest forward speed with tractor engine
at idle speed or just above idle.You will soon learn
the proper combination of tilling depth and speed for
good tillage.
Soil conditions will determine how deep tiller can
penetrate on the first pass. In extremely hard ground,
several passes may be necessary to till to a depth of
6 inches. While in soft ground, tiller may penetrate to
a depth of 6 inches in the first pass.
TiLLiNG HINTS
IMPORTANT OPERATING HINTS
NOTE: The following is a general guideline of tilling, but
may vary depending upon soil conditions.
In virgin soil, tiller should be started in shallowest
depth position and lowered one position at a time
after each pass in each direction.
If the soil is extremely hard and dry, it may be
desirable to cross till an area at shallow depth first,
then till in the direction of planting rows on the second
pass at the final depth.
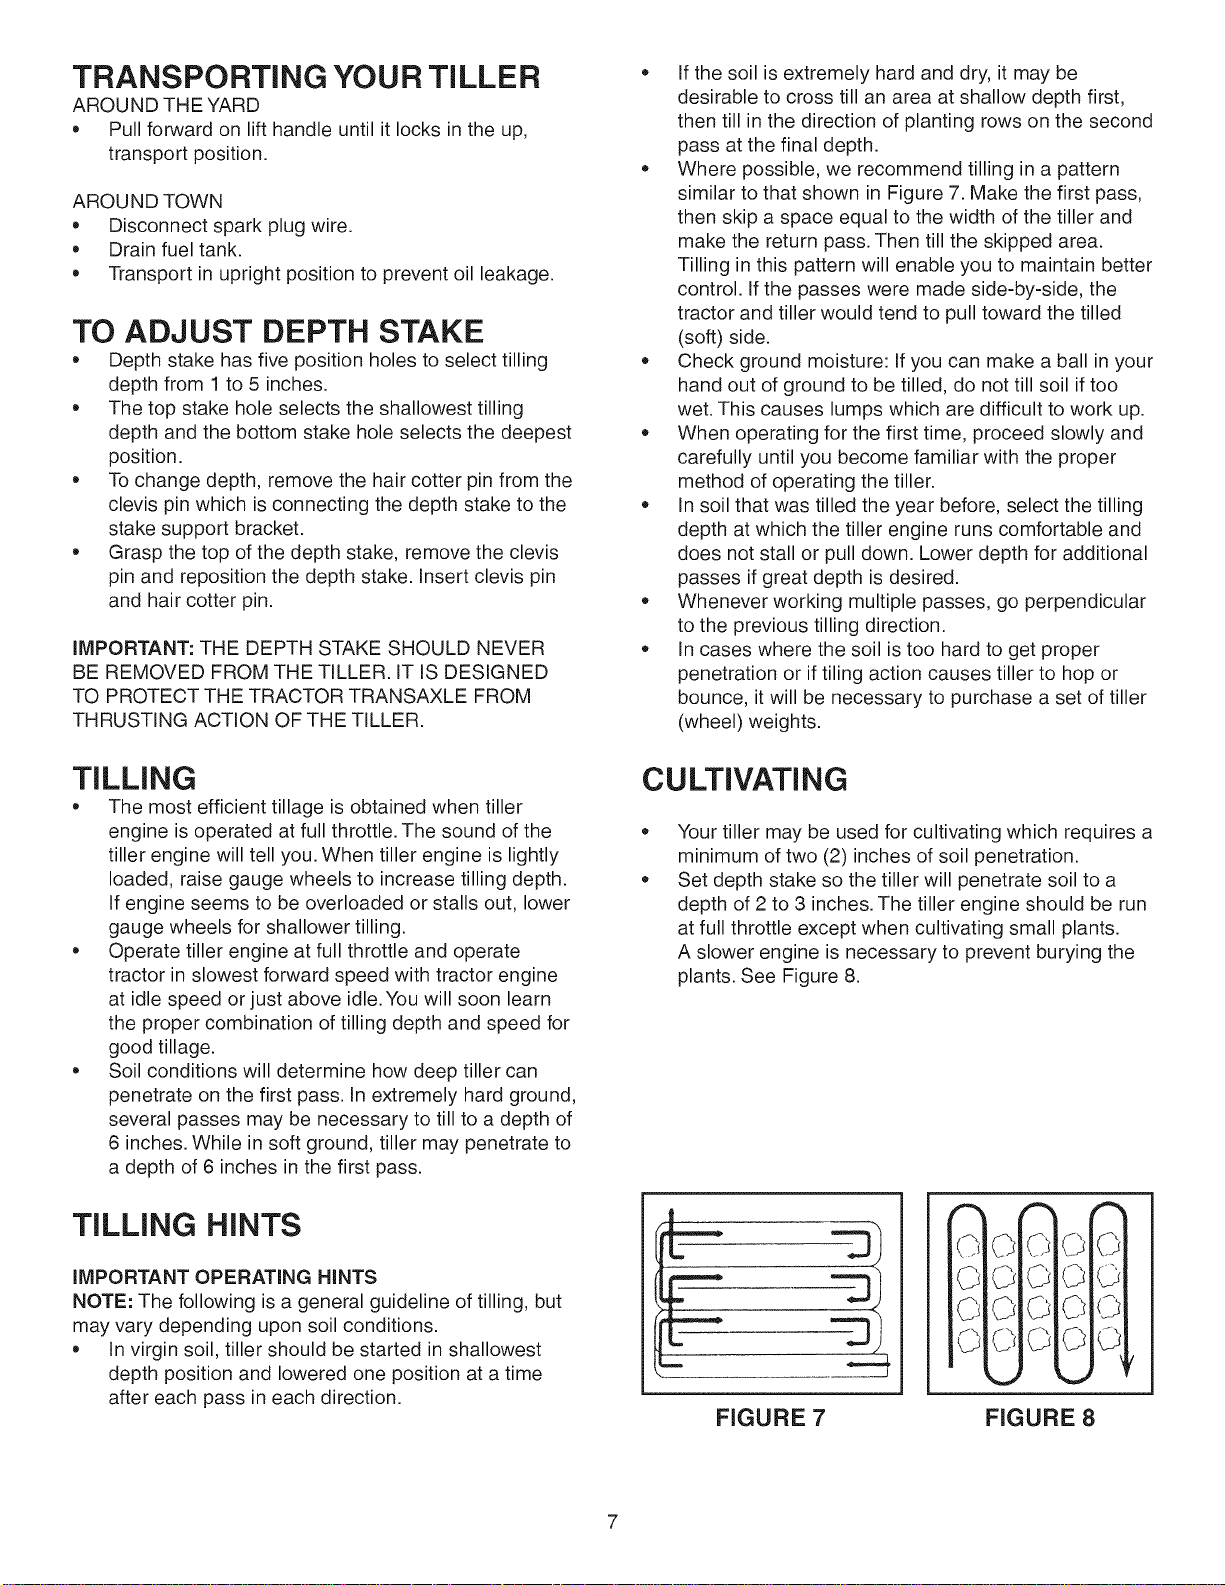
Where possible, we recommend tilling in a pattern
similar to that shown in Figure 7. Make the first pass,
then skip a space equal to the width of the tiller and
make the return pass. Then till the skipped area.
Tilling in this pattern will enable you to maintain better
control. If the passes were made side-by-side, the
tractor and tiller would tend to pull toward the tilled
(soft) side.
Check ground moisture: If you can make a ball in your
hand out of ground to be tilled, do not till soil if too
wet. This causes lumps which are difficult to work up.
When operating for the first time, proceed slowly and
carefully until you become familiar with the proper
method of operating the tiller.
In soil that was tilled the year before, select the tilling
depth at which the tiller engine runs comfortable and
does not stall or pull down. Lower depth for additional
passes if great depth is desired.
Whenever working multiple passes, go perpendicular
to the previous tilling direction.
In cases where the soil is too hard to get proper
penetration or if tiling action causes tiller to hop or
bounce, it will be necessary to purchase a set of tiller
(wheel) weights.
CULTIVATING
o
o
Your tiller may be used for cultivating which requires a
minimum of two (2) inches of soil penetration.
Set depth stake so the tiller will penetrate soil to a
depth of 2 to 3 inches. The tiller engine should be run
at full throttle except when cultivating small plants.
A slower engine is necessary to prevent burying the
plants. See Figure 8.
i-
ra
-- -5
m
u
FIGURE 7
OCOOO
OCOOO
OCOO<P
OCOOO
FIGURE 8
Loading ...
Loading ...
Loading ...