Loading ...
Loading ...
Loading ...
1312
CUSTOM WOOD FRAME INSTALLATION (DFUW Model) (cont.)
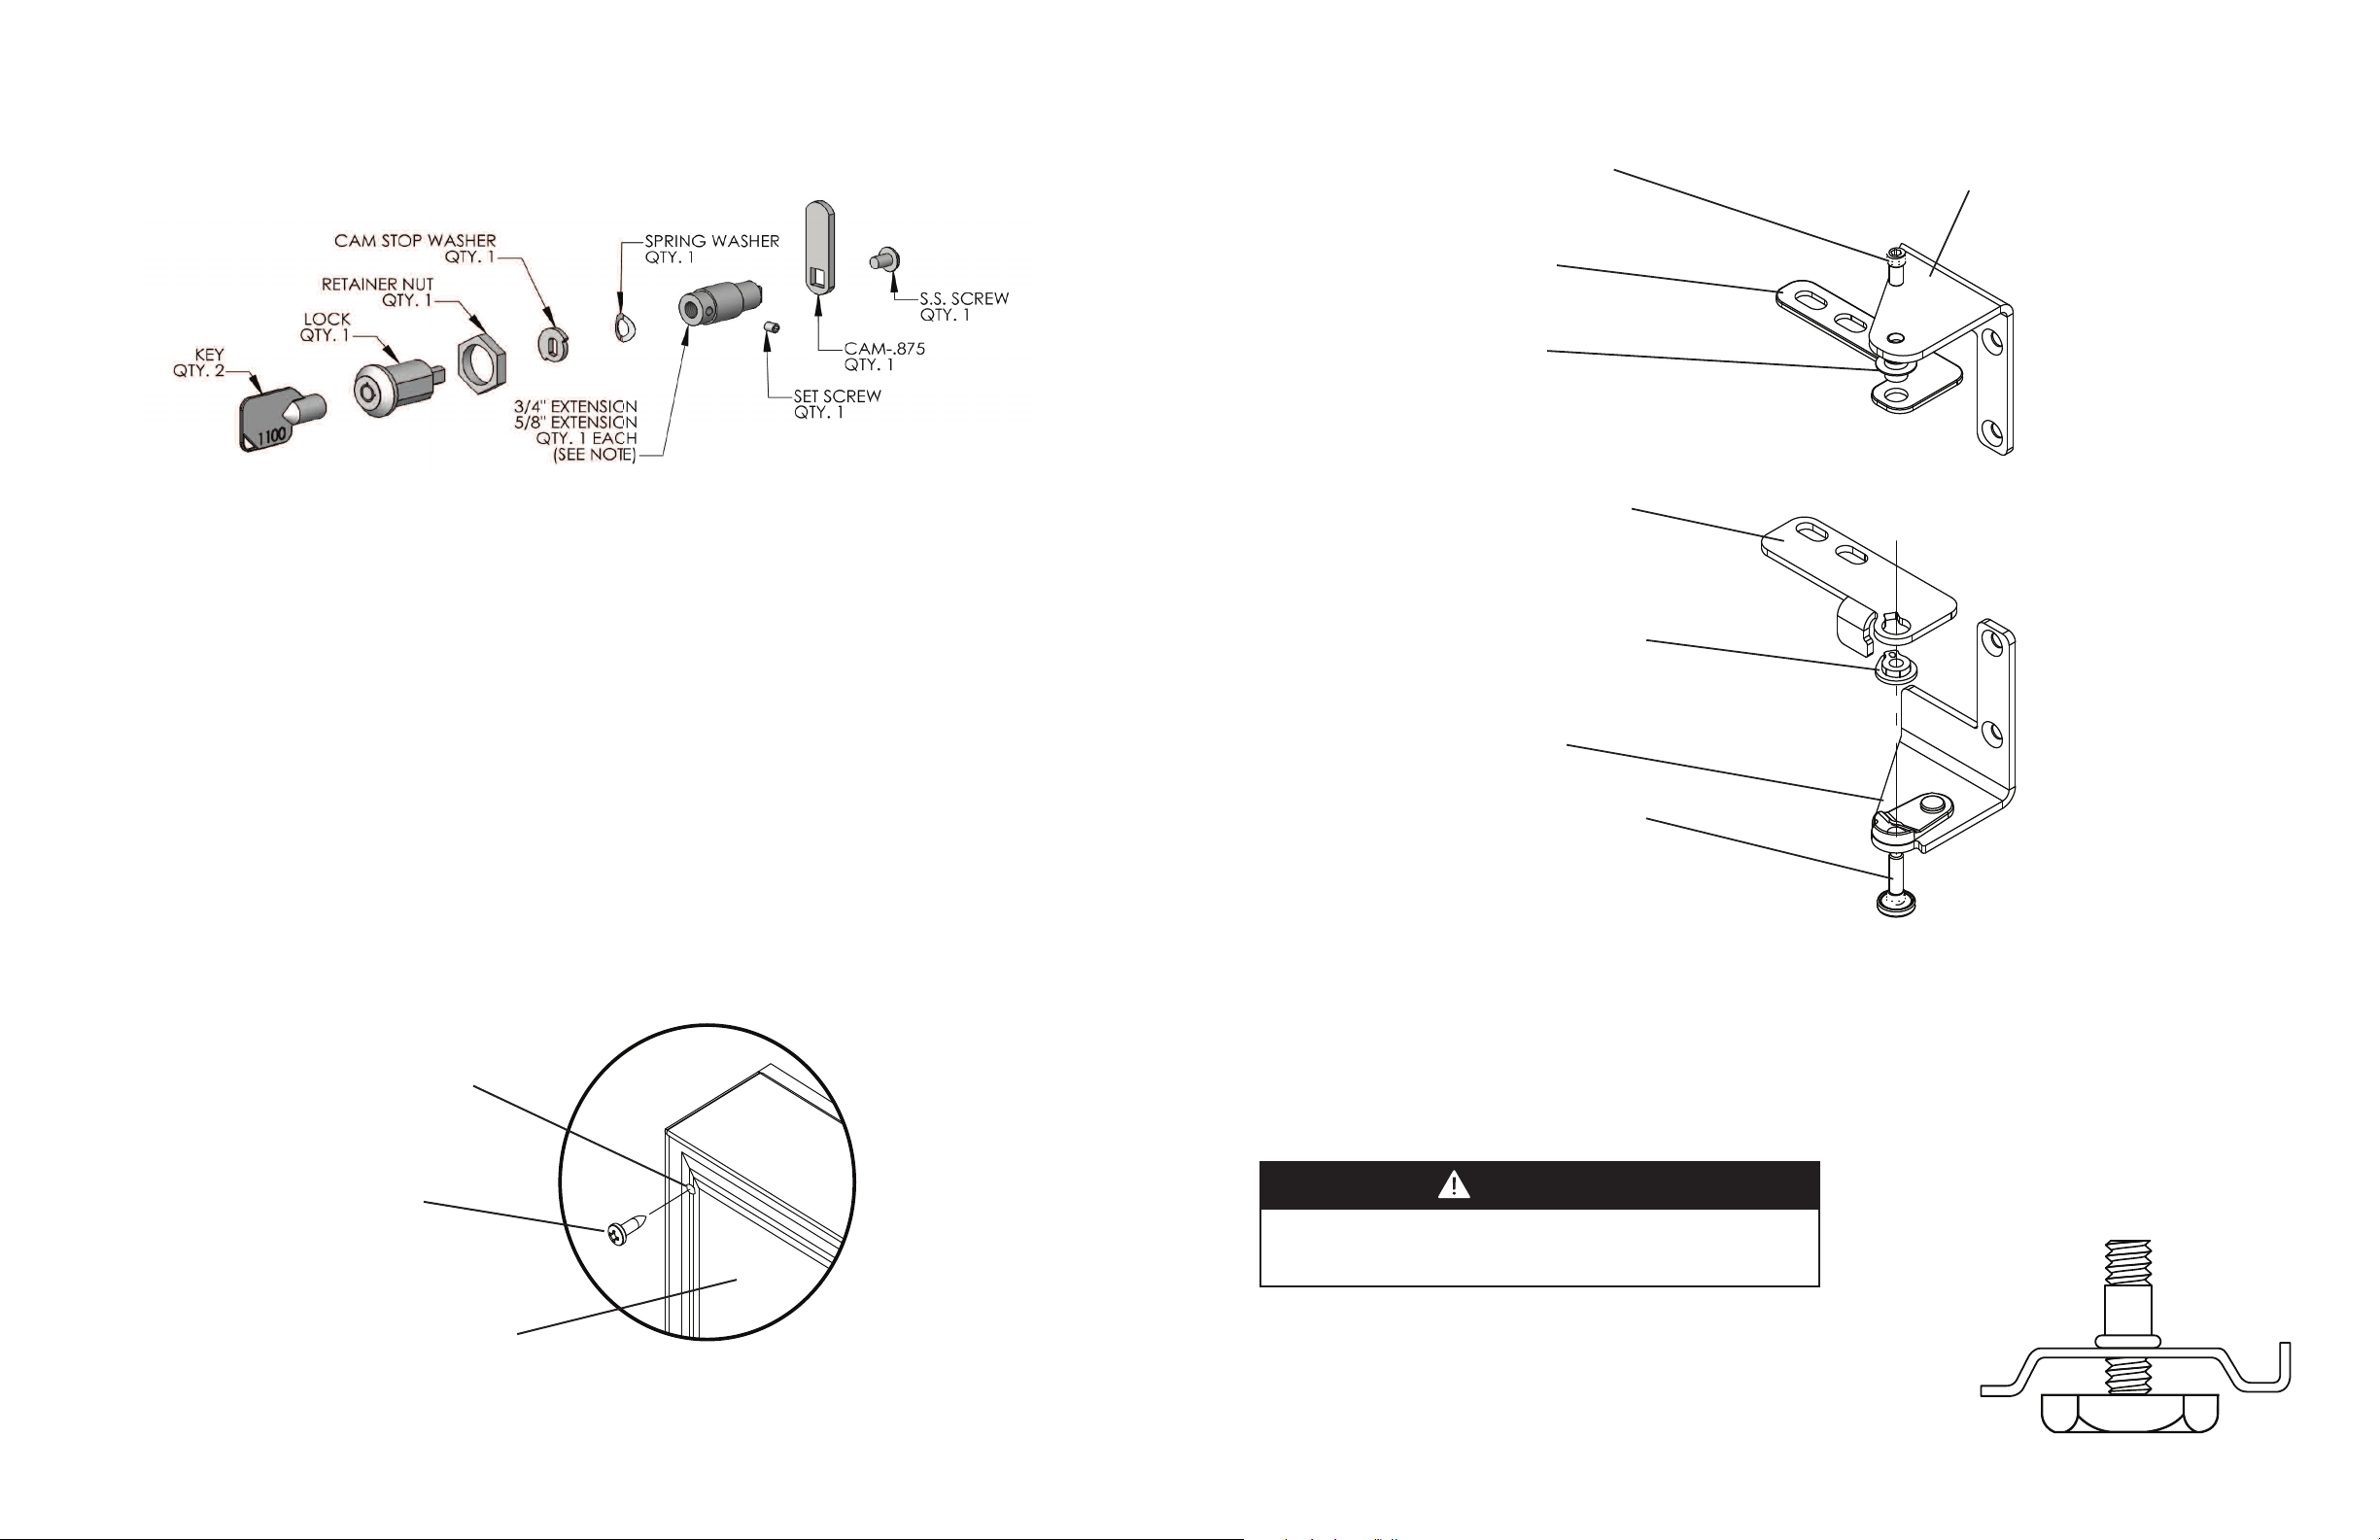
Top hinge pin
Top hinge
Figure 6
Right Hand
hinges shown
Top door hinge
adapter
Top hinge adapter
bushing
Bottom door
hinge adapter
Bottom hinge
adapter bushing
Bottom hinge
with cam
Bottom hinge pin
LEG LEVELER INSTALLATION
RReeaadd BBeeffoorree IInnssttaalllliinngg LLeegg LLeevveelleerrss
1. Four leveling legs are pre-installed in the base of the unit at the factory.
2. The unit should be leveled from front to back and side to side. If floor
conditions do not allow the unit to sit level, adjust the leg levelers by turning
the required leg leveler counter-clockwise to increase the height and clockwise
to reduce the height.
WARNING
Do not lay unit on top, side, back, or front. If unit is accidentally laid in
any position other than right side up, then the unit must remain in the
upright position for at least 24 hours before plugging the unit in.
CUSTOM WOOD FRAME INSTALLATION (DFUW Model) (cont.)
Clearance hole through
door gasket channel
#8 Wood Screw
Back of door
Figure 5
Step 9: Secure overlay panel to the door
With the #8 wood screws provided, fasten the overlay panel to the door. (See Figure 5).
Step 10: Install lock cam
Attach the lock cam to the back of the lock assembly with the Phillips head machine screw provided. Orient the lock
cam vertically when installing on the lock.
Step 11: Install door gasket
Press the door gasket into the door channel. Make certain the gasket corners are fully inserted. If applicable insert the
key into the lock and make certain the lock operates properly.
Step 12: Install the door
Install the top and bottom hinge adapter bushings back into the hinge adapters that were removed in Step 6. Install
the door by reversing the procedure from Step 2. Install the top hinge pin so the screw head is flush with the top
surface of the hinge. If applicable insert key into lock and verify the lock cam works properly with the catch bracket on
the front of the refrigerator cabinet.
Figure 4
Loading ...
Loading ...
Loading ...