This manual contains important information regarding your Adcraft unit. Please read this manual
thoroughly prior to equipment set-up, operation and maintenance. Failure to comply with regular
maintenance guidelines outlined in this manual may void the warranty.
INSTRUCTION MANUAL
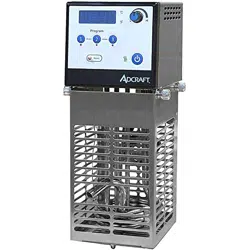
SV-1200W
SOUS VIDE IMMERSION CIRCULATOR
September 2016
WARNINGS
• Do not touch any hot surfaces
• Do not immerse unit, cord or plug in liquid at any time
• Unplug cord from outlet when not in use and before cleaning
• Plug only into a 3-hole grounded electrical outlet of appropriate voltage
• Do not operate unattended
• Do not use this unit for anything other than intended use
• Do not use outdoors
• Always use on a fi rm, dry and level surface at least 12” from walls or any other obstruction
• Do not use if unit has a damaged cord or plug, in the event the appliance malfunctions, or has been damaged in any
manner
• Keep children and animals away from unit
• Any incorrect installation, alterations, adjustments and/or improper maintenance can lead to property loss and injury.
All repairs should be done by authorized professionals only or warranty will be void.
• Ensure that the designated power supply is adequate for continual usage
TO INSTALL
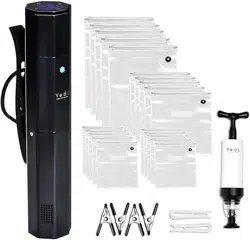
1. Remove all packing material and tape, as well as any protective plastic from the equipment.
2. Clean any glue residue left over from the plastic or tape.
3. Place the equipment on a fl at stable surface.
4. Plug the equipment into a properly grounded electrical supply matching the nameplate rating voltage.
Damage to the equipment can occur if incorrect power is supplied to equipment.
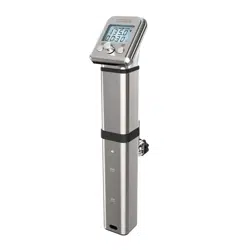
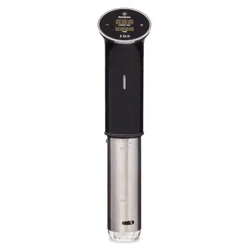
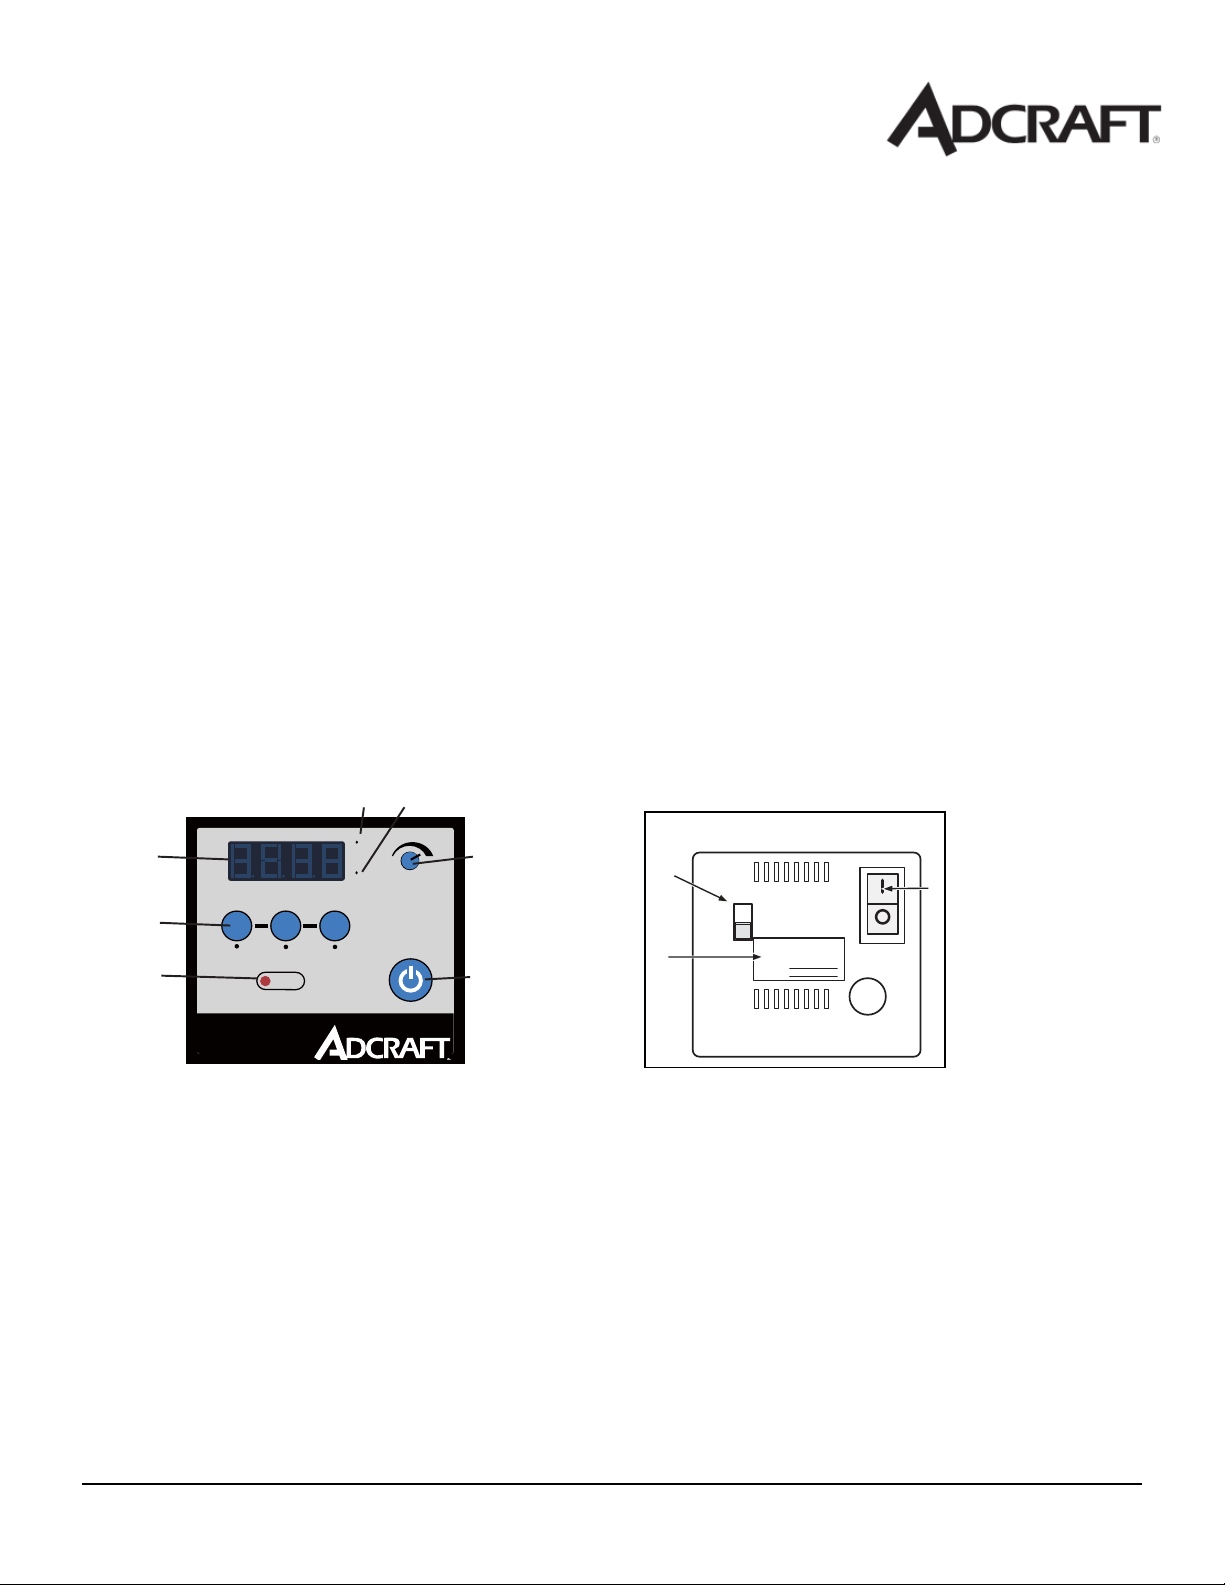
CONTROLS & OPERATIONS
Front Control Panel
1. PRESET TEMPERATURE - Sets the unit to preset temperatures when pressed
2. DISPLAY - Displays the temperature being set or in the well
3. C° TEMPERATURE LIGHT - When illuminated the display shows temperature in C°
4. F° TEMPERATURE LIGHT - When illuminated the display shows temperature in F°
5. SELECT/SET KNOB - Turn to adjust the temperature
6. CONTROLLER ON/OFF BUTTON - Switches the controller “ON” or “OFF” Front Control Panel
7. RESET BUTTON - Used to reset the unit if the water level drops below the element
Rear Control Panel
8. DATA TAG - Shows the unit information such as Model and Serial Number
9. POWER ON/OFF SWITCH - Switches the unit “ON” or “OFF”
10. PUMP SPEED SWITCH - Switches the pump speed between low and high
C
F
L
H
Reset
Program
Serial #
Model #
Front of Control Panel
Back of Control Panel
1
2
34
5
67
8
9
10
September 2016
TO USE
To Change the Display to °F:
1. Switch the power switch (9) to the “OFF” position.
2. Press and hold the “2” preset temperature (1) while switching the power switch (9) to the “ON” position.
To Change the Display to °C:
1. Switch the power switch (9) to the “OFF” position.
2. Press and hold the “3” preset temperature (1) while switching the power switch (9) to the “ON” position.
Setting the Set Point Temperature:
1. To set the temperature press and release the select/set knob (5). The decimal point in the display (2) will fl ash.
2. Rotate the select/set knob (5) to reach desired temperature is displayed. Rotating clockwise increases the setting,
rotating counterclockwise decreases the setting.
3. Once the desired setting is reached press the select/set knob (5) a second time.
Note: the unit will automatically accept the displayed set point approximately 10 seconds of inactivity, even if the
select/set knob was not pressed.
4. Allow the water to preheat completely before adding food product.
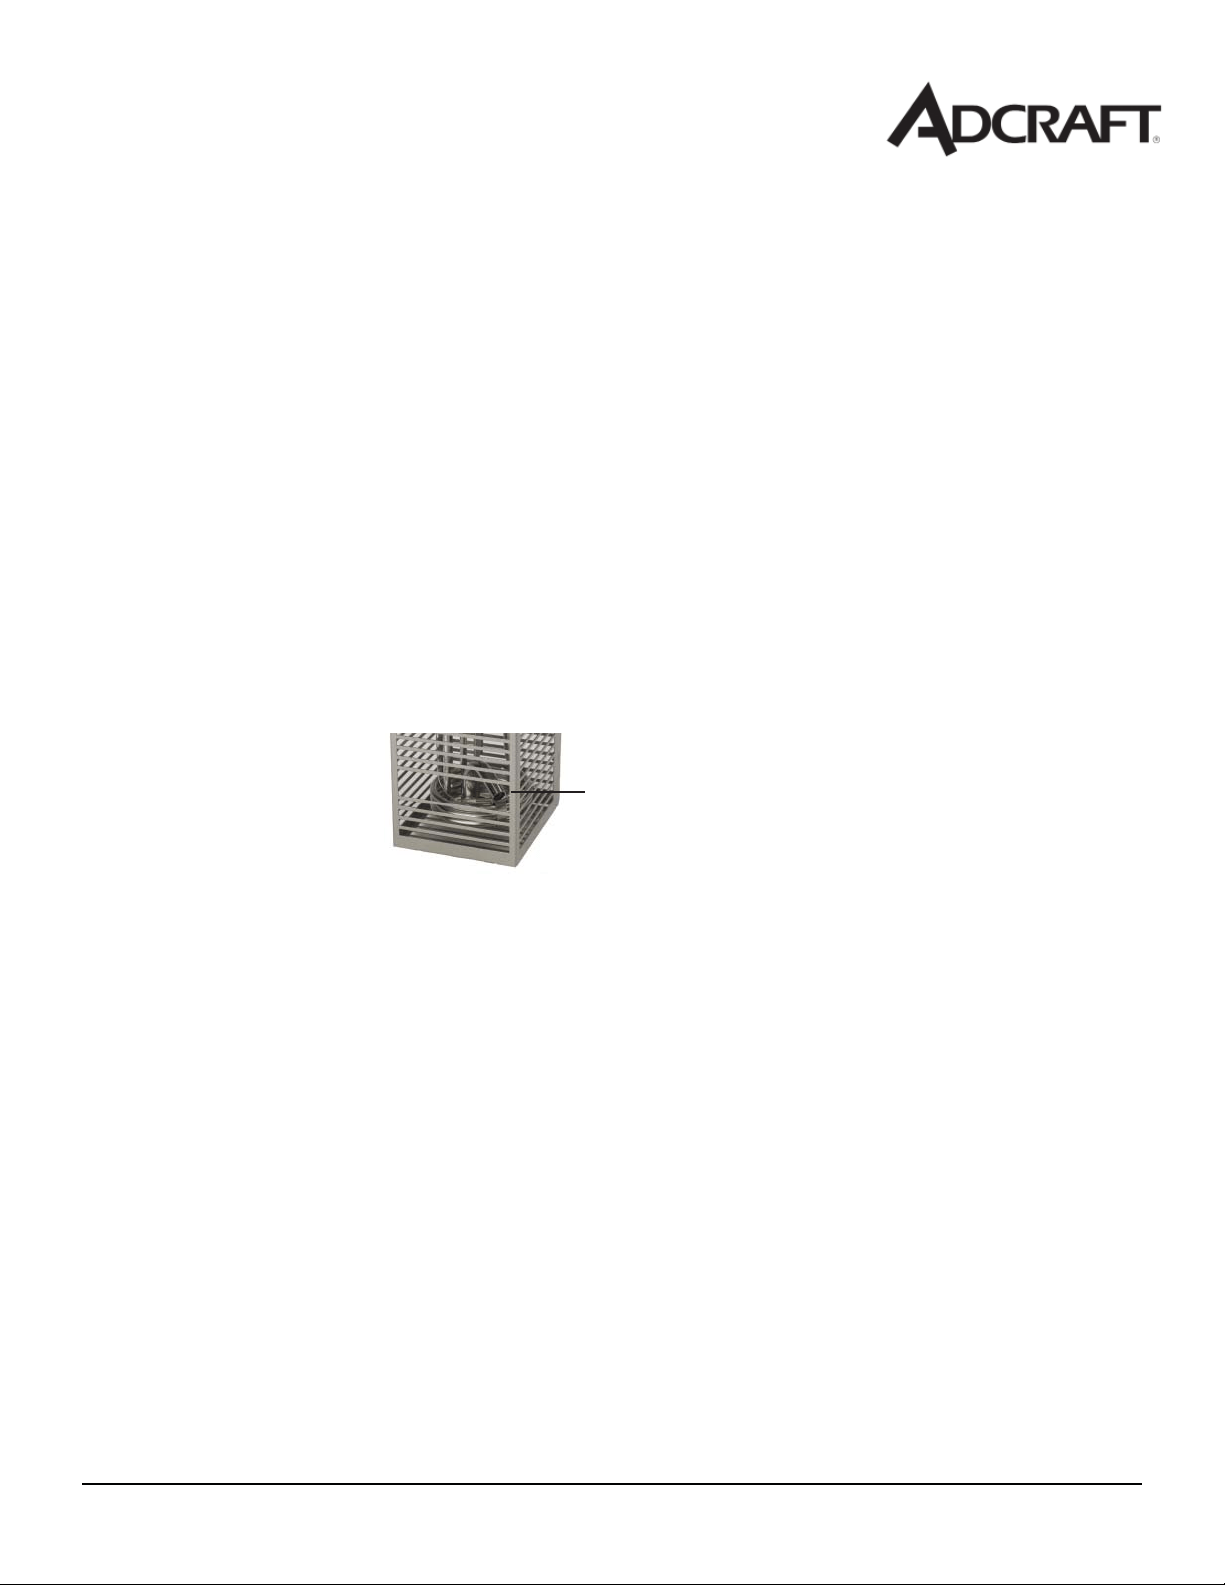
Monitor water level when adding, removing and heating food product. The water level should be between 1” and 2”
(25 mm - 50 mm) from the top of the bath or vessel. Never allow the water level to drop below the water pump outlet
during operation.
User-Defi ned Preset Temperature:
1. To set user defi ned preset temperatures: With the unit “ON” press the desired preset temperature button, 1, 2, or 3. A
decimal on the display (2) begins to blink and recalls the previous setting.
2. Rotate the select/set knob (5) until the desired temperature is displayed. Once the desired setting is reached press
the select/set knob (5) a second time. Press the desired preset temperature (1) button to save the temperature to that
button.
3. Allow the water to preheat before adding food product.
4. Monitor water level when adding, removing and heating food product. The water level should be between 1” and 2”
(25 mm - 50 mm) from the top of the bath or vessel.
Control Lockout Feature:
This feature enables the user to lock all controls on the controller. While the feature is activated, the unit will remain running
at the current settings.
1. Press and hold the select/set knob (5) until display (2) shows “LLo” (about 10 seconds) then let go. When locked, the
set point decimal point will not fl ash.
2. Press and hold the select/set knob (5) again, until the display (2) shows “LLo” (about 10 seconds) then let go to unlock
the controls. Once unlocked, the display (2) will show “CAN”.
Reset Button:
Should the water level drop below the heater the safety thermostat will activate and disconnect power from the heater and
pump. The display (2) will show “FLt 3”. Allow to cool and press the reset button (7).
Water Pump Outlet

September 2016
When Finished with Unit
Press the control on/off button (6) and switch the power switch (9) to the “OFF” position. Allow the unit and water to cool
completely.
NOTE:
Monitor food temperature closely for food safety. The United States Public Health Service recommends that hot food be heated
and held at a minimum of 140 ºF (60 ºC) to help prevent bacteria growth. Heat water only. Do not use this unit to heat oil,
grease or other liquid.
Other liquids may become unstable and become hazardous. Vacuum packed food creates a low oxygen environment. With
improper handling or preparation bacteria can grow. It is recommend that a HCAPP program be put in place. Check with the
U.S. Food and rug Administration for details.
CLEANING
To maintain the appearance and increase the service life, clean your equipment daily.
NOTE:
Do not immerse the cord, plug or equipment in water or any other liquid. Do not use a hose to clean this equipment.
1. Add a few capfuls of white vinegar to the bath or vessel and operate the unit for 20 minutes at 75°F (23°C). If a deeper cleaning is
needed.
2. Mix a solution that is 1/2 white vinegar and 1/2 water and fi ll and operate the unit for 20 minutes at 75°F (23°C).
3. Allow the equipment to cool completely before emptying the liquid.
4. Empty the liquid and rinse thoroughly.
5. Completely dry the equipment.
September 2016
TROUBLESHOOTING
Problem Causes Solution
No power to the unit. Unit not plugged on or switched on. Plug unit in and turn the power switch to the on
position.
Unable to set or change the
temperature and display
reads “LLo”.
Local lockout feature has been
activated.
See Operator’s Manual to deactivate the Control
Lockout Feature.
No longer heating and the
pump has stopped
circulating reads “FLt 3”.
Low water. Allow unit to cool and fi ll the bath or vessel with
clean freshwater so that it is about 2” (50 mm)
from the top.
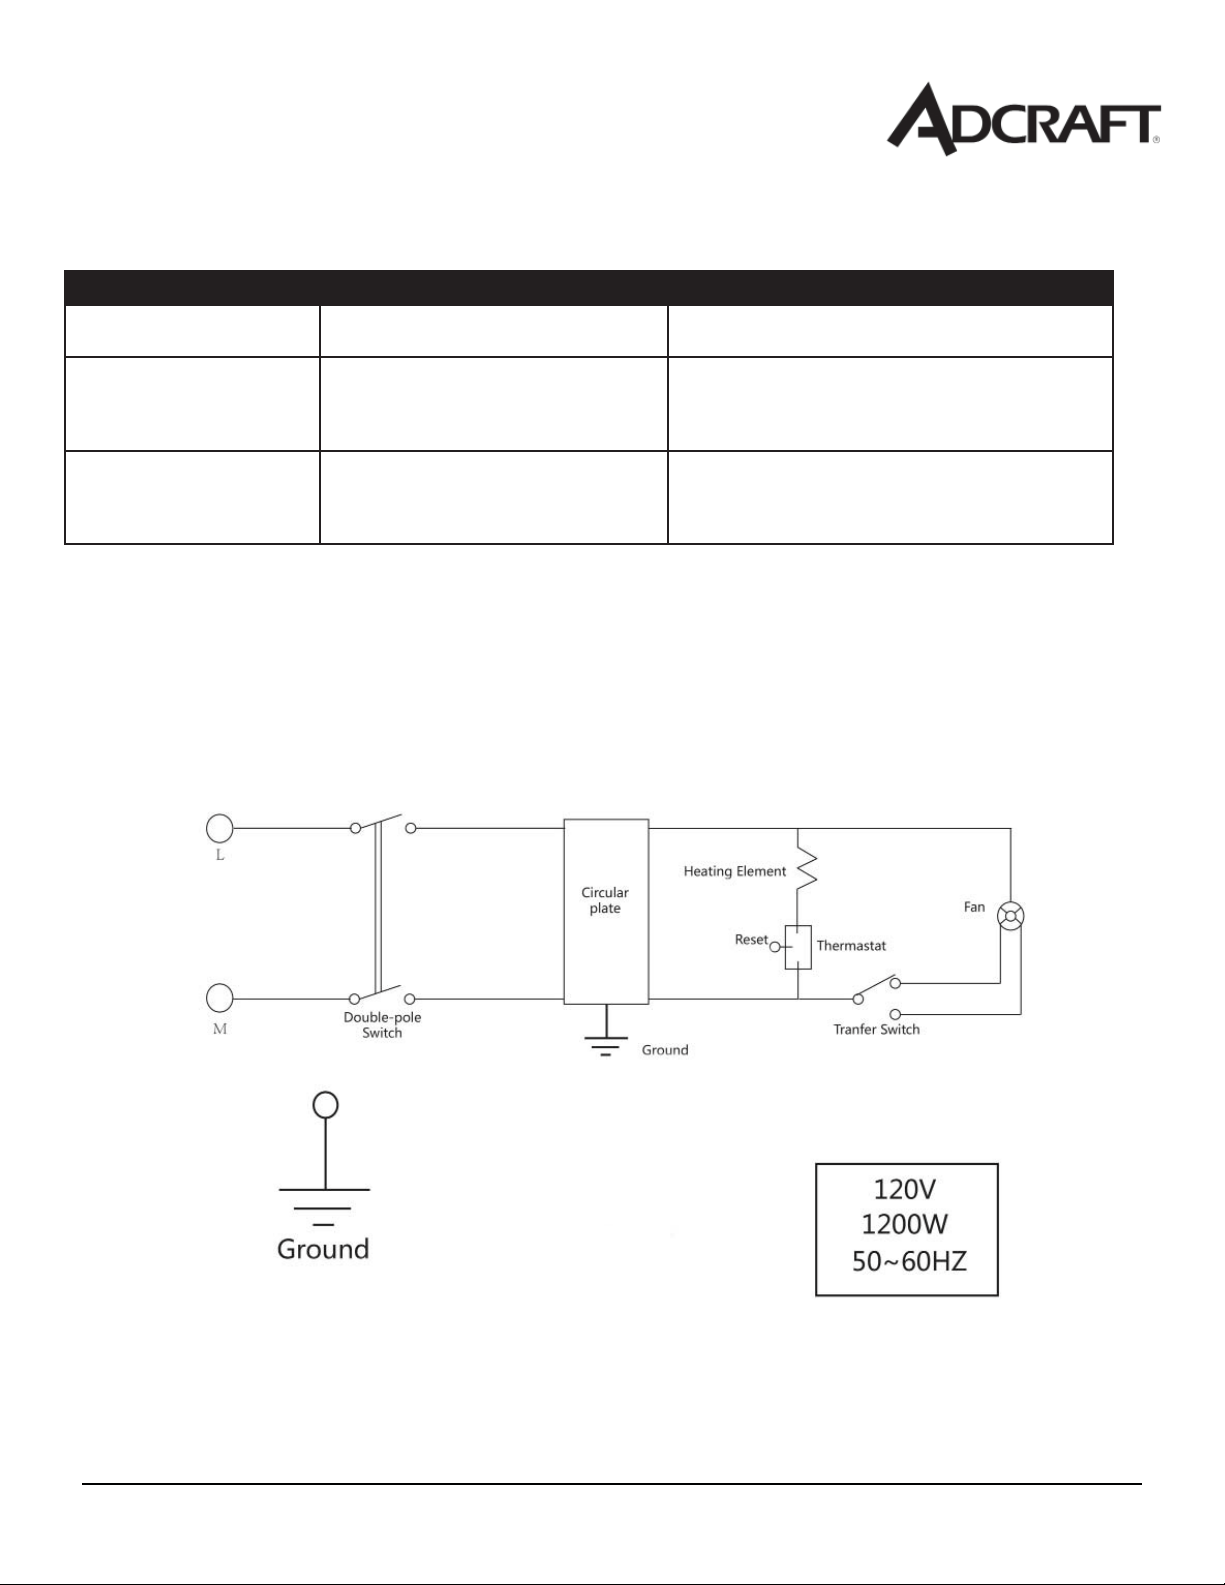
Wiring Diagram for the Sous Vide Circulator

September 2016
ACE
Equipment
One Year Limited
Warranty
ACE warrants its equipment against defects in materials and workmanship, subject to the following conditions:
ACE Equipment is warranted for one year, effective from the date of purchase by the original owner. A copy of the
original receipt or other proof of purchase is required to obtain warranty coverage. This warranty applies to the original
owner only, and is not assignable.
Should any product fail to function in its intended manner under normal use within the limits defined in this
warranty, at ACE’s discretion, such product will be repaired, replaced with a refurbished unit, or replaced with a new
unit by ACE, after defective unit has been inspected and defect has been confirmed. ACE does not assume any liability
for extended delays in replacing any item beyond its control. This warranty does not apply to rubber and non-metallic
synthetic parts that may need to be replaced due to normal usage, wear or lack of preventative maintenance.
This warranty covers products shipped into the 48 contiguous United States, Hawaii, and metropolitan areas of Alaska
and Canada. Warranty coverage on products used outside the 48 contiguous United States, Hawaii and metropolitan
areas of Alaska and Canada may vary. Contact ACE for details at 1-800-223-7750
The following conditions are not covered by warranty:
•
Equipment failure relating to improper installation, improper utility connection or supply and problems due to
improper ventilation.
•
Equipment that has not properly been maintained, damage from improper cleaning, and water damage
to controls.
•
Equipment that has not been used in an appropriate manner, or has been subject to misuse, neglect, abuse,
accident, alteration, negligence, damage during transit, delivery or installation, fire, flood, riot, or act of God.
•
Equipment that has the model number or serial number removed or altered.
•
Equipment on which the security seal has been broken.
If the equipment has been changed, altered, modified, or repaired without express written permission from ACE, then the
manufacturer shall not be liable for any damages to any person or to any property, which may result from the use of this
equipment thereafter.
This equipment is intended for commercial use only and this warranty is void if equipment is used in other than a
commercial application.
For warranty and non-warranty related issues, technical support, purchase replacement parts and warranty registration
visit www.admiralcraft.com
. Please have your model number, serial number and proof of purchase ready. It is not
necessary to contact the place where you originally purchased your product from.
“THE FOREGOING WARRANTY IS IN LIEU OF ANY AND ALL WARRANTIES EXPRESSED OR IMPLIED
INCLUDING ANY IMPLIED WARRANTY OF MERCHANTABILTY OR FITNESS FOR PARTICULAR
PURPOSES AND CONSTITUES THE ENTIRE LIABILITY OF ACE. IN NO EVENT DOES THE LIMITED
WARRANTY EXTEND BEYOND THE TERMS STATED HEREIN.”
VER0615