User
Yed
H O U S E W A R E
HAVE QUESTIONS?
Manual
WE'RE HERE FOR YOU!
y d
so
us
Vid
e
B
ag
s
Kit
Go to https://yedihousewareappliances.com
f
or more recipes.
F
ollow us on
I
nsta
g
ram:
@
yedihouseware
PLEASE READ ALL INSTRUCTIONS BEFORE USING
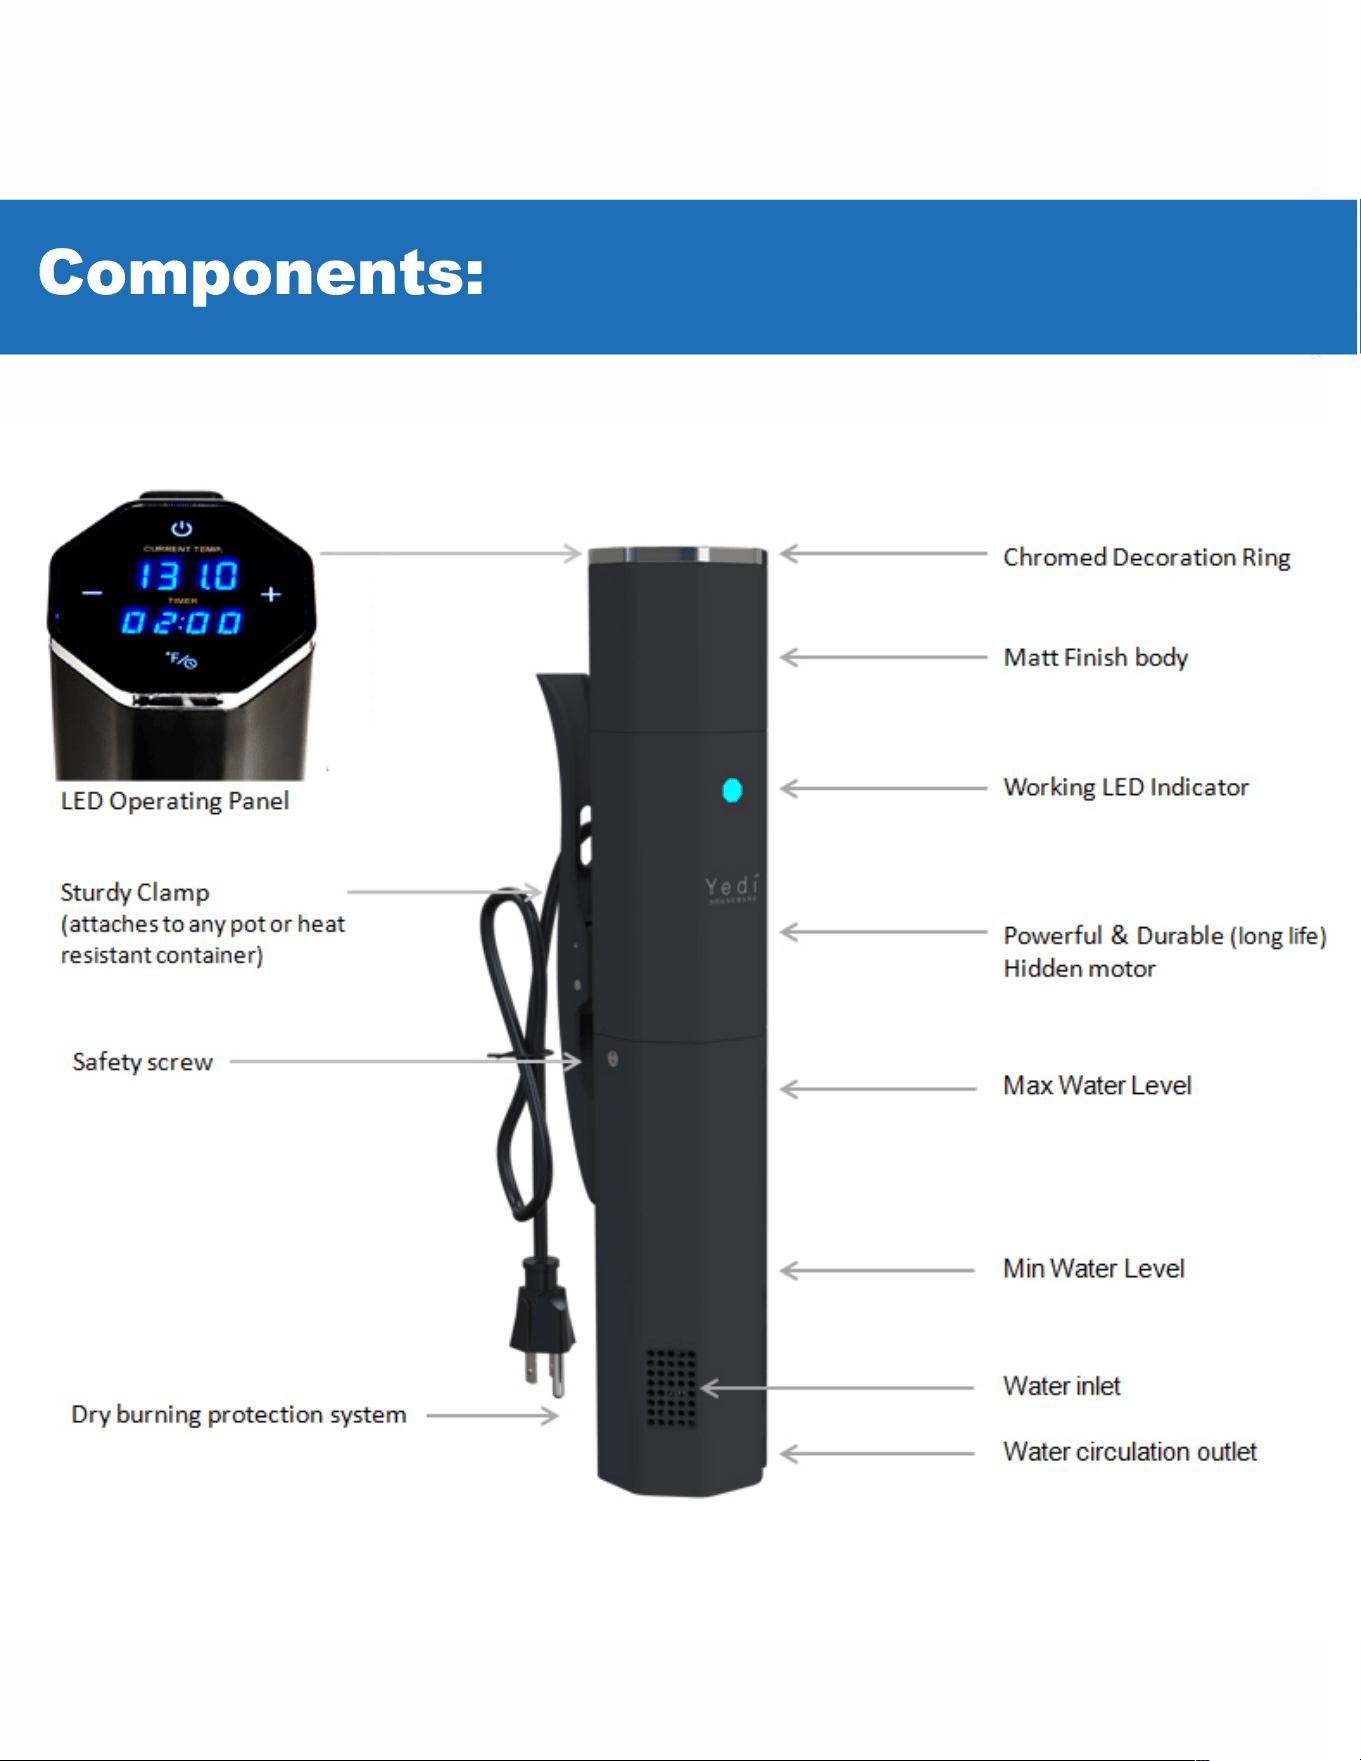
Safety:
• DO NOT fill water over the "M" etch mark.
• DO NOT set or use this device near flammable materials.
• DO NOT use extension power cords
• DO NOT use this device for anything other than its intended use.
• DO NOT put device in the dishwasher
• CAUTION, this device, your cooking bowl/container and plastic bags all get hot when device is in use.
Let device cool down before emptying water aer use.
• ON Intended for indoor domestic uses for sous vide cooking.
• LIQUID foods like juice, soup, or milk still need to be bagged or sealed in zip bags for cooking.
• ALW remove the plug from the power socket when the device is not in use.
2
-
D
Step 1:
Notes
Step 2:
Notes
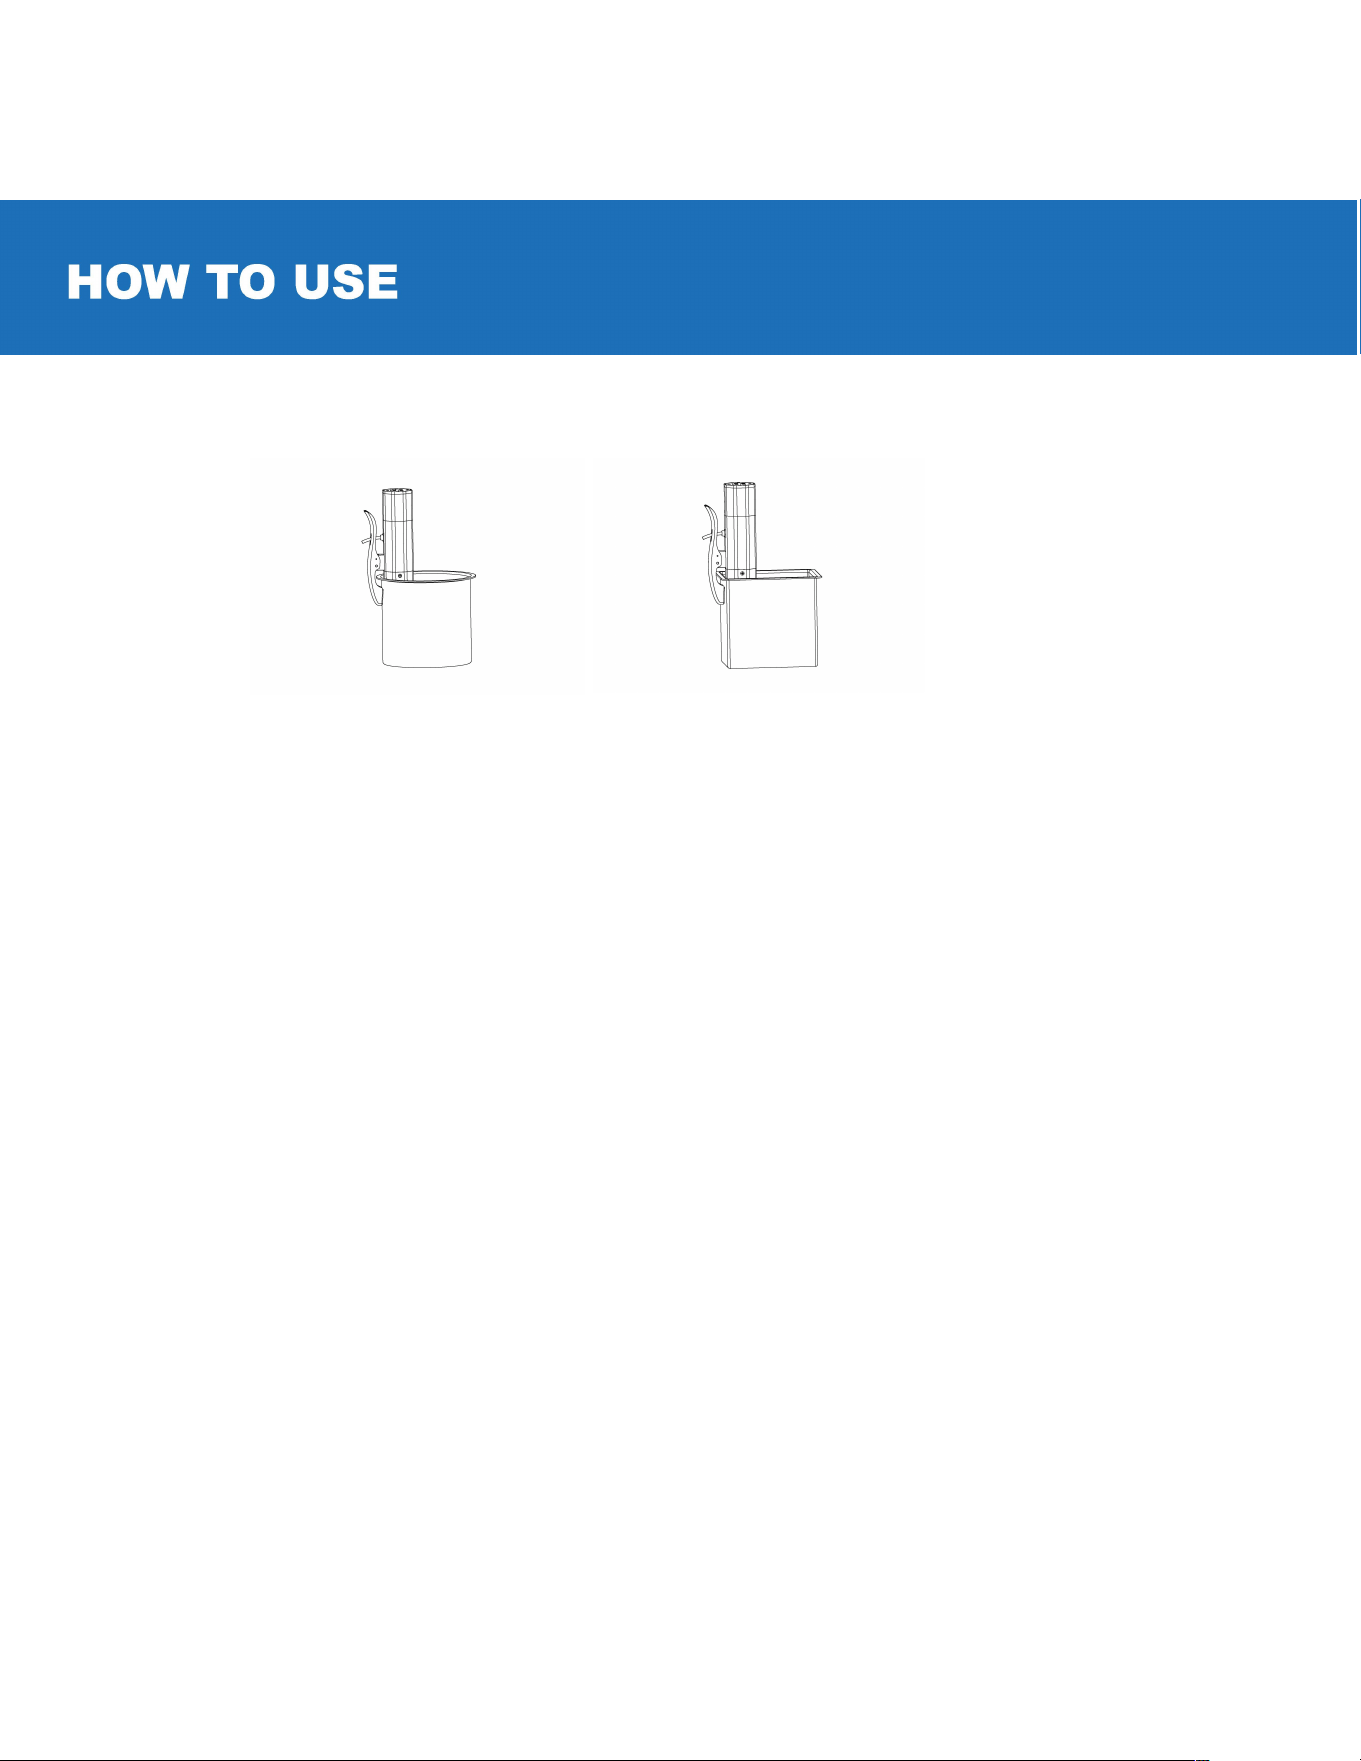
Place the clamp on the side of your pot/container
• PoVcontainer must be a minimum of 5.5 inches deep.
• PoVcontainer must be 6-15L.
• We recommend to use pots/containers made of Stainless Steel, Polycarbonate or Cast Iron.
• It is safe and normal r your sous vide to be touching the bottom or side of your poVcontainer during
cooking.
Fill pot/container with water.
• Make sure the water lever in your poVcontainer is not below the min mark or above the max mark on the Sous
Vide when cooking.
• Do not get the power cord wet.
• You can put your sealed bag with food in the poVcontainer before setting your desired Temperature and cooking
time. Or you can place your sealed bag with food in the poVcontainer aer your desired Temperature is reached-
note that the water will cool down slightly because of the temperature of the od and then heat back up to your
set temperature.
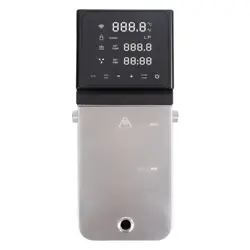
Step 3: Set the Cooking Temperature and Cooking Time
1. Plug unit into the outlet. The power icon � will light up and be in the standby mode. Press the power icon � to enter
the temperature and timer setting mode: You will hear the sound of a beep and the temperature digital LED and the
timer digital LED will be flashing together.
2.
Press
0
v
and just the temperature digital LED will be flashing. Then press
+
or - , to increase/decrease 0.5
°
F at a time;
(You can hold down
+
or • to set the temperature faster).
3.
Press the
0
v
once again, and just the timer/minute digital LED will be flashing. Then press the + or - button, to
increase/decrease by 1 minute at a time. (You can hold down + or • to set the time faster)

4.
Press the ·�e again, and just the timer/hour digital LED will be flashing. Press the + or - button, to increase/ decrease
by 1 hour.
Notes
Step 4:
1.
2.
3.
4.
Notes
Step 5:
Your Sous Vide device is calibrated to a high premier standard which is extremely more accurate than normal
temperature gauges. Therefore, do not expect the temperature reading on your Sous Vide device to match personal
temperature gauges.
Begin Cooking
Once you have set your desired cooking time and temperature press the power icon 6 and the unit will start.
When the set temperature is reached, the unit will alert you by beeping 3 times and enter the state of keeping
a stable temperature. Cooking time will be counted down by minutes.
During cooking If you want to change the time or temperature settings, Press the power icon 6 button and hold it
for 3 seconds, and then repeat the setting actions in "Step 3" as above.
The unit will stop automatically when it runs out of the set time and enter the standby mode. It will not continue to
cook the food/heat the water.
If the unit is under standby mode, Press
6
button for 3 seconds and the unit will shut off. Or just unplug it.
As a safety feature we recommend you always unplug your sous vide when done cooking.
When cooking delicate foods such as fish fillets or eggs: Place the food away from the water outlet so it is not being
directly hit by the water flow. It is also good practice to bag eggs to prevent them from being "blown" around in
certain containers.
Please note you will always receive the
f
message on the display unless the sous vide is submerged in water. In addition,
the water needs to be above the "min" and below the "max" mark or you will also receive the
f
, message on the display.
When done cooking unplug your Sous Vide device. Be careful removing bags. Let the water,
pot/container and Sous Vide cool down bere clean up and storage.

Device Specifications
• Power Rate: 120V/60Hz, 1000W
•
T
e
m
p
e
r
a
t
u
r
e
:
7
7
°
F
-
2
0
3
°
F
• Temperature accurate: ±0.5
°
F
• Timer: Max. 99Hours 59 Minutes.
Cleaning:
For cleaning use dish soap, so booth brush and wipe with wet towel. Do not rinse or wipe the top part of the circulator
including the main body in water.
Q & Trouble Shooting
Noise: Under normal operation the system will hum due to the motor, impeller and cooling fan in operation.
• Slurping noise: Your pump h
as rmed a water vortex like when you are emptying out a bathroom sink or tub. Add more water
or gently disturb with a spoon. There is no sure way to eliminate a vortex rming due to the pump rotation but usually will
go away on its own.
• Gurgling +Whoosh noise: The pump is sucking air - add more water. You should also see small bubbles in your tank.
• Food damage: The pump's water jet is cracking eggs or damaging fish fillets: Place the food away from the water outlet so it is
not being directly hit by the water flow. It is also good practice to bag eggs to prevent them from being "blown" around in certain
containers.
• Low water level alarm: Add more water - the water level can be reduced during operation by pump due to water turbulence.
And the pump generates "Waves" -sometimes these waves will cause the water level at the sensors to fluctuate up and down.
The waves sometimes drop the water level right under the sensor and will cause a low water alarm. This is normal and you just
need to add more water. The screen will display "Err'' with Bi-Bi of alarm for 2 minutes to return to the original state or until you
add more water and restart the unit.
Temperature read does not match thermometer: Sous Vide circulators are calibrated to a scientific platinum primary standard
which is far more accurate than store thermometers.
• When the machine is out of work, please check power plug and breakers.
• Lights are slightly flickering when system is on, this is a normal phenomenon.
Display touchscreen doesn't respond, please contact info
@
yedihouseware.com
Questions: contact us at https://yedihousewareappliances.com