Loading ...
Loading ...
Loading ...
9
Probe Hole/Access Port (PRO Series)
PRO series refrigerators and freezers include a 3/8” probe hole to allow users to install their own
monitoring equipment. The probe hole is usually located in the upper part of the rear cabinet. If you
are having difficulty locating the hole, refer to the product’s brochure on our website. If installing your
own thermometer, alarm, or data logger, we recommend using a device with a buffered temperature
probe and placing the probe towards the center of the unit. This will help provide a temperature
reading closest to the contents being stored inside your refrigerator or freezer. If your unit includes a
fixed shelf with a probe holder (see details on page 12), we recommend placing the probe inside the
extra slot in this shelf.
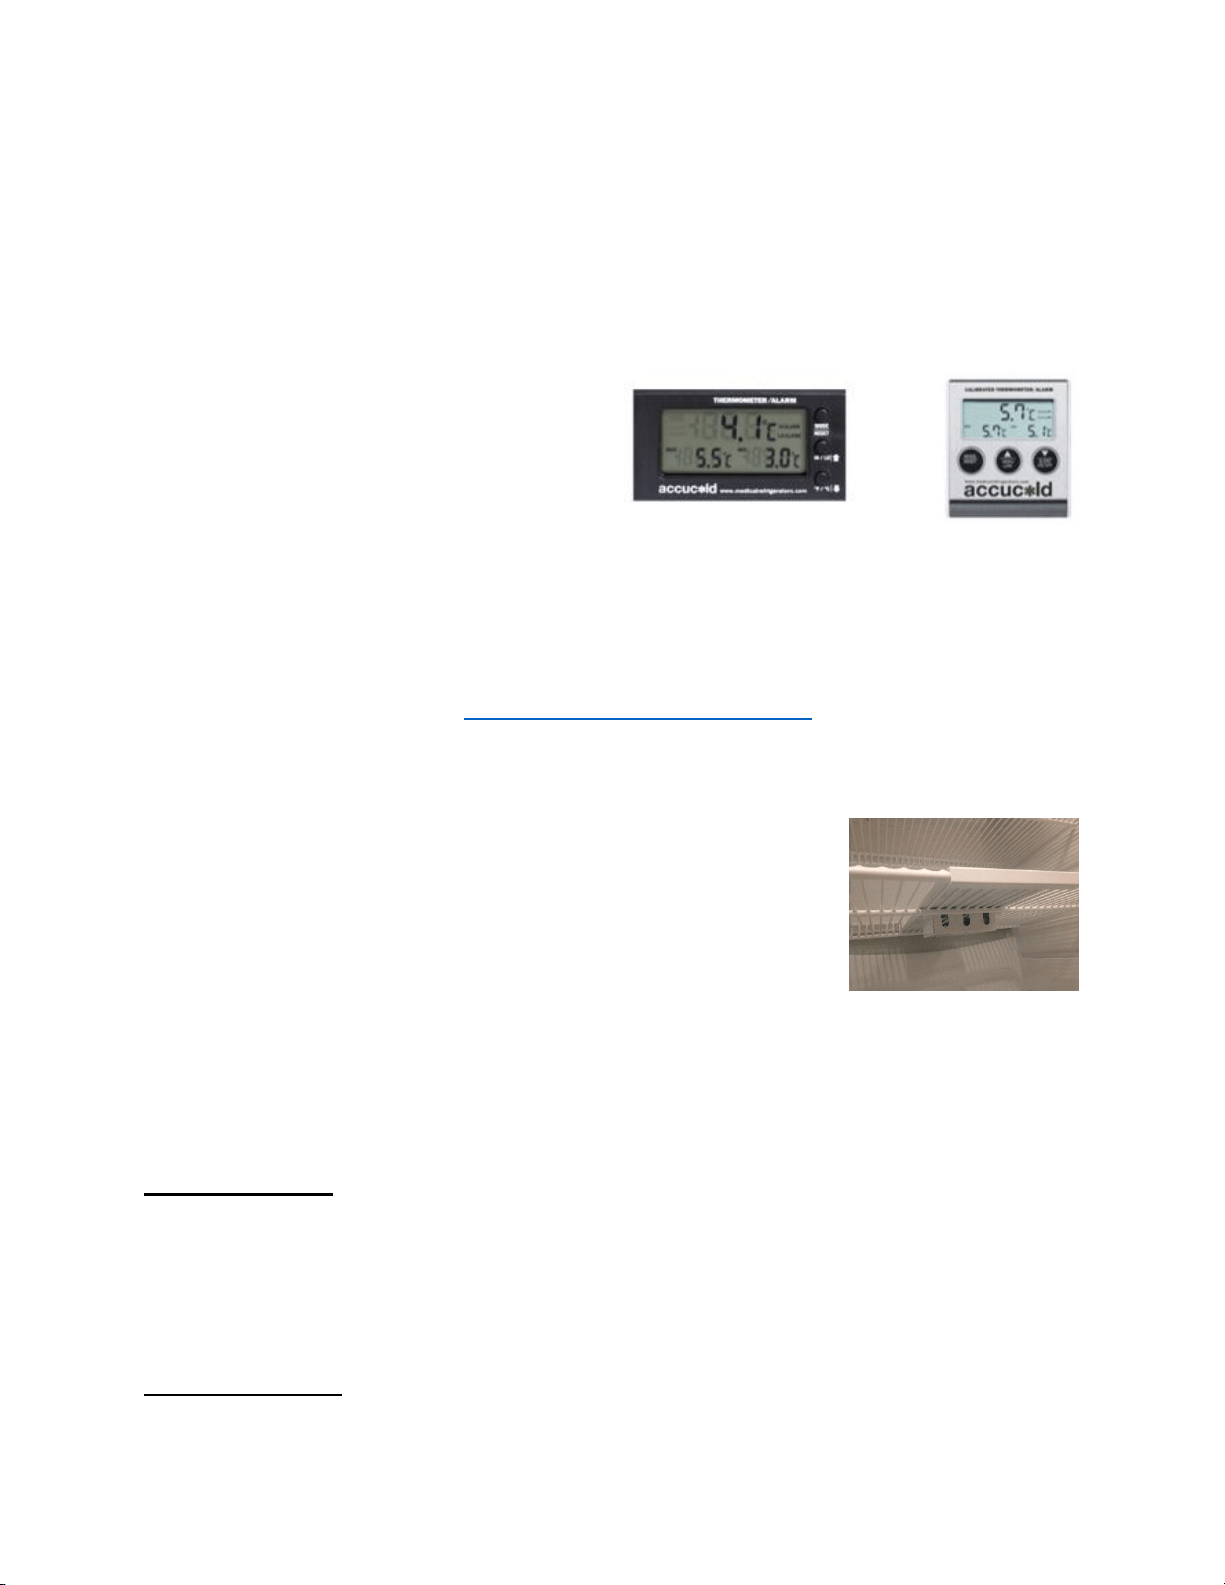
Thermometer/Alarm (MED Models)
Every MED unit is equipped with a NIST-
calibrated Thermometer/Alarm that
simultaneously displays minimum, maximum, and
current interior temperatures and provides a
visual and audible signal when the temperature
inside the unit falls outside the set temperature range.
NOTE ABOUT CALIBRATION: All MED units ship with a two-year certificate of calibration in the
alarm/thermometer box that comes inside your unit. Keep this certificate stored safely for your
records. Accucold offers re-calibration services through their ISO 17025:2017 certified calibration
laboratory. It is recommended to have your probe re-calibrated every two years (or one year,
depending on your state’s health department guidelines). For more information on how to have your
device re-calibrated, contact us at calibration@summitappliance.com.
The temperature sensor, or probe, is enclosed in a glycol-filled bottle that is stored inside your unit in
a special shelving compartment.
In some units, the center shelf is fixed in place and cannot be removed
(see image). This is because the glycol-filled bottle that contains the
temperature sensors for your alarm and thermometer is best stored in this
location. The center of your refrigerator or freezer will provide the most
accurate temperature readings. For proper temperature monitoring, keep
the bottle in place and do not remove this shelf.
NOTE: A slight variation in temperature is often seen from one
thermometer reading to another, even when the vaccine storage unit thermostat is set at a
particular temperature. This is normal. If the thermometer reading does not fluctuate at all
over several readings, temporarily remove the thermometer from the storage unit and place it
outside the unit at room temperature. Check whether the temperature reading rises. If no
change in the temperature reading occurs, the thermometer is faulty and needs to be
replaced.
Function Controls
• MODE/RESET Key: Press ONCE to reset Max/Min temperature record. When the unit is
sounding an alarm, press ONCE to turn off the beeping sound.
• HIGH/LOW Key: Press ONCE to display high alarm setting. Press TWICE to display low alarm
setting. Press THREE TIMES to display current temperature reading.
• ºF/ºC Key: Press this button to alternate the temperature display scale between Fahrenheit (ºF)
and Celsius (ºC).
Battery Installation
Remove battery compartment cover located on the rear of the unit and remove insulation strip from
battery compartment. Following the polarity (+/-) diagram in the battery compartment, install the
battery. Replace the battery cover. The unit will beep and all segments of the LCD will be activated.
Loading ...
Loading ...
Loading ...