Loading ...
Loading ...
Loading ...
77
Front Panel≫ Rear Panel≫ Remote≫
Contents
≫
Connections
≫
Playback
≫
Setup
≫
5. Dolby Enabled Speaker
Change the settings of Dolby Enabled Speakers.
Setting Item Default Value Setting Details
Dolby Enabled
Speaker to Ceiling
6.0 ft/1.80 m Set the distance between the Dolby Enabled
Speaker and the ceiling. Select between
"0.1 ft/0.03 m" and "15.0 ft/4.50 m" (0.1 ft/0.03 m
units).
• The unit of distance (ft/m) is displayed using the
unit selected for the "Distance" setting.
Reex Optimizer O You can enhance the reection eect of Dolby
Enabled Speakers from the ceiling.
"O": When this function is not used
"On": When this function is used
• The function is not eective if the listening mode
is Pure Direct.
• This setting can be selected when "Conguration" - "Height Speaker" is set to "Dolby
Speaker".
6. Speaker Virtualizer
The Speaker Virtualizer function can be switched between On and O.
Setting Item Default Value Setting Details
Speaker
Virtualizer
On
When this is set to "On", a virtual speaker can be
set.
"On": When this function is used
"O": When this function is not used
• When this is set to "O", some of the listening
modes cannot be selected. ( p58)
3. MCACC
1. Full Auto MCACC
Place the supplied speaker setup microphone in the listening position, measure
the test tones emitted by the speakers, then the unit automatically sets the
optimum volume level for each speaker, the crossover frequencies, and the
distance from the listening position. This also automatically adjusts the equalizers
for the speakers and enables correction of distortion caused by the acoustic
environment of the room.
• Calibration takes between 3 and 12 minutes to be completed. The speakers
emit the test tone at high volume during measurement, so be careful of your
surroundings. Keep the room as quiet as possible during measurement.
• If you have connected a subwoofer, check the power and volume of the
subwoofer. Set the subwoofer volume to more than halfway.
• If the power of this unit suddenly turns o, the wires in the speaker cables
may have touch the rear panel or other wires and tripped the protection circuit.
Twist the wires again properly and make sure they do not stick out of the
speaker terminals when connecting.
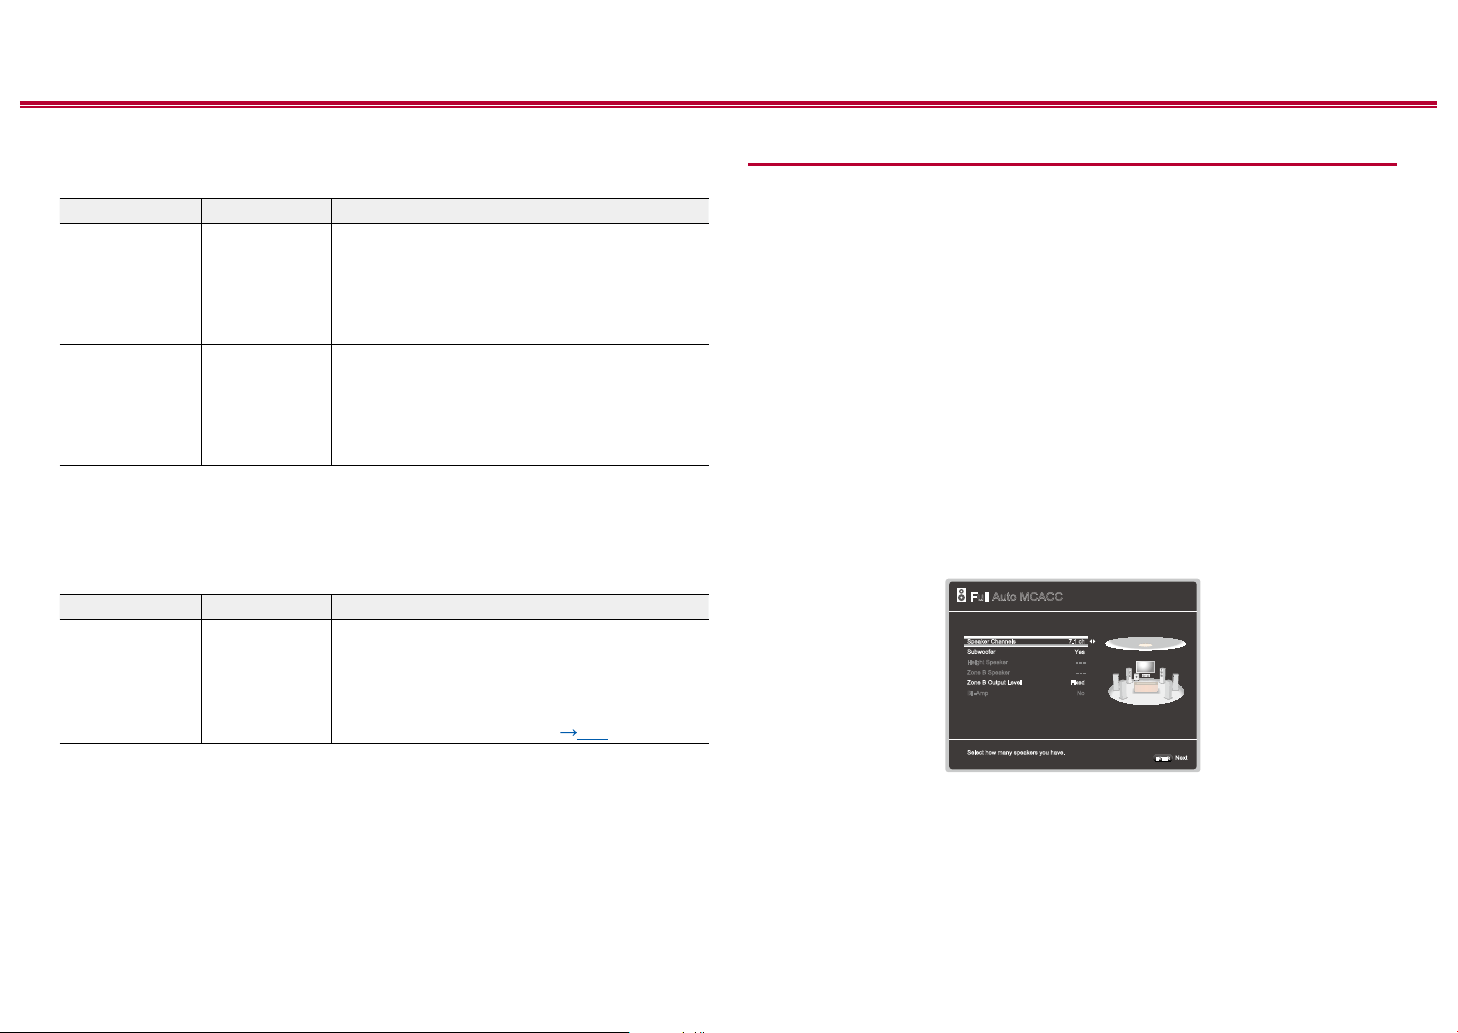
1. Select the connected speaker conguration.
Full Auto MCACC
Select how many speakers you have.
Next
ENTER
Speaker Channels
Zone B Speaker
Bi -Amp
7.1 ch
Yes
- - -
Fixed
No
Zone B Output Level
Subwoofer
- - -Height Speaker
The image on the screen changes as you choose the number of channels in
"Speaker Channels", so refer to it when performing the settings.
Loading ...
Loading ...
Loading ...