Loading ...
Loading ...
Loading ...
MAINTENANCE
Adjusting the Oven Thermostat
After using yOnr oven tile first f_w times, it may seem
hotter or cooler than your previous oven. Oven
thermostats, over a period of"years, may drift from tile
t_mto_ setting and timing diff_'rences of 5 to 10 minutes
are not tmusnal be_veen an old and a new oven,
lfvou think the oven should be hotter or cooler, you can
adjust it. To decide how much to change the thermostat,
set the oven temperature 25°F higher or lower than the
temperature in your recipe, then bake. The results of
the "test" should indicate how much the thermostat
should be adjusted.
To adjust the thermostat:
1. Press the OVEN TEMP pad.
2, Press the • pad and select an oven temperature
between 5(X)°F and 550°E
3. Press and hold tile OVEN TEMP pad {br about four
seconds. The display will change to the oven
adjustment display which reads O0°.
4. The oven thermostat can be adjusted up to +35°F
hotter or -35°F cooler. Use the • or _' pad to select
the desired change in the display.
5, When you have made tile adjustment, press the
CANCEI, pad to retm'n to the time of day display.
Use your oven as you would normally:
NOTE: This adjustment will not affect Broil or
Self-Clean (select models) temperatures. The new
temperature will be remembered if the power is
interrupted.
Storage Drawer (select models)
The storage drawer in the range is a sa_e and convenient
place for storing eookware. Do not store plastic,
paperware, food or flanm-lable material in this drawer.
Remove the drawer to clean under the range.
To remnve: Empty the drawer theT: pull it out to the
first stop position. IAft up the front of the drawer and
pull it to the second stop position, Grasp the sides and
lift up and out to remove the drawer,
To replace: Fit the ends of the drawer glides onto the
rails. Lif} up the drawer front and gently push in to the
first stop position. Lift up the drawer again and
continue to slide the drawer to the closed position.
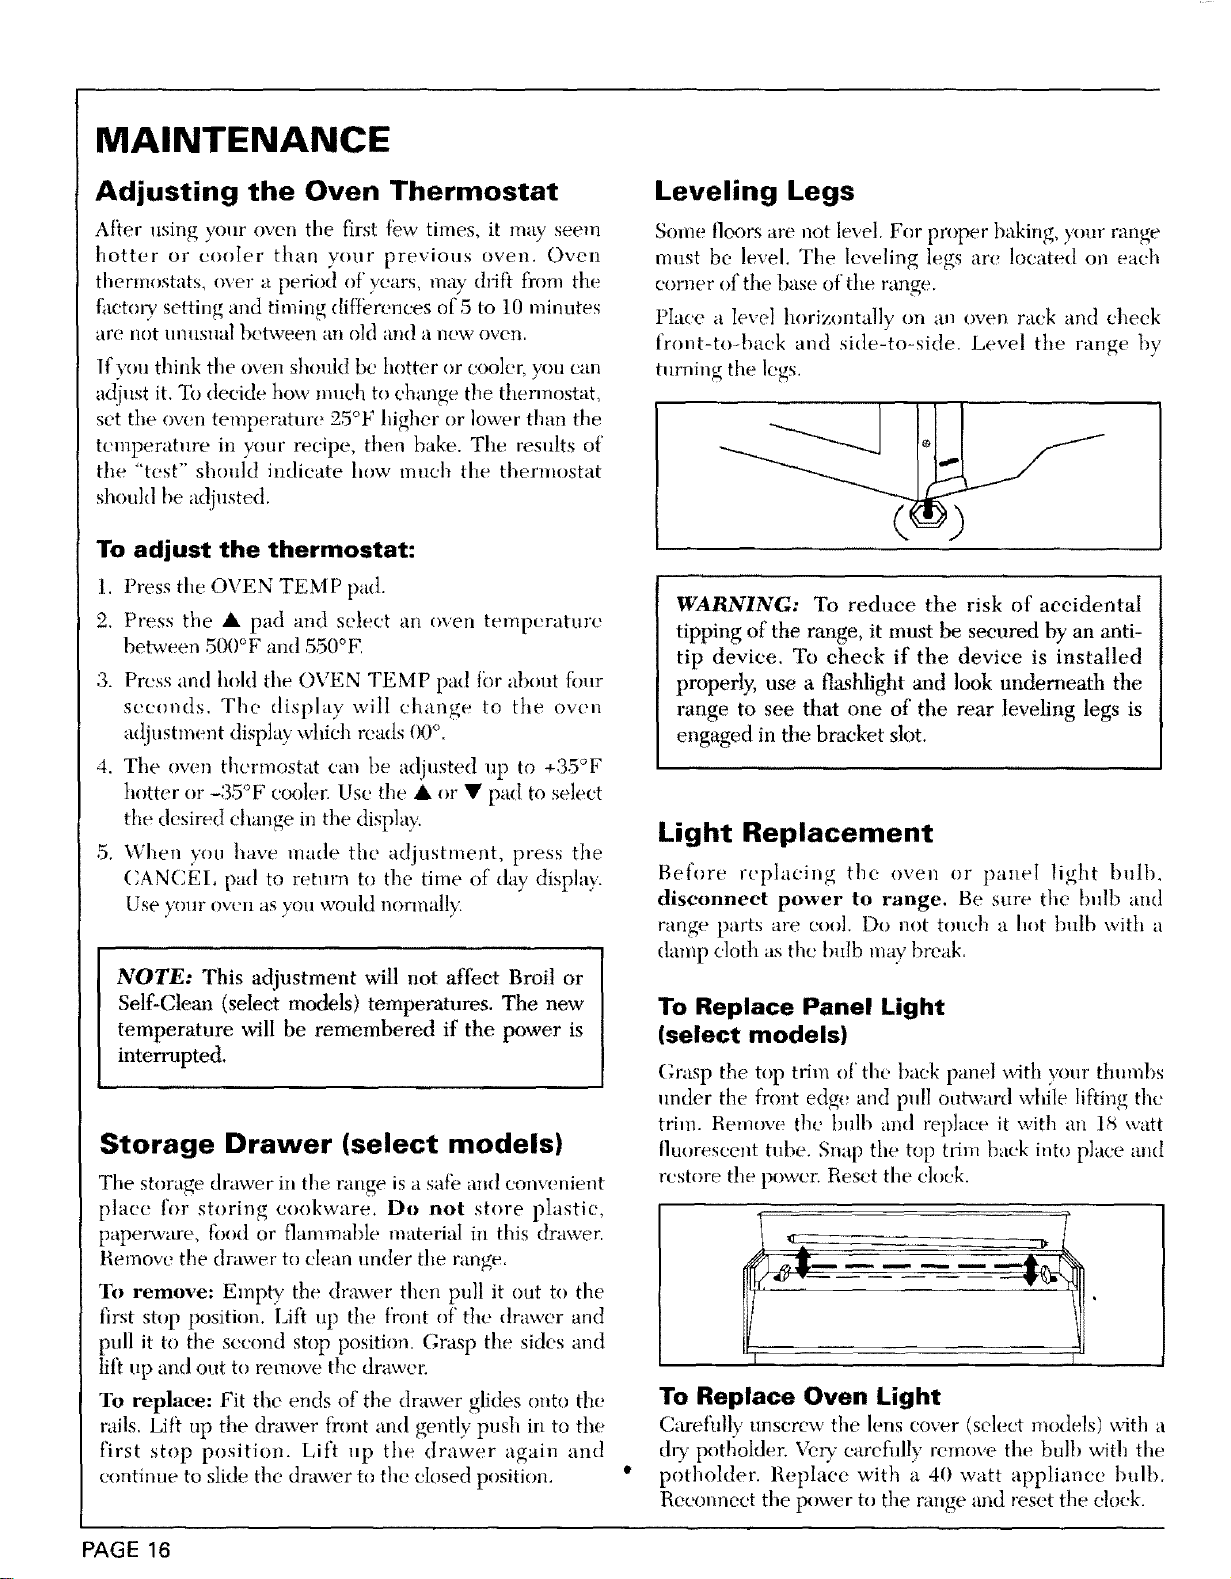
Leveling Legs
Some floors are not level, For proper baking, your range
must be level. The leveling legs are !ocated on each
corner of the base of the range.
Place a level horizontally on an oven rack and check
front-toJmek and side-to-side. Level the range by
turning the legs.
WARNING: To reduce the risk of accidental
tipping of the range, it must be secured by an anti-
tip device. To check if the device is installed
properly, use a flashlight and look underneath the
range to see that one of the rear leveling legs is
engaged in the bracket slot.
Light Replacement
Before replacing the oven or panel light bulb,
disconnect power to range. Be sure the bulb and
range parts are cool. Do not touch a hot tmlb with a
damp cloth as the bulb may break.
To Replace Panel Light
(select models)
Grasp the top trim of the back panel x_dth your thumbs
under the front edge and pull outward while lifting the
trim. Remowe the lmlb and replace it with an 18 watt
fluorescent tube. Snap the top trim back into place and
restore the power. Reset the clock.
To Replace Oven Light
Carefully unscrew the lens cover (select models) with a
dD' potholder, Very carefidly remove the bulb with the
potholder. Replace with a 40 watt appliance bulb,
Reconnect the power to the range and reset the clock,
PAGE 16
Loading ...
Loading ...