Loading ...
Loading ...
Loading ...
21
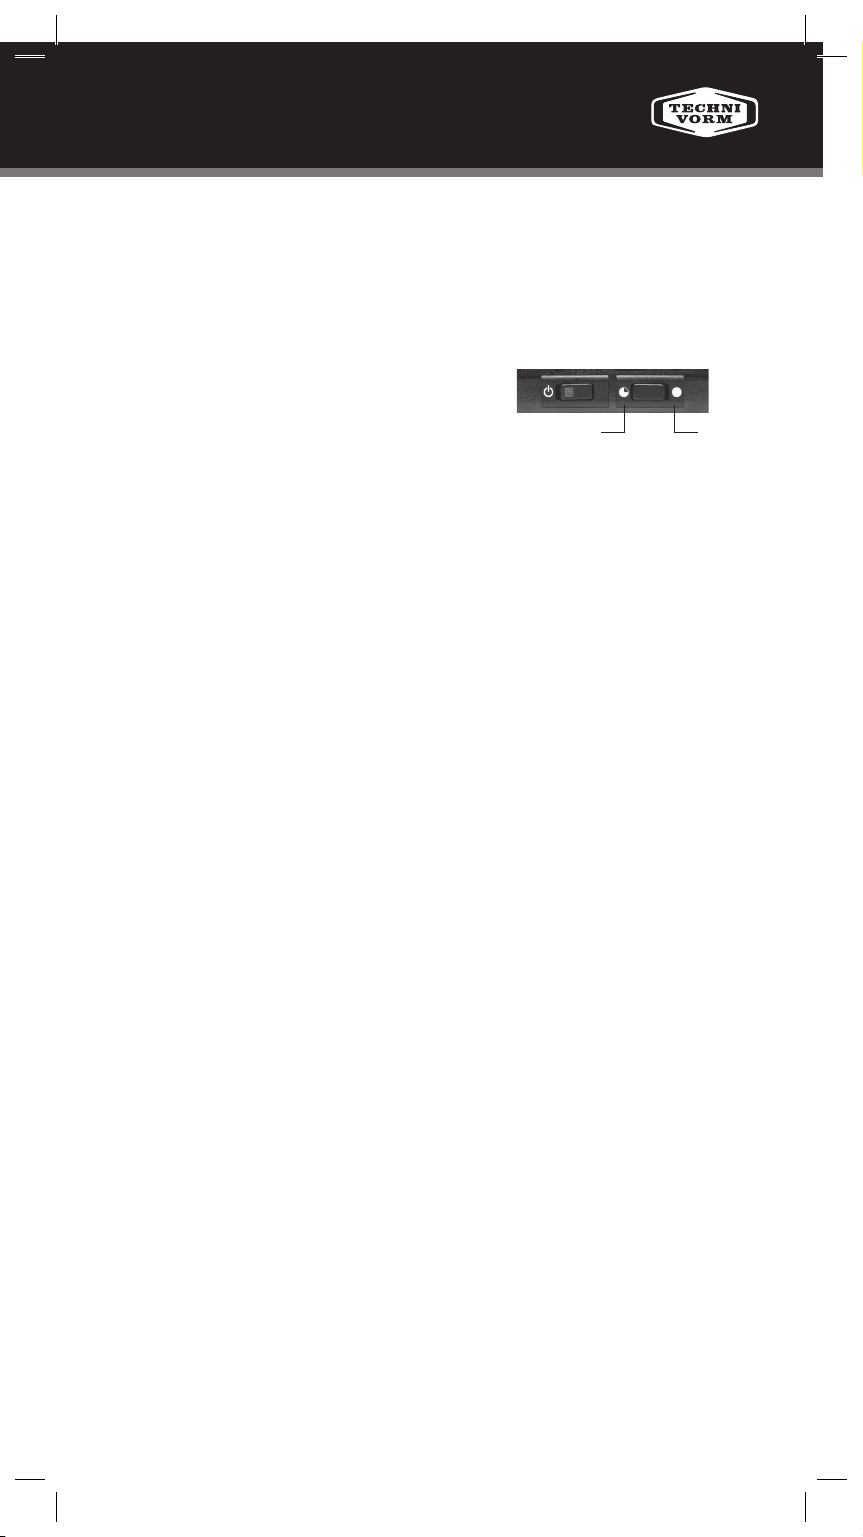
8. Switch the power switch to the “on” position.
· Thermos model: The orange light will illuminate when the thermos is
placed properly against the white button.
· Glass jug models with a hot-plate adjustable switch:
· Turn the switch for the hotplate to the
highest setting,
· Turn the switch to the lower setting if
you would like to keep smaller amounts
of coee warm for a brief period.
9. The brew process will quickly begin; water will be brought to boil,
rising through the brewer across the outlet-pipe and into the filter-
holder. Brew process is complete in 4-6 minutes, with a temperature
of 92-96°C.
10. We recommend disposing of coffee grounds once brew cycle is
complete.
· For models with adjustable lter-holder; Move the slide to closed
position prior to emptying.
11. The brewer should be switched off after use.
• Thermos models;
· The heating element is not receiving power unless the water reservoir
is lled with water, engaging the oat- switch, and the white button
is depressed; the only power consumption is at the power switch itself,
resulting in a very energy-ecient brewer.
• Glass jug models:
· Should be turned o when hot-plate use is no longer desired.
· Optional Auto-o models will automatically shut o in 40 minutes.
Now enjoy a perfect cup of coffee, brewed to industry standards with
your new Technivorm moccamaster!
Coee tastes best immediately after brewing!
HI
LO
DIRECTIONS FOR USE
1. Power switch should be in the off position.
2. Position multi-hole outlet pipe as shown in the diagram.
· Attach smoothly to the gasket at top of the cold water reservoir.
3. Fill cold water reservoir to the desired level, with fresh cold water.
· Put cold water reservoir lid back in place.
· Reservoir is marked with the number of cups:
1/4 litre of water (2 cups).
· Reservoir Grand models has a mark for 1,8 litre of water (15 cups).
4. Place filter in the filter holder.
· Place a standard #4 white paper lter into the lter holder.
· Place a coee lter 250/110 into the lter holder (1,8 ltr.).
5. Add the appropriate amount of coffee.
· The ECBC approved standard for the perfect cup is 60 grams of coee
per litre water, 75 grams for full 1,25 litre brew.
6. Place the filter holder on the bracket (if present), position outlet
pipe over centre of the filter holder.
· Slide the manual drip-stop system into the open (normal amounts of
coee) or half-open (small amounts of coee).
· CAUTION: lter holder will overow in a closed position.
· K/H models: Place the lter holder onto the glass jug.
· Put lter holder lid back in place.
· CAUTION: Scalding may occur if any of these parts are removed
during brew cycle.
7. Glass jug placement:
· Place glass jug, with lid or lter holder, on the hot plate.
· Place thermos, with the “Brew-Thru-Lid” in brew position beneath
the lter bracket. (Thermos should be placed to depress the white
button).
· We recommend rinsing the thermos with hot water to prevent loss of
temperature.
Loading ...
Loading ...
Loading ...