Loading ...
Loading ...
Loading ...
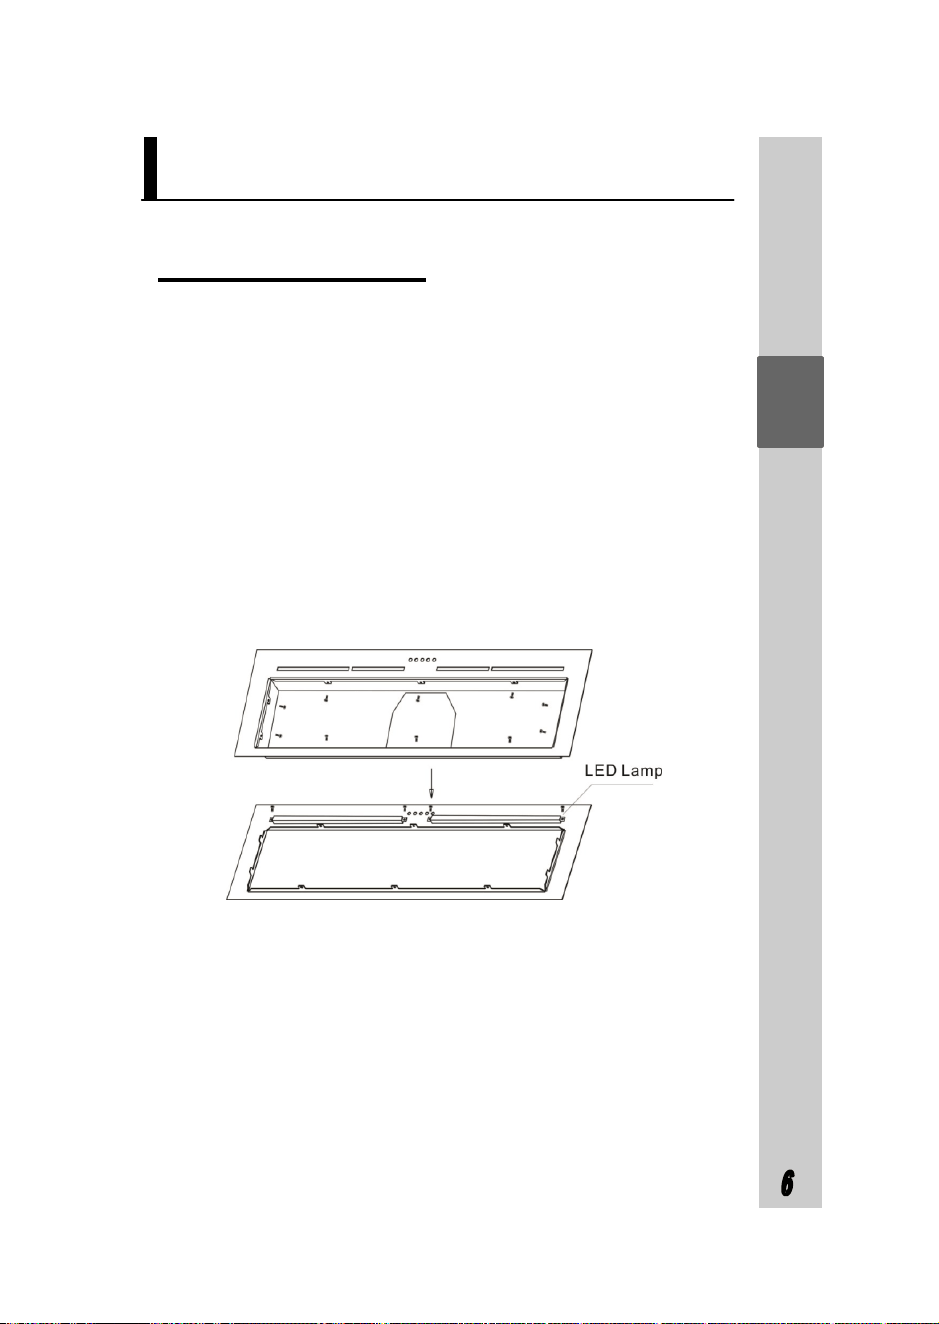
Lamp Change
pic 2
pic 3
pic 4
pic 5
3.7 Ensure that the wall to be installed on is sufficiently
sturdy to carry the weight of the hood. It should be mount-
ed level for best performance (see illustration).
3.8 Do not connect to a common vent with other appliance
such as gas heater, water heater, laundry dryer etc.
3.9 The duct should not be bent more than ≥120
°
from the
one way valve outlet to the kitchen vent.
3.10 Check to make sure that the electric chord is not in
contact with sharp edges of the appliance.
3.11 Be sure that the plug is accessible after installation.
Warning: Failure to install the screws or fixing device
in accordance with these instructions may result in elec-
trical hazards.
As with any maintenance on the appliance, first turn off the
power supply by unplugging from the wall socket.
1.Remove the filters from the appliance.
2.Unload the screws on the stainless steel hood panel.
3.Remove the stainless steel panel before changing the lamp
(see pic 12).
4.Change the lamp (LED Lamp Max.2W) and then reinstall
in the reverse manner.
pic 12
Loading ...
Loading ...
Loading ...