Loading ...
Loading ...
Loading ...
|
25
Gas Requirements
Replace the nozzle using the conversion set supplied
with the range or by a Superiore authorized parts
warehouse. Each nozzle has a number indicating its
ow diameter printed on the body. Consult the table
on “Specications Technical data “ paragraph for
matching nozzles to burners.
Air adjustment is not needed.
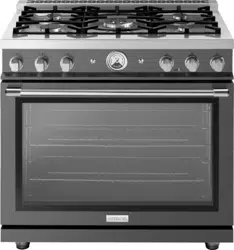
STEP 4 BROILER BURNER
Loosen the 2 screws on left and right sides and pull
out the burner from its support burner from its
support.
ATTENTION: pay extra attention to avoid
damage to the igniter and thermocouple.
Using a 7 mm or 10 mm sochet wrench to unscrew
the nozzle. Replace the nozzle using the conversion
set supplied with the range or by a Tecno authorized
parts warehouse. Each nozzle has a number
indicating its ow diameter printed on the body.
Consult the table on “Specications Technical data “
paragraph for matching nozzles to burners.
ATTENTION: Air adjustment is not needed.
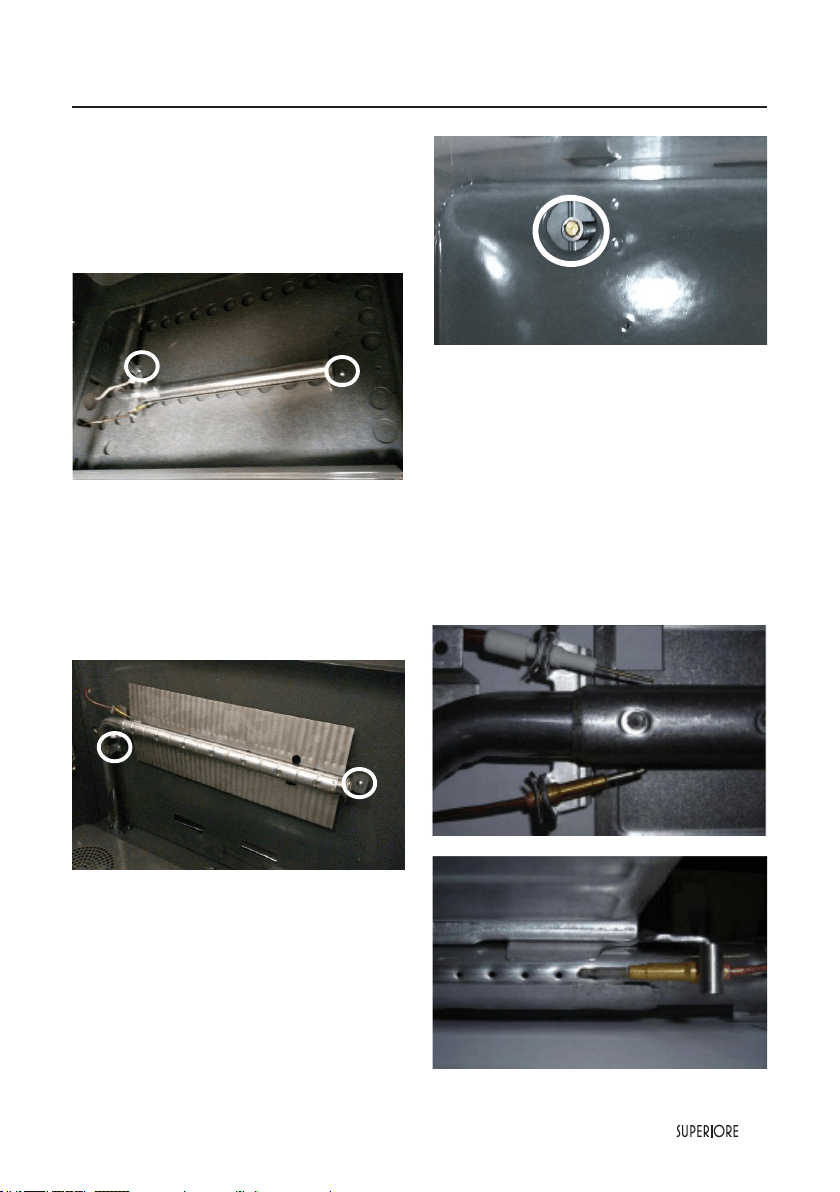
STEP 5 VISUAL CHECKS
Before reinstalling the bottom panel, the following
visual check must be performed to ensure that
the conversion has been carried out properly and
without damage to other components of the range.
OVEN IGNITER AND THERMOCOUPLE
POSITION
The appropriate gap between the tip of the spark
plug or thermocouple and the burner shall be
approximately 1/8’’.
For 30” range’s
Loading ...
Loading ...
Loading ...