Loading ...
Loading ...
Loading ...
Getting started 04
13
En
English
Français Español
Chapter 4:
Getting started
To turn the power on
Press the Í to turn the power on.
After use:
Press the Í to enter the power stand-by mode.
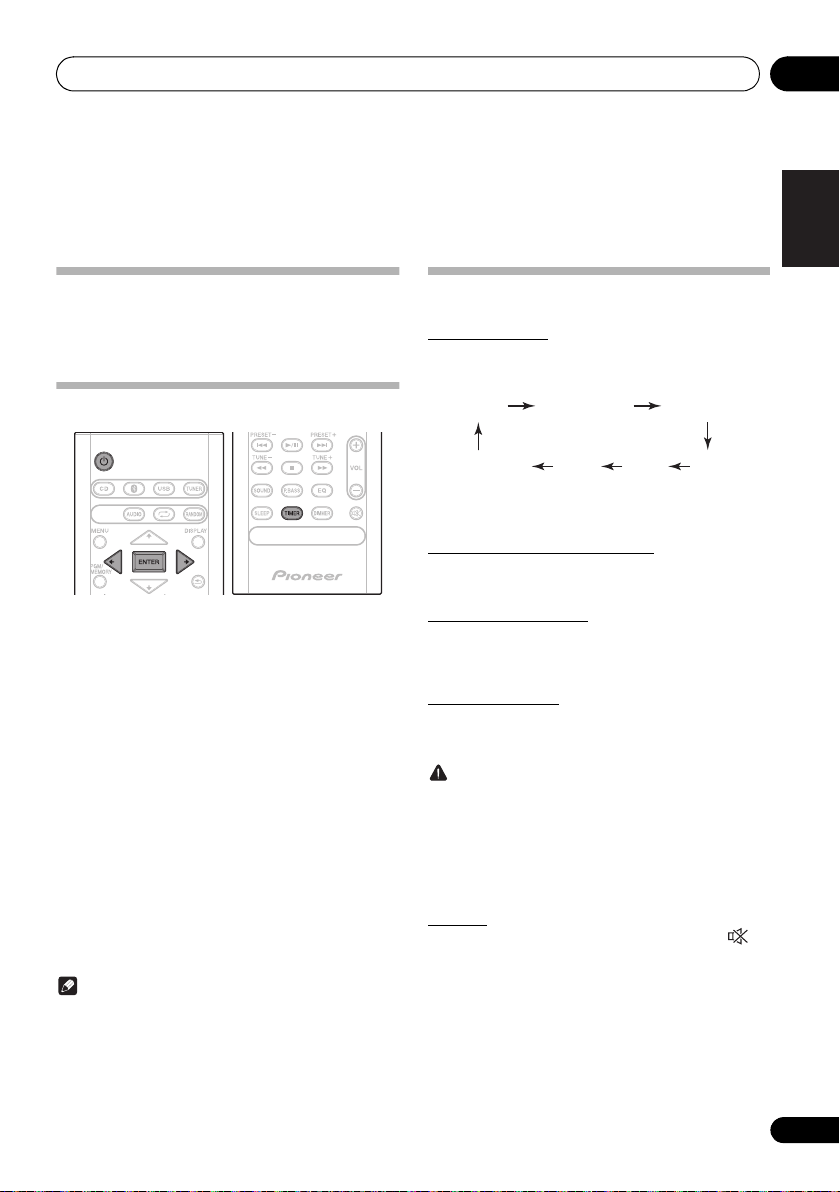
Setting the clock
1 Press
Í
to turn the power on.
2 Press TIMER on the remote control.
“CLOCK” is shown on the main display.
3 Press ENTER.
4 Press
/
to set the day, then press
ENTER.
5 Press
/
to set the hour, then press
ENTER.
6 Press
/
to set the minute, then press
ENTER to confirm.
7 Press ENTER.
To confirm the time display:
Press the TIMER. The time display will appear for about 10
seconds.
To readjust the clock:
Perform “Setting the clock” from step 1.
Note
• When power supply is restored after unit is plugged in
again or after a power failure, reset the clock.
General control
Input function
When the INPUT on main unit is pressed, the current
function will change to different mode. Press the INPUT
repeatedly to select desired function.
*1 X-CM56D only
*2 X-CM56 only
Display brightness control
Press DIMMER to dims the display brightness. The
brightness can be controlled in four steps.
Volume auto set-in
If you turn off and on the main unit with the volume set to 31
or higher, the volume starts at 30 and sets in to the last set
level.
Volume control
Turn the volume knob towards VOLUME (on main unit) or
press VOL +/– (on remote control) to increase or decrease
the volume.
CAUTION
• The sound level at a given volume setting depends on
speaker efficiency, location, and various other factors.
It is advisable to avoid exposure to high volume levels.
Do not turn the volume on to full at switch on. Listen to
music at moderate levels. Excessive sound pressure
from earphones and headphones can cause hearing
loss.
Muting
The volume is muted temporarily when pressing the on
the remote control. Press again to restore the volume.
CD
Bluetooth DAB
1
*
2
*
AMAudio In
FMUSB
SN29402593_X-CM56&56D_En.book 13 ページ 2016年5月27日 金曜日 午後3時47分
Loading ...
Loading ...
Loading ...