Loading ...
Loading ...
Loading ...
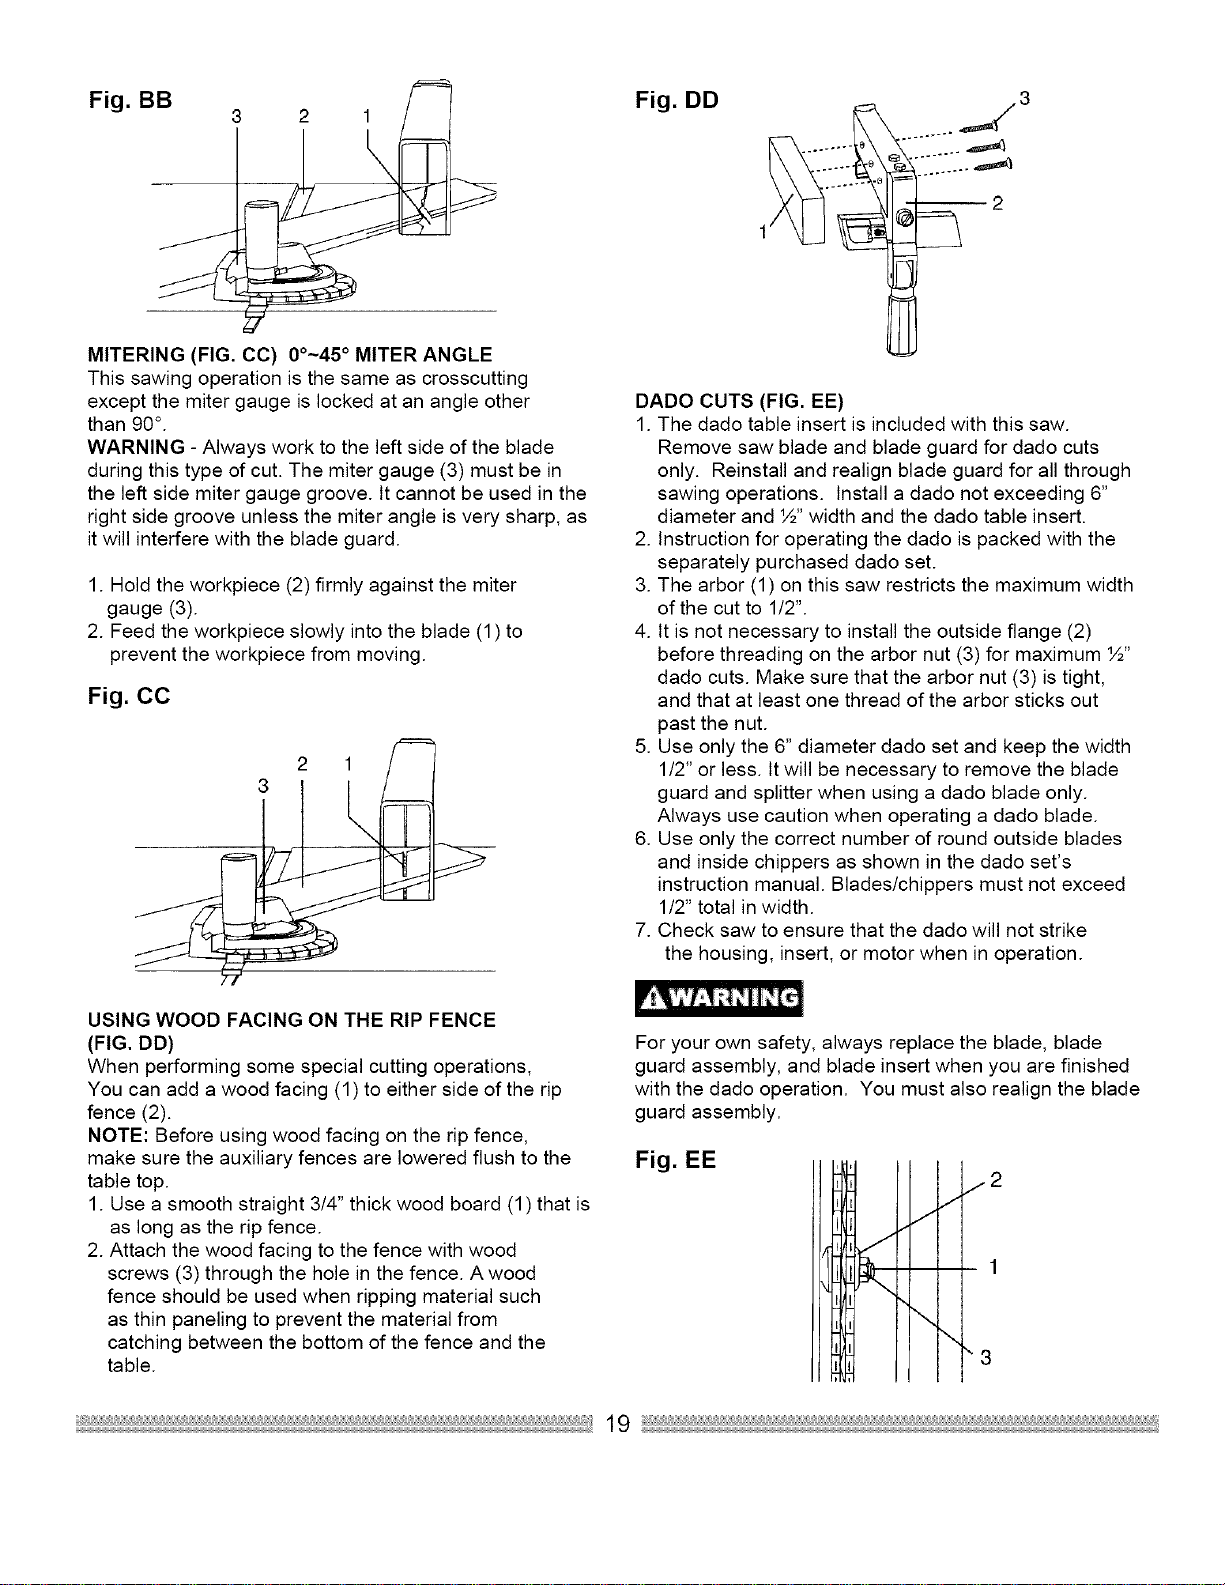
Fig. BB Fig. DD
MITERING (FIG. CC) 00-45 ° MITER ANGLE
This sawing operation is the same as crosscutting
except the miter gauge is locked at an angle other
than 90 °.
WARNING - Always work to the left side of the blade
during this type of cut. The miter gauge (3) must be in
the left side miter gauge groove. It cannot be used in the
right side groove unless the miter angle is very sharp, as
it will interfere with the blade guard.
1. Hold the workpiece (2) firmly against the miter
gauge (3).
2. Feed the workpiece slowly into the blade (1) to
prevent the workpiece from moving.
Fig. CC
2 1
DADO CUTS (FIG. EE)
1. The dado table insert is included with this saw.
Remove saw blade and blade guard for dado cuts
only. Reinstall and realign blade guard for all through
sawing operations. Install a dado not exceeding 6"
diameter and ½" width and the dado table insert.
2. Instruction for operating the dado is packed with the
separately purchased dado set.
3. The arbor (1) on this saw restricts the maximum width
of the cut to 1/2".
4. It is not necessary to install the outside flange (2)
before threading on the arbor nut (3) for maximum ½"
dado cuts. Make sure that the arbor nut (3) is tight,
and that at least one thread of the arbor sticks out
past the nut.
5. Use only the 6" diameter dado set and keep the width
1/2" or less. It will be necessary to remove the blade
guard and splitter when using a dado blade only.
Always use caution when operating a dado blade.
6. Use only the correct number of round outside blades
and inside chippers as shown in the dado set's
instruction manual. Blades/chippers must not exceed
1/2" total in width.
7. Check saw to ensure that the dado will not strike
the housing, insert, or motor when in operation.
USING WOOD FACING ON THE RIP FENCE
(FIG. DD)
When performing some special cutting operations,
You can add a wood facing (1) to either side of the rip
fence (2).
NOTE: Before using wood facing on the rip fence,
make sure the auxiliary fences are lowered flush to the
table top.
1. Use a smooth straight 3/4" thick wood board (1) that is
as long as the rip fence.
2. Attach the wood facing to the fence with wood
screws (3) through the hole in the fence. A wood
fence should be used when ripping material such
as thin paneling to prevent the material from
catching between the bottom of the fence and the
table.
For your own safety, always replace the blade, blade
guard assembly, and blade insert when you are finished
with the dado operation. You must also realign the blade
guard assembly.
Fig. EE
f
I
j2
19
Loading ...
Loading ...
Loading ...