Loading ...
Loading ...
Loading ...
lationspertainingtotheserequirements.
Failuretofollowtheserequirementsisa
violationofthelaw.Thisunitisnotfactory
equippedwithasparkarrestor;however,a
sparkarrestorisavailableasanoptional
part.Ifasparkarrestorisrequiredinyour
area,contactSearsServiceforthecorrect
kit.Thesparkarrestor,blowertubes,and
nozzlesmustbeassembledtounittobe
infullcompliancewithregulations.
SPECIALNOTICE:Exposuretovibra-
tionsthroughprolongeduseofgasoline
poweredhandtoolscouldcauseblood
vesselornervedamageinfingers,hands,
andjointsofpeoplepronetocirculation
CARTON CONTENTS
disorders or abnormal swelling. Prolonged
use in cold weather has been linked to
blood vessel damage in otherwise healthy
people. Ifsymptoms occur such as numb-
ness, pain, loss of strength, change in skin
color or texture, or loss of feeling in fin-
gers, hands, or joints, discontinue use of
this tool and seek medical attention. An
antivibration system does not guarantee
the avoidance of these problems. Users
who operate power tools on a continual
and regular basis must monitor closely
their physical condition and the condition
of this tool.
Check carton contents against the fol-
lowing list.
Model 358.797770
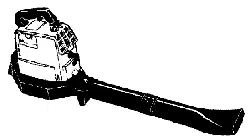
• Blower
• Blower tube
• Nozzle
• Upper vacuum tube
• Lower vacuum tube
• Elbow tube (may be installed in bag)
• Vacuum bag
• Shoulder Strap
• 2-Cycle Engine Oil
NOTE: It is normal for the fuel filter to
rattle in the empty fuel tank.
ASSEMBLY
,_ WARNING: If received assembled,
repeat all steps to ensure your unit is
properly assembled and all fasteners are
secure.
• A standard screwdriver is required for
assembly.
BLOWER ASSEMBLY
BLOWER TUBE ASSEMBLY
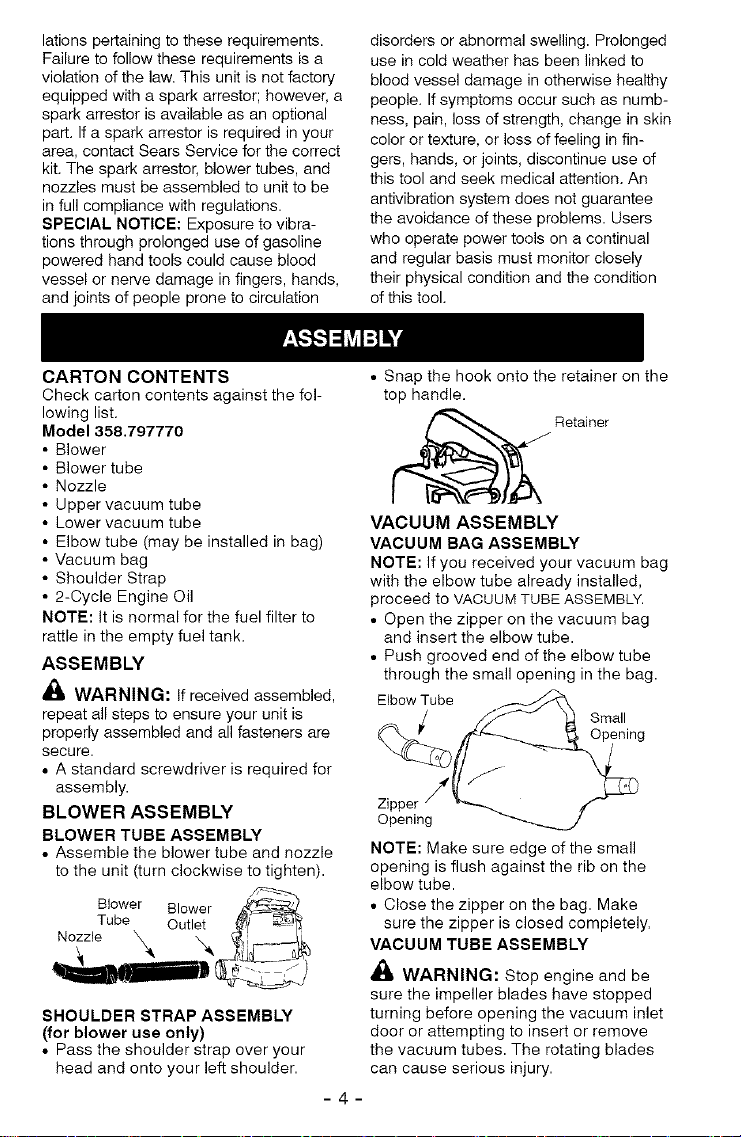
• Assemble the blower tube and nozzle
to the unit (turn clockwise to tighten).
Blower Blower
Tube Outlet
Nozzle X
SHOULDER STRAP ASSEMBLY
(for blower use only)
• Pass the shoulder strap over your
head and onto your left shoulder.
-4-
• Snap the hook onto the retainer on the
top handle.
_ Retainer
VACUUM ASSEMBLY
VACUUM BAG ASSEMBLY
NOTE: If you received your vacuum bag
with the elbow tube already installed,
proceed to VACUUM TUBE ASSEMBLY.
• Open the zipper on the vacuum bag
and insert the elbow tube.
• Push grooved end of the elbow tube
through the small opening in the bag.
Elbow Tube
Small
Opening
Opening
NOTE: Make sure edge of the small
opening is flush against the rib on the
elbow tube.
• Close the zipper on the bag. Make
sure the zipper is closed completely.
VACUUM TUBE ASSEMBLY
_, WARNING: Stop engine and be
sure the impeller blades have stopped
turning before opening the vacuum inlet
door or attempting to insert or remove
the vacuum tubes. The rotating blades
can cause serious injury.
Loading ...
Loading ...
Loading ...