Loading ...
Loading ...
Loading ...
Cleaning Cast Iron Grates
The cast iron burner grates may be removed and cleaned
with soap and hot water. Do not put grates in a dishwasher.
Griddle/Grill
Before cooking on the reversible cast iron griddle/grill, rinse
with hot water. DO NOT USE SOAP. Dry thoroughly with a
clean rag. Prepare the surface with cooking spray or oil
before preheating.
After cooking, clean griddle with a stiff brush and hot water.
DO NOT USE SOAP OR HARSH DETERGENTS ON
CAST IRON SURFACE. NEVER PUT CAST IRON IN
A DISHWASHER. Towel dry immediately and apply a
light coat of cooking spray or oil while griddle is still warm.
Store griddle/grill in a cool, dry place. When using the
stainless steel cover over the griddle, place a folded paper
towel between the cover and the griddle to allow air to
circulate.
CLEANING THE OVEN
Moisture
During initial heating of the oven, the heat mixing with the
cooler air in the oven cavity may produce fogging of the
door glass or a collection of water on the door. To prevent
this, open the oven door for the first few seconds of the
initial oven heating. This will allow the moist air within the
oven to escape without forming visible moisture on the
range. The amount of moisture will depend upon the
humidity of the air and water content of the food being
cooked. Fogging and even dripping water is common in
geographic locations of high humidity.
Cleaning the Gas Oven
Gas oven interiors may be cleaned with oven cleaner or with
soap and water. The oven door(s), racks, and floor may be
removed for easier cleaning.
Lift-Off Doors
All models are equipped with lift-off oven doors to aid in
cleaning (See FIG. 19 on page 19).
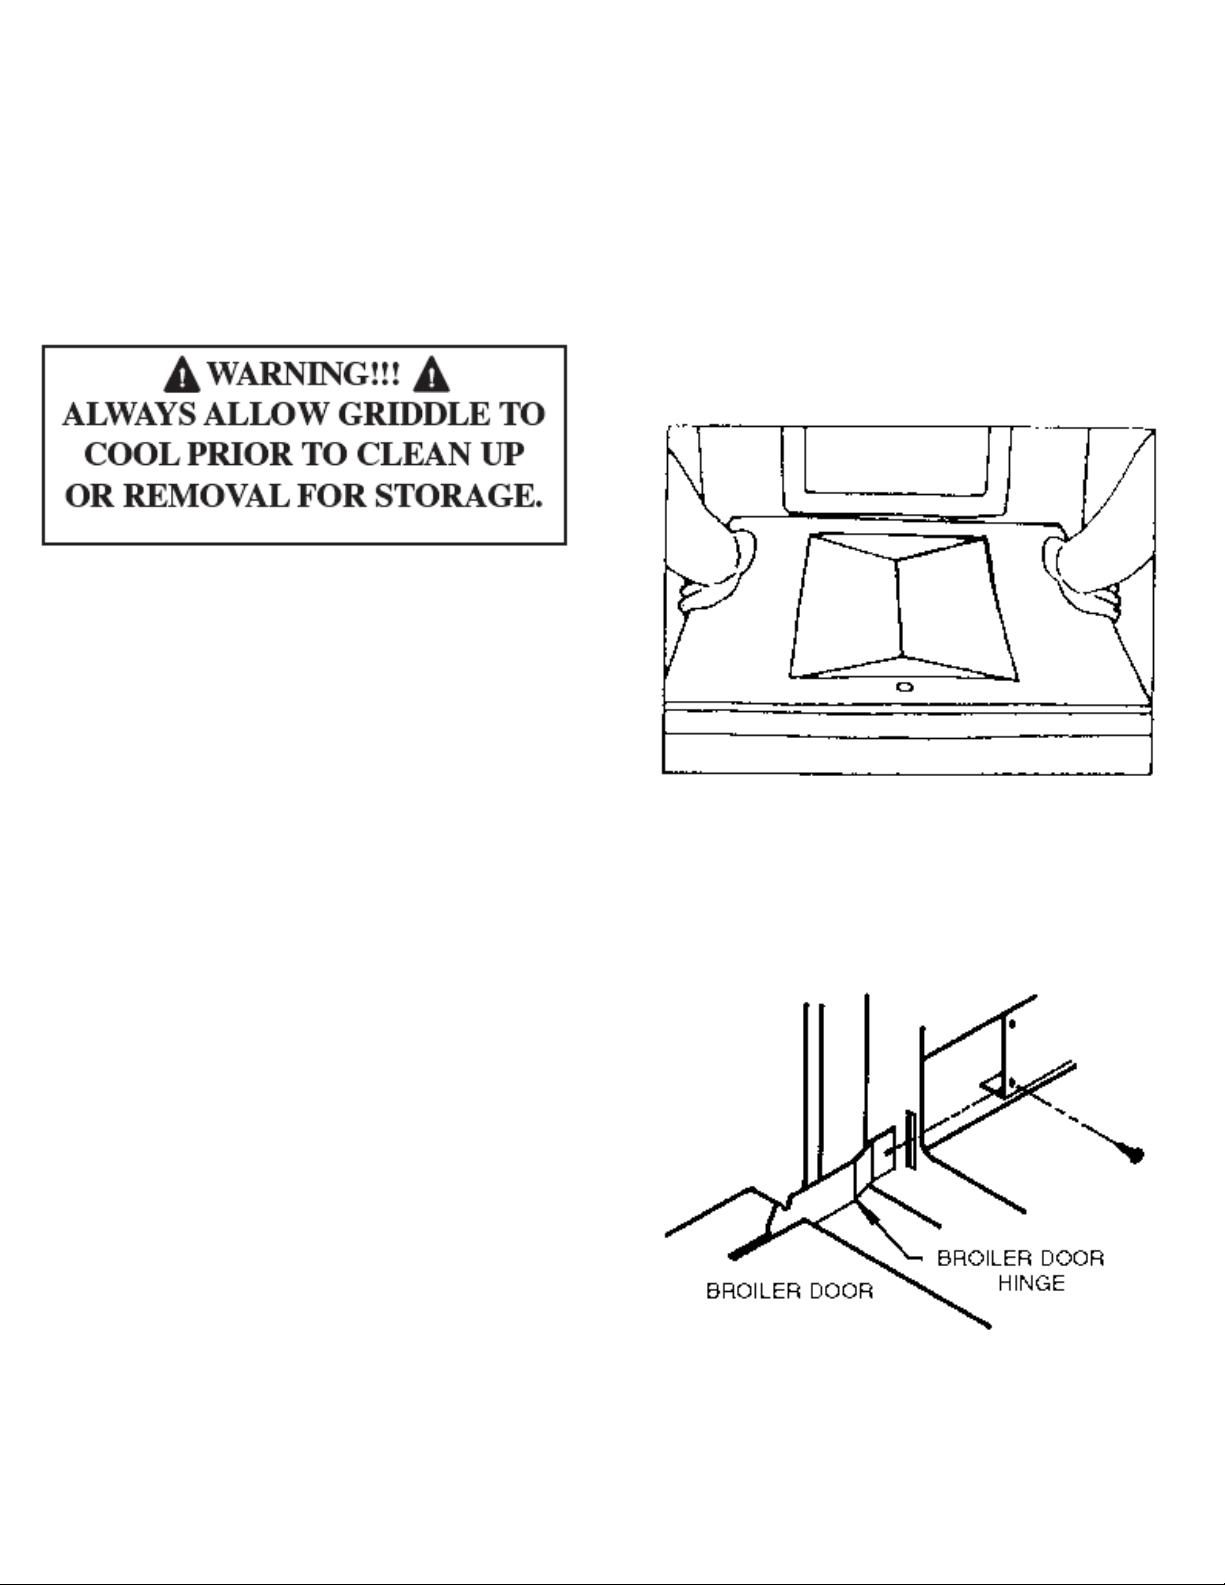
Gas Oven Bottom Removal
First remove racks from the oven. The oven bottom lifts up
from the rear. To lift and remove, grasp each side of the
oven bottom and lift upward from the rear until the bottom is
clear. Lift to remove it from the front (See FIG. 20). Electric
oven bottoms are not removable.
FIG. 20
GAS OVEN BOTTOM REMOVAL
Gas Broiler Door
To adjust or remove the broiler door, see FIG. 21
FIG. 21
BROILER DOOR ADJUSTMENT/REMOVAL
18
Loading ...
Loading ...
Loading ...