Loading ...
Loading ...
Loading ...
QUIETCOOLSYSTEMS.COM
7
WELCOME
INSTALLATION
WIRING OPERATION
WARRANTY
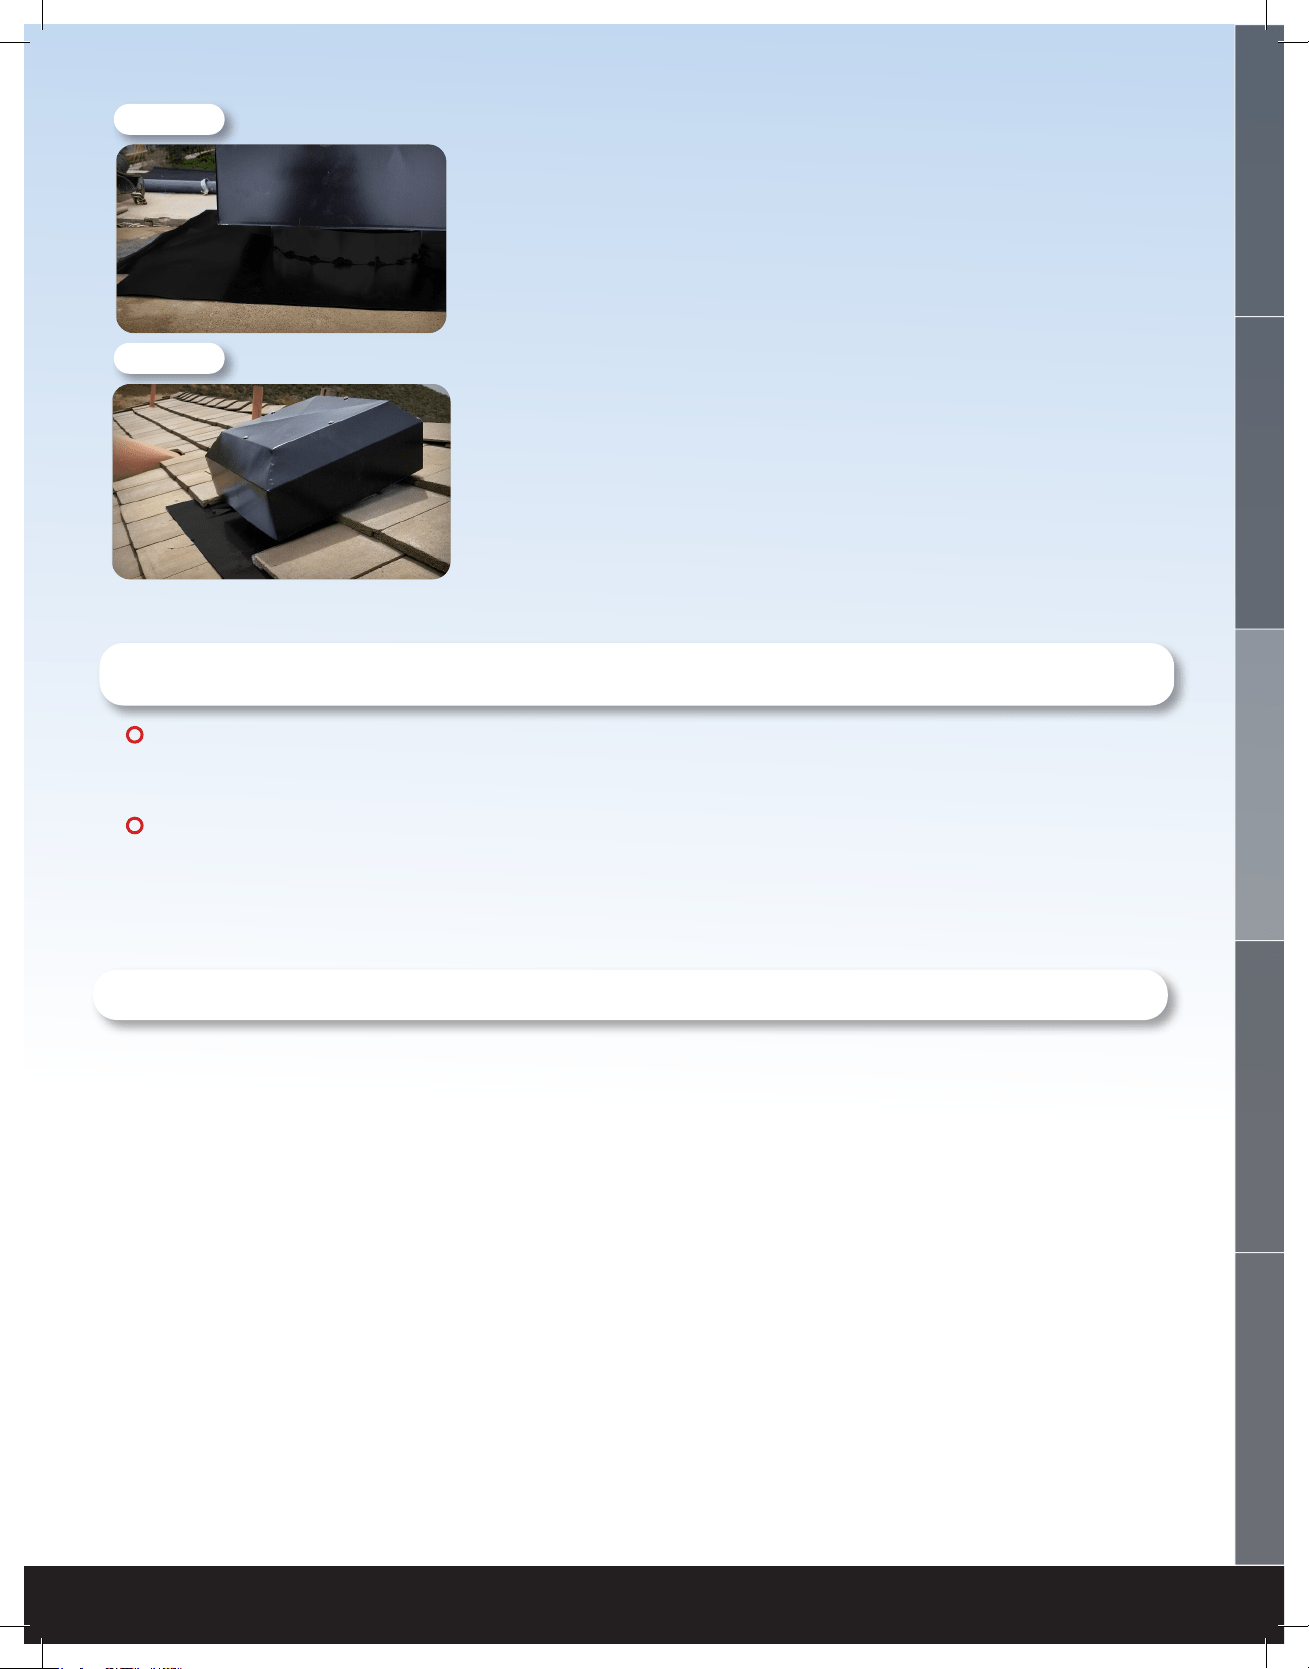
Figure 2.1E
Figure 2.1F
9. With all fan cables connected and hanging inside
the fan hole, slide the fan unit underneath the
shingles until the fan reaches the top of the hole.
Secure the fan ashing to the roof. Finish caulking
around the fan and ashing it into the roof to make
a nice seal. (See Figure 2.1E)
10. If installing on a tile roof, cut tile appropriately
and re-install the tile to t snuggly around the fan
housing. (See Figure 2.1F)
3. WIRING
NOTE: Wiring Diagrams are for examples ONLY. Wiring should be done by an
experienced electrician.
NOTE: Your fan came with the Smart Control Hub pre-wired to a power cord for testing purposes
before installation. If you would like to hard-wire the fan, or it is required by your local building
codes, please follow the wiring instructions below.
!
!
!
!
3.1 THREE SPEED WIRING - (AFR SMT ES-2.0)
1. Using a wire nut, connect the black wire from the power cord and the black wire from the fan to the
black wire from the Hub.
2. Connect the white wire from the power cord and the white wire on the fan to the white wire from the
Hub.
3. Connect the red wire from the fan to the red wire on the Hub
4. Connect the yellow wire from the fan to the yellow wire on the Hub
5. Connect the blue wire from the fan to the blue wire on the Hub
6. Ground the green wire from the fan and the green wire from the power cord to the ground screw in
the Hub.
Loading ...
Loading ...
Loading ...