Loading ...
Loading ...
Loading ...
User Manual
10
Installation Cont.
Electrical connection
• WARNING! It must be possible to disconnect the appliance from the mains power supply; the plug must
therefore be easily accessible after installation.
• Before plugging in your new bar fridge, let it stand upright for at least 2 hours. This will allow the refrigerant
gases to settle into the compressor and reduce the possibility of a malfunction in the cooling system.
• The appliance must be earthed. The plug of the power supply cord is equipped with a contact for this
purpose. Do not under any circumstances cut or remove the third (earth) prong from the power cord.
If the plug does not t your outlet, consult a licensed electrician for advice to have the outlet changed.
• Plug the unit into a dedicated, properly earthed wall outlet. Ensure that your outlet voltage and circuit
frequency correspond to the voltage stated on the rating label.
• Secure the bar fridge’s supply cord behind the unit. Do not leave it exposed or dangling to prevent injury
and accidental disconnection from the power supply.
• Adjust the temperature control as described below.
• When rst starting up, and after a period out of use, allow the unit to cool down for at least 2–3 hours
(4 hours if starting up during warm weather in summer) before placing food in the bar fridge.
Reversing the door
• Remove the top hinge cover.
• Using a Phillips Head screwdriver, remove the top hinge assembly by unscrewing the hinge screws
that secure it.
• The door can now be removed o the bottom hinge.
• Using a at blade screwdriver, remove the screw hole covers on the opposite side of the fridge and door.
Replace them to the side you just removed the top hinge from.
• Tilt the fridge back slightly in order to remove the bottom hinge assembly with a screwdriver.
• Unscrew the foot on the opposite side.
• Reinstall the bottom hinge assembly and foot to the opposite sides.
• Replace the door, correctly tting it onto the bottom hinge.
• The top hinge bracket can now be installed on the new side
and screwed in to secure.
• Finally, replace the hinge cover.
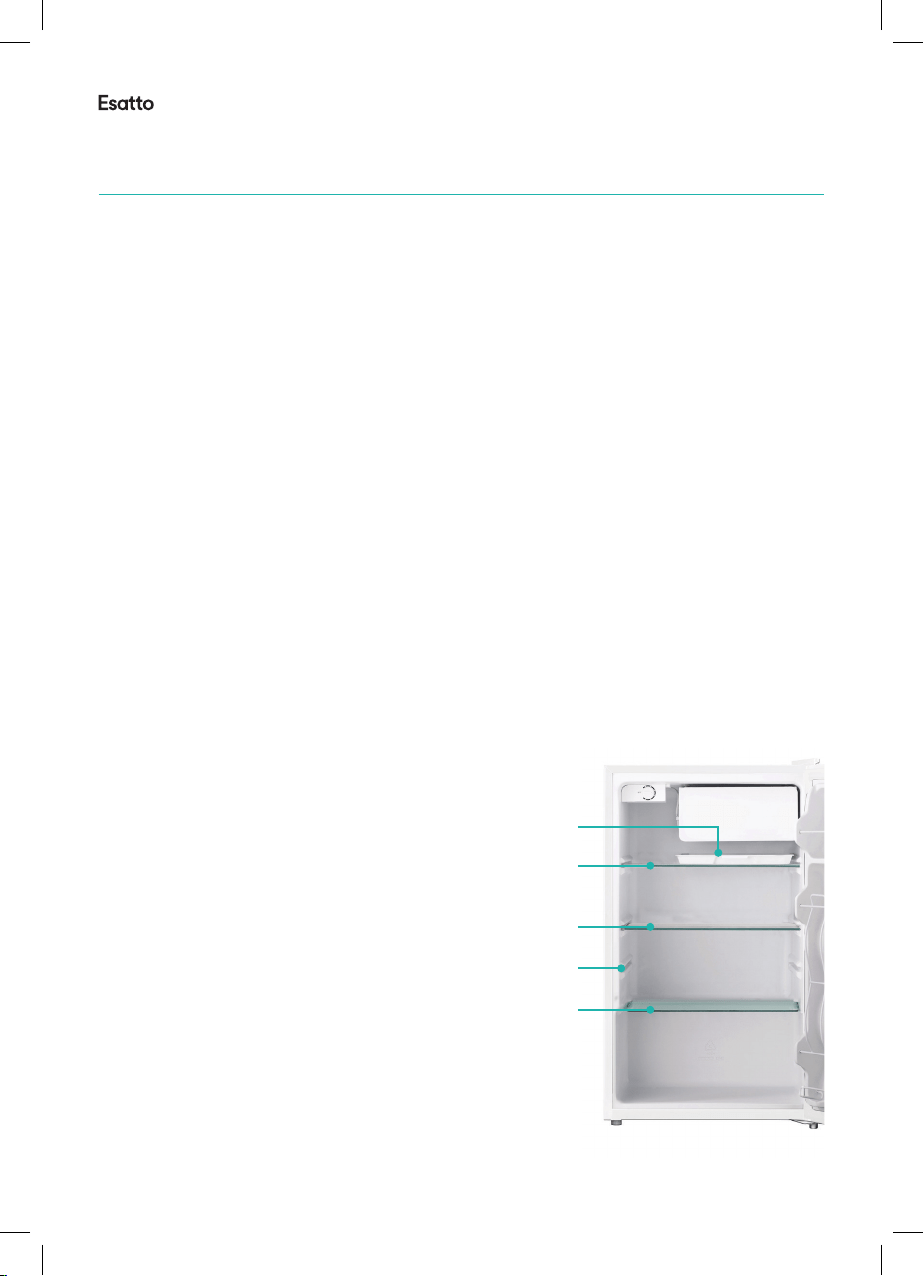
Defrosting pan
The defrosting pan (Fig. 1, A) is for any excess condensation
from the chilling compartment to drop into. Please check on
this for build-up and remove to clean if needed.
Moving the shelves
The three full size tempered glass shelves (Fig. 1, B) are
adjustable (Fig.1, C) to suit individual storage requirements.
Fig. 1
B
B
B
C
A
Instlltion (Continued)
The images in this user manual are for demonstration purposes only. Your bar fridge may appear dierently.
Loading ...
Loading ...
Loading ...