Loading ...
Loading ...
Loading ...
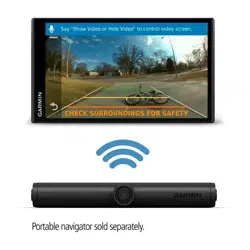
Installing AA Batteries
The device operates on two 1.5 V AA batteries (not included).
For the best results, you should use lithium batteries, which
provide extended battery life and better performance at low
temperatures.
NOTICE
Do not use AA batteries with a voltage specification higher than
1.5 V. Higher voltages will cause permanent damage to the
camera. Do not use lithium-ion rechargeable AA battery cells.
Lithium-ion batteries use a different technology than non-
rechargeable lithium batteries and may permanently damage the
camera.
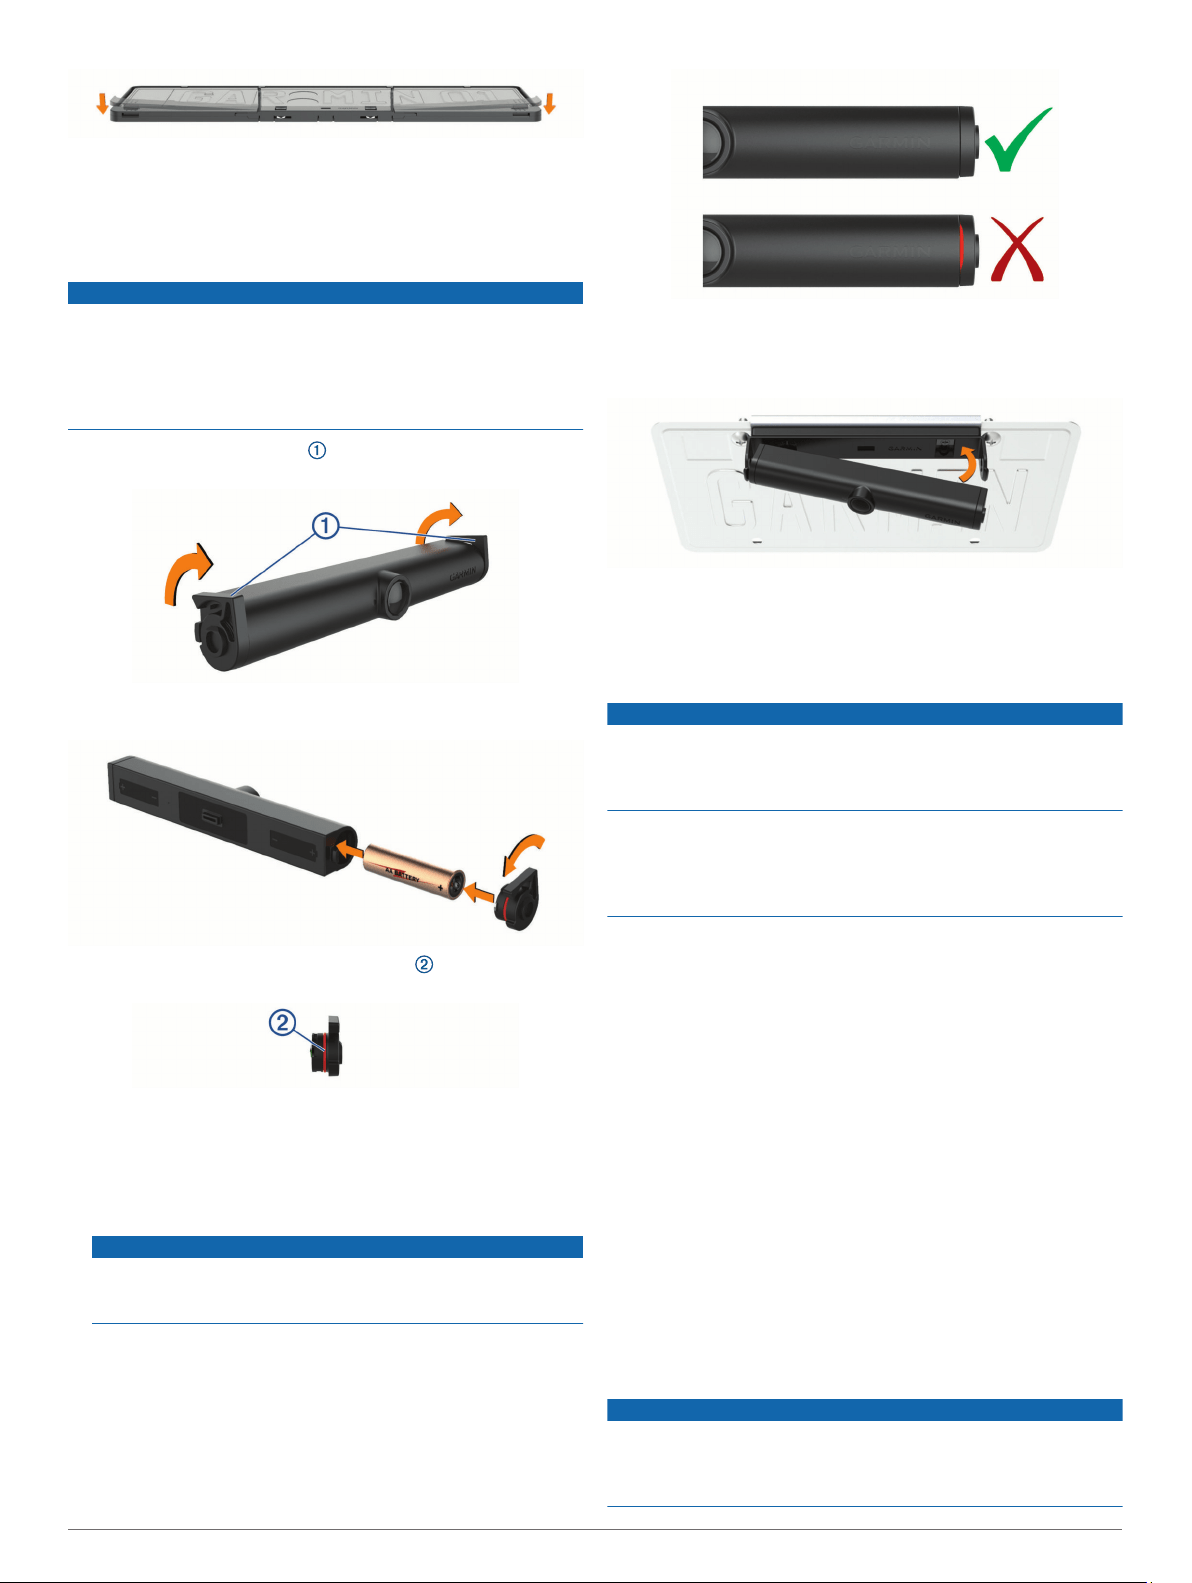
1
Rotate both battery covers toward the front of the camera,
and remove the battery covers.
2
Insert a AA battery into each end of the camera, with the
positive pole facing outward.
3
On each battery cover, verify the gasket is clean and fully
seated in the groove.
4
For each battery cover, place the cover into the camera,
press it tightly into the camera, and rotate it toward the back
of the camera to lock it into place.
NOTE: Although the battery covers are interchangeable, it is
recommended to install the covers as shown in the
illustrations.
NOTICE
The camera is not water resistant if the gaskets are not clean
and properly seated, and the covers are not properly locked
into place.
5
Verify each cover is fully sealed and no part of either gasket
is protruding between the cover and the camera.
Installing the Camera in the Mount
1
Place one side of the camera into the mount, with the lens
facing outward.
2
Press the other side into the mount until it clicks.
3
Pull gently on the camera to verify both sides are locked into
the mount.
Camper Mount Installation Considerations
NOTICE
Garmin strongly recommends having an experienced installer
with the proper knowledge of camper installations and
waterproofing install the mount. Incorrectly installing the mount
can result in damage to the vehicle or the camera.
Failure to heed the installation considerations could result in
damage to the camera or the vehicle. Garmin is not responsible
for any damage caused to the camera or vehicle during
installation or as a result of the camera mount detaching from
the vehicle.
You can use the optional camper mount accessory to install the
camera on your camper in an area other than the license plate.
When selecting a mounting location and installing the camper
mount, observe these considerations.
• You must choose a suitable mounting location for the camera
before drilling holes in the vehicle. You should verify the
camera view from the mounting location provides the desired
visibility. You must also verify the mounting surface allows
the mount to be securely connected and the mounting screws
will not interfere with interior wiring or camper features.
• You must use proper mounting screws for your vehicle's
external mounting surface. The included mounting screws
are intended for installation only on campers with a fiberglass
exterior, and they should not be used for campers with an
aluminum exterior, or any other material. Before installing the
screws, you must verify the screws are the correct length and
will not damage any interior components.
• You must fully seal the screws, holes, and mount with
outdoor waterproofing sealant to prevent water from entering
the vehicle or the vehicle shell.
Installing the Camper Mount on Your Vehicle
NOTICE
Garmin strongly recommends having an experienced installer
with the proper knowledge of camper installations and
waterproofing install the mount. Incorrectly installing the mount
can result in damage to the vehicle or the camera.
Installation 3
Loading ...
Loading ...
Loading ...