Loading ...
Loading ...
Loading ...
To remove the compartment assembly for bulb
replacement: Unload and remove shelf located above
the ClimateZone=" Technology drawers. Unload and
remove the drawer. Remove two 1/4" hex screws located
on the left hand side. Lift the top compartment assembly
upward (approx. 1 inch) and pull forward (approx. 2-3
inches). The assembly should rest on its supports.
Replace the bulb: Unscrew bulb and replace.
Caution: Handle the light bulb with care to prevent
breakage. The bulb may be hot from use.
To replace: Lift the assembly back into its original
position. Align the screw holes. Make sure the
assembly is pushed firmly to the left of the refrigerator
cavity. Replace the two screws. Replace the drawers
into the assemblies, replace the shelf above the assem-
blies, and reconnect the power to the refrigerator.
Removal of the Compartment Assemblies
for Cleaning
Unload and remove shelf located above the
ClimateZone'" Technology drawers. Unload and
remove the drawers. Remove two 1/4" hex screws
located on the left side. Lift the top compartment
assembly upward (approx. 1 inch) and pull forward
(approx. 2-3 inches). The assernbly should rest on its
supports. Disconnect the power cords to free the
assembly, then pull completely out. Repeat with second
compartment assembly.
To replace: Lilt the lower assembly back into its original
position leaving enough space to reach the power cords.
Reconnect the assembly power cords. Push the assembly
in all the way to the original position. Align the screw
holes. Make sure the assembly is pushed firmly to the
left of the refrigerator cavity. Replace the two screws.
Repeat with top assembly. Replace the drawers into the
assemblies, replace the shelf above the assemblies, and
reconnect the power to the refrigerator.
Notes:
• Replace the assemblies in their original posi-
tions. The ClimateZone '_' Technology assembly
with the Meats option is always in the top position.
• The drawers are interchangeable between the com-
partments.
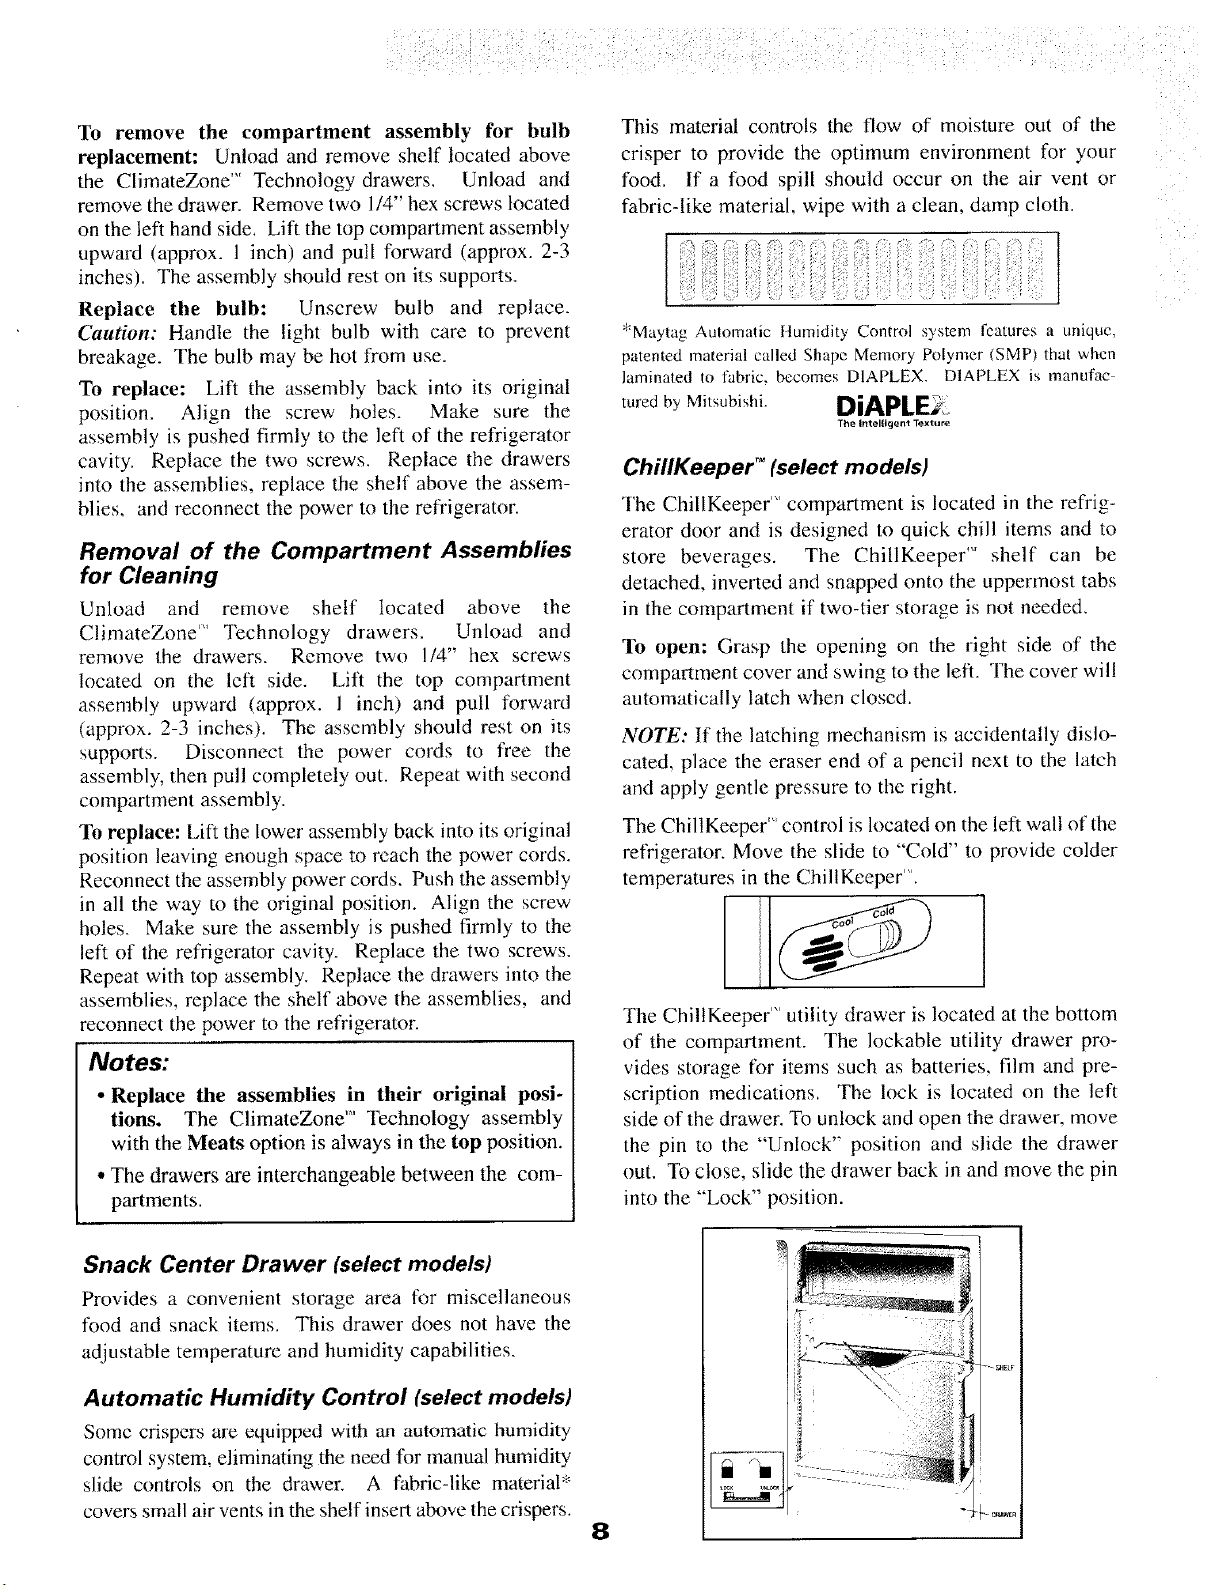
This material controls the flow of moisture out of the
crisper to provide the optimum environment for your
food. If a food spill should occur on the air vent or
fabric-like material, wipe with a clean, damp cloth.
*Maytag Automatic ttumidity Control system features a unique,
patented material called Shape Memory Polymer (SMP) that when
laminated to l;abric, becomes DIAPLEX. D1APLEX is manufac
tured by Mitsubishi. DiAPLE*:II
The Intelticlent Textur_
ChillKeepeF (select models)
The ChillKeeper'" compartment is located in the refrig-
erator door and is designed to quick chill items and to
store beverages. The ChillKeeper'" shelf can be
detached, inverted and snapped onto the uppermost tabs
in the compartment if two-tier storage is not needed.
To open: Grasp the opening on the right side of the
compartment cover and swing to the left. The cover will
automatically latch when closed.
NOTE: If the latching mechanism is accidentally dislo-
cated, place the eraser end of a pencil next to the latch
and apply gentle pressure to the right.
The ChillKeeper" control is located on the left walk of the
refrigerator. Move the slide to "Cold" to provide colder
temperatures in the ChillKeeper'".
The ChillKeeper'" utility drawer is located at the bottom
of the compartment. The lockable utility drawer pro-
vides storage for items such as batteries, film and pre-
scription medications. The lock is located on the left
side of the drawer. To unlock and open the drawer, move
the pin to the "Unlock" position and slide the drawer
out. To close, slide the drawer back in and move the pin
into the "Lock" position.
Snack Center Drawer (select models)
Provides a convenient storage area for miscellaneous
tood and snack items. This drawer does not have the
adjustable temperature and humidity capabilities.
Automatic Humidity Control (select models)
Some crispers are equipped with an automatic humidity
control system, eliminating the need for manual humidity
slide controls on the drawer. A fabric-like material*
covers small air vents in the shelf insert above the crispers.
8
Loading ...
Loading ...
Loading ...