Loading ...
Loading ...
Loading ...
1312
Cleaning and Maintenance
Any piece of equipment works better and lasts longer when maintained
properly and kept clean. Cooking equipment is no exception. Your oven
must be kept clean and maintained properly.
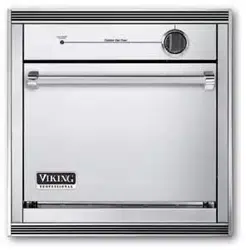
Control Knob
MAKE SURE THE CONTROL KNOB POINTS TO THE OFF POSITION
BEFORE REMOVING. Pull the knob straight off. Wash in detergent and
warm water. Do not soak the knob. Dry completely and replace by
pushing firmly onto stem. DO NOT USE any cleaners containing
ammonia or abrasives. They could remove the graphics from the knob.
Stainless Steel Parts
All stainless steel parts should be wiped regularly with hot, soapy water
at the end of each cooling period and with liquid stainless steel cleaner
when soapy water will not do the job. Do not use steel wool, abrasive
cloths, abrasive cleaners, or powders. If necessary to scrap stainless steel
to remove encrusted materials, soak the area with hot towels to loosen
the material, then use a wooden or nylon spatula or scraper. Do not use
a metal knife, spatula, or any other metal tool to scrape stainless steel.
For occasional heavy cleaning use, a cleaner such as Liquid Zud can be
used according to package directions. Do not permit citrus or tomato
juice to remain on stainless steel surface, as citric acid will permanently
discolor stainless steel. Wipe up any spills immediately.
Brass Parts
CAUTION: All brass special ordered parts are coated with an epoxy
coating. DO NOT USE BRASS OR ABRASIVE CLEANERS ON THE BRASS
OPTION PARTS. All brass parts should be wiped regularly with hot
soapy water.
Oven Racks
Clean with detergent and hot water. Stubborn spots can be scoured with
a soap-filled steel wool pad.
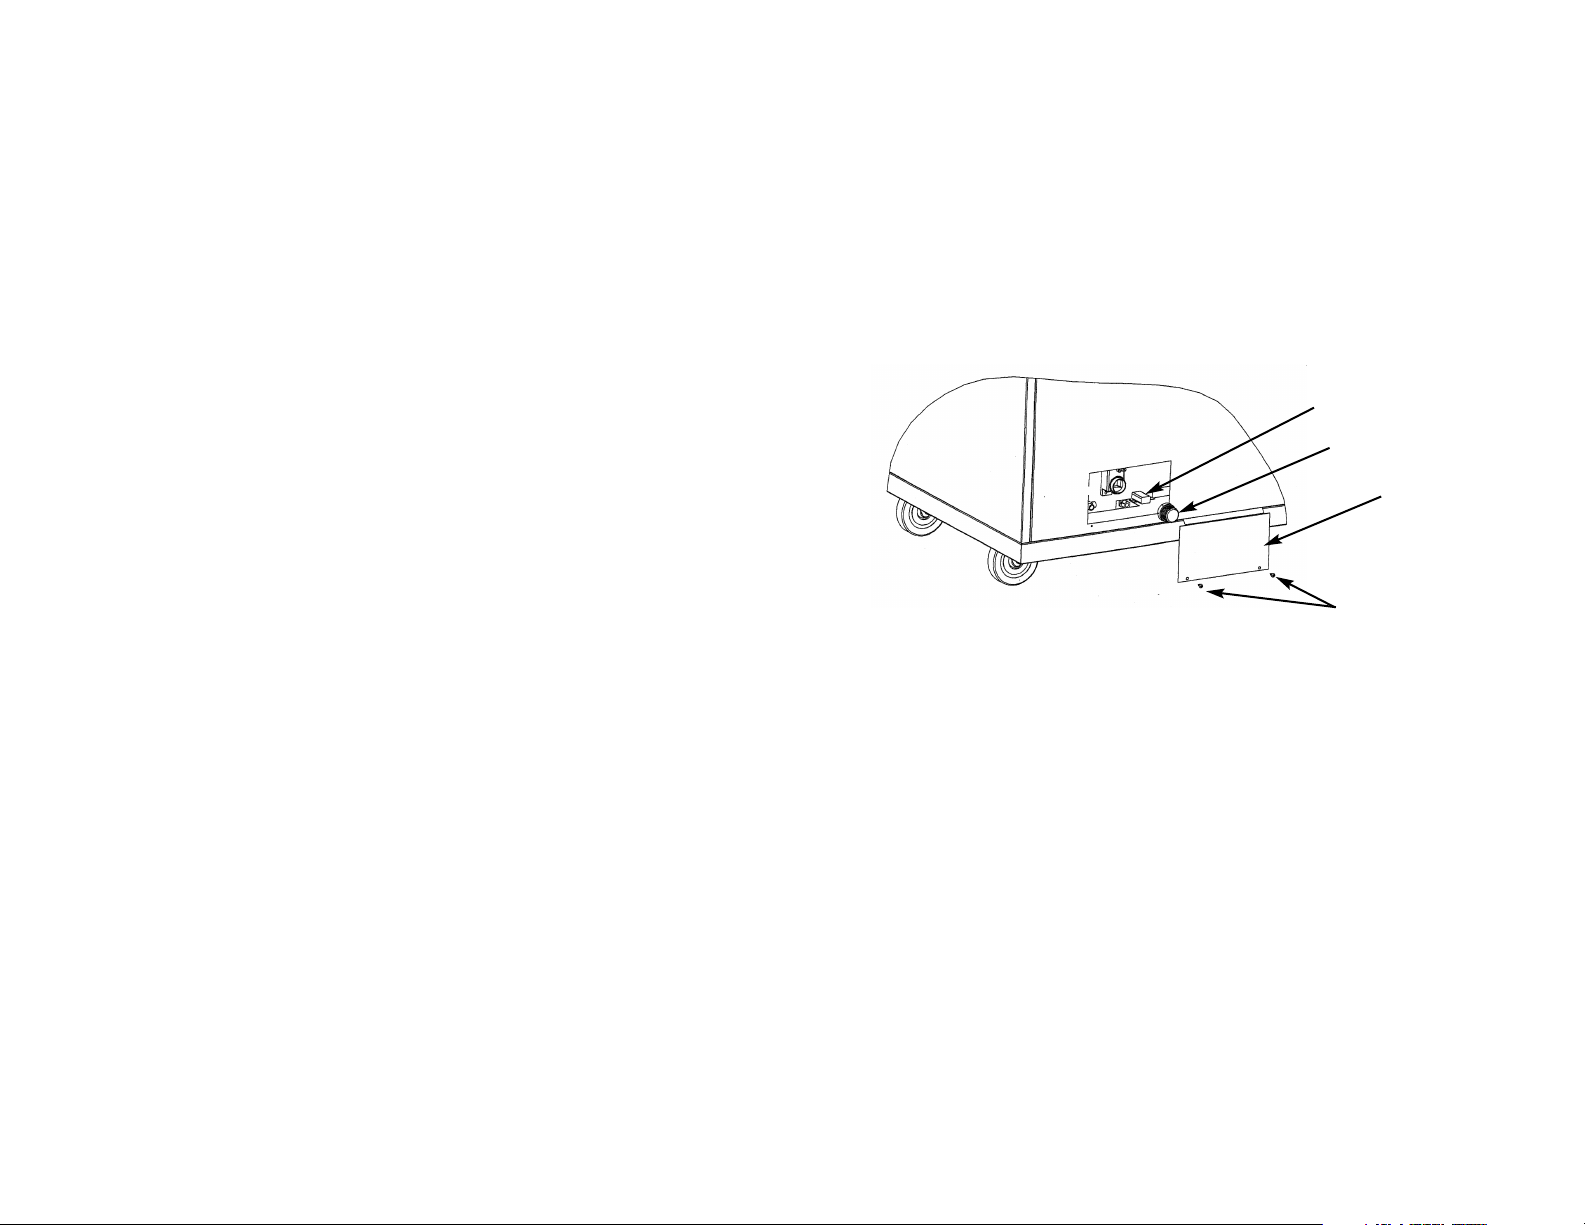
Replacing the battery (cart models)
Each cart model is equipped with a battery for the electronic ignition.
To replace the battery:
1. Locate the access door on the back left rear side of the cart.
2. Remove the two screws located at the bottom of the access door.
3. Locate the round black cap behind the access panel.
4. Unscrew cap. Battery is snapped in the cap.
5. Snap cap on battery and screw back into slot inside cart.
Access Door
Screws
Battery cap
9-volt Battery
Loading ...
Loading ...
Loading ...