Loading ...
Loading ...
Loading ...
16
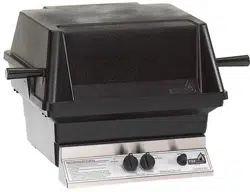
C. For Deck/Patio & In-Ground Mounts using 30" Flexible tubing.
(Fig. 24)
Connect the 30" flexible tube to the incoming gas supply using
a 3/8" flare coupling (not supplied). Attach the other end to the
grill valve connection behind the control panel. To tighten
securely use two wrenches. Hold valve joint with one wrench
and tighten the hose fitting with second wrench. After Tighten
leak test both connections. See Leak Testing
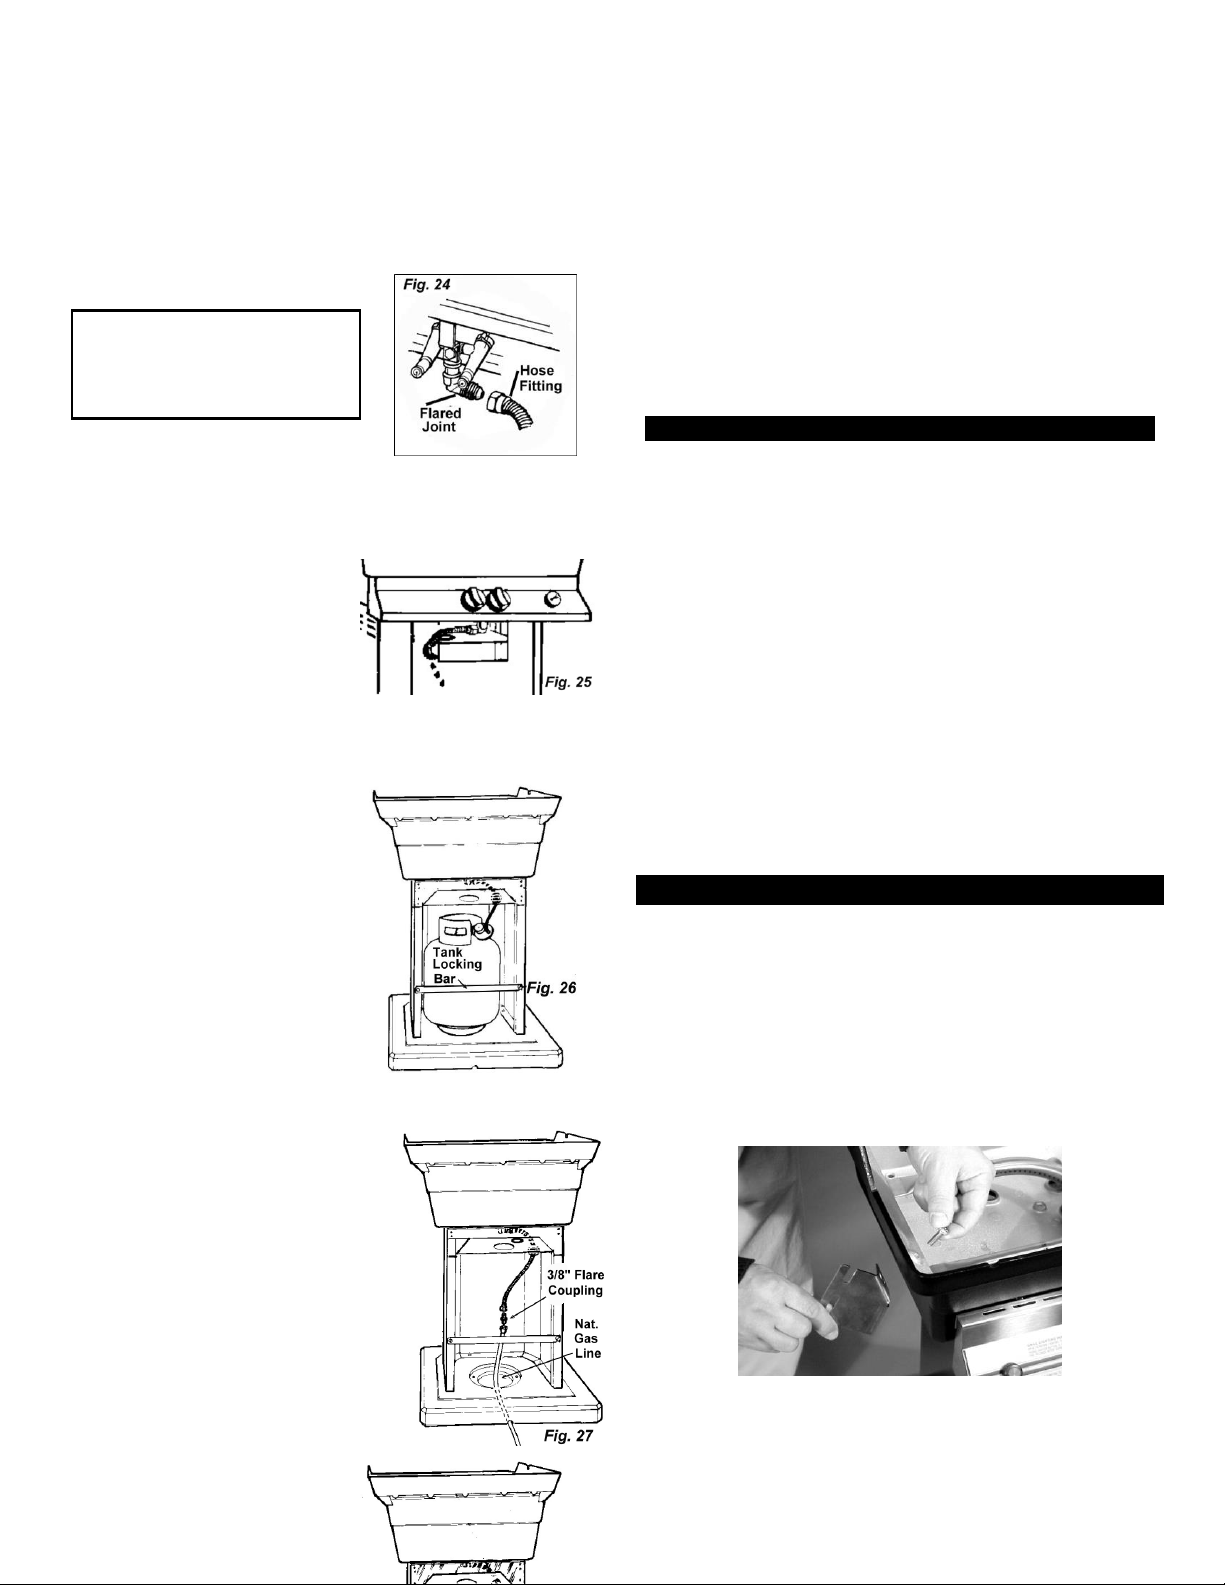
IGNTIOR ASSEMBLY
PGS uses the finest electronic ignition available.
Normal use will need to replace battery every six
months, or whenever sparking sound gets weak or
stops. To replace battery, simply unscrew cap found
on top of control just below the word “Ignitor).
Replace with a fresh AAA battery.
If ignitor does not produce a spark with a fresh
battery, make sure that ignitor wire is plugged into
back of ignitor as shown in Figure 21 on page 16 and
also wire in securely plugged into ignitor box in figure
37 on page 20. NOTE: Replace battery when
sparking sound either stops or noticeably slows down
or every six months, whichever occurs first. If you are
not going to use your grill for more than 30 days,
remove the battery. Reinstall when you are ready to
use your grill again.
SIDE SHELF ASSEMBLY
Install the left and right shelf brackets to the lower
casting of your barbecue, using the four 1/4 X 20 X
3/4" hex bolts, secure with four 1/4" lock washes and
four 1/4" hex nuts to hold each bracket (see Fig. 9).
Attach shelf to the brackets by inserting the threaded
screws on the shelf through the lower slots on the
brackets. Let the shelf hang down. Attach the 10-32
Hex Nuts (see Fig. 30).
Figure 30 Installing Shelf Bracket
DO NOT USE COMPOUND
OR TEFLON TAPE ON
FLARE FITTINGS
LP Propane for portable base and
deck/patio mounts:
The hose connection from the
Regulator passes out the front
access opening; resting on the
protected slot edge beneath the
control panel. The LP tank-locking
bar will press against the tank as it
is lowered into place to prevent
tank movement.
(Fig. 26)
Stainless (A-S PED) and Aluminum
(A-S PEDB) Column Mounts:
The supply line connection passes
beneath the heat shield and
through the front slot with the
protected edge and attaches to
the valve. Don’t forget to attach
the front Access Panel to the
Column.(Fig. 25)
Natural gas for deck/patio mount:
The gas line enters at the rear of the
base curving up through the base
opening. The stainless steel flexible
tubing line must be connected to the
incoming gas line using a 3/8" flare
coupling (not supplied by PGS). The
flexible tubing then passes beneath the
heat shield and through the front access
opening and attaches to the control
valve. (Fig. 27)
See tube-bending instructions
Page 24 Figure 49.
Natural gas or LP portable base
mount:
The natural gas cart uses a 12 foot
hose with a quick disconnect
(supplied), the propane uses a 16”
hose with LP Regulator. The hose
passes beneath the heat shield
Loading ...
Loading ...
Loading ...