Loading ...
Loading ...
Loading ...
20308184
11
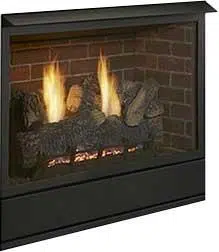
VFF Vent Free Fireplace System
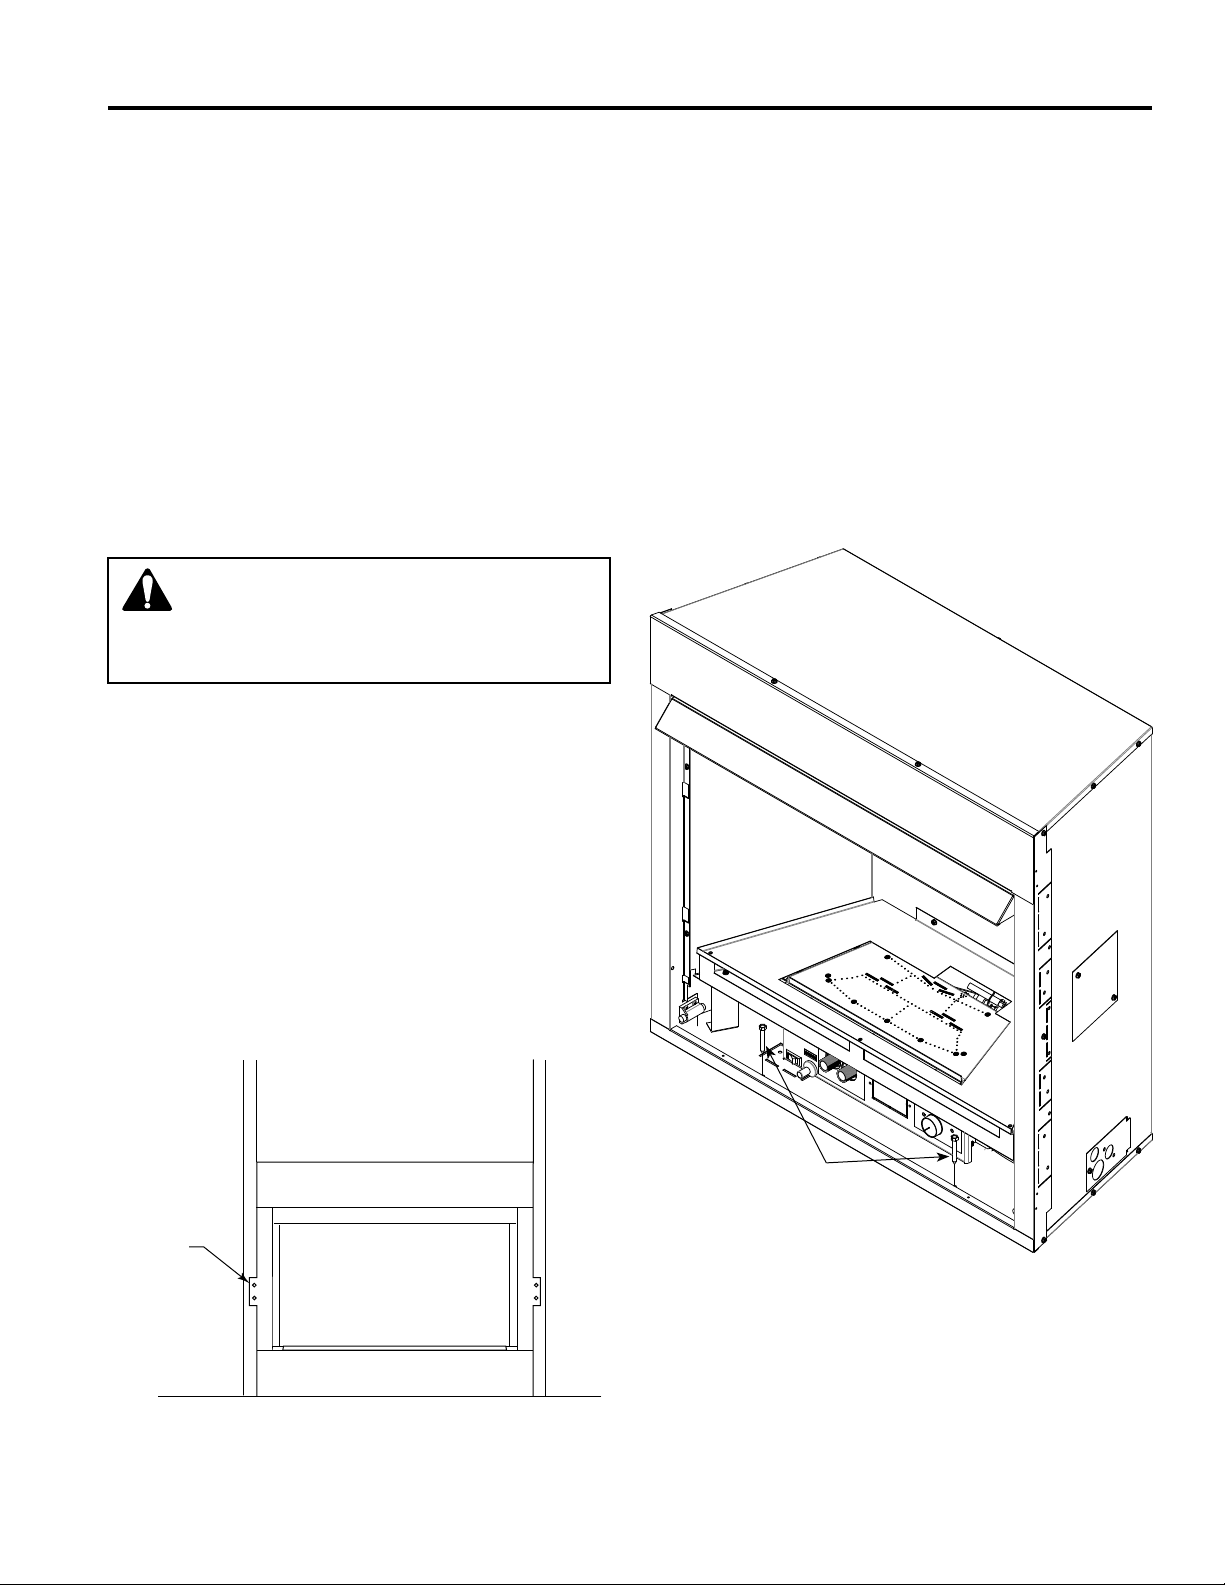
Nail Sides
Through Nailing
Flanges
Figure 8 -
Nailing Flanges
FIREPLACE INSTALLATION
SECURING HEATER TO FLOOR OR
HEARTH
NOTE: Clearance requirements as detailed in the
Clearances section on of this manual, must be met before
securing the heater in place.
To prevent movement, the heater must be secured to the
oor or hearth.
1. Open the control access door and remove the screen.
2.
Secure the rebox with two anchoring screws (
3
⁄16
" x 1
1
⁄4
"
length) supplied with the replace system. Figure 9
NOTE: If the unit is mounted on carpeting, tile or
combustible material without the hearth, a metal or wooden
base covering the entire width and depth of the base must
be installed.
Figure 9 -
Secure Fireplace to Floor or Hearth
FRAMING AND ANCHORING
If unit is to be “built in”, replace framing can be built before
or after the appliance is set in place. BE SURE THAT ALL
PACKING MATERIAL HAS BEEN REMOVED FROM THE
UNDERSIDE OF THE UNIT PRIOR TO SETTING THE
FIREBOX IN PLACE. Construct replace framing following
Fireplace and Framing Dimensions. The framing headers
may rest directly on top of the rebox.
The replace may be installed directly on a combustible
oor or a raised platform of an appropriate height. Do
not place replace on carpeting, vinyl, tile or other soft
oor coverings. It may, however, be placed on at wood,
plywood, particle board or other hard surfaces. Be sure
replace rests on a solid continuous oor or platform with
appropriate framing for support and so that no cold air can
enter from under the rebox.
WARNING: The replace must be installed
giving full consideration to the clearance
and height requirements identified in this
manual.
Anchor Screws
3
⁄16" x 1
1
⁄4"
Anchor replace to the side framing members using nailing
anges.
1. Bend out the nailing anges located on each side of the
rebox.
2. Slide the rebox into prepared framing or position rebox
in its nal position and frame later.
3. Level the rebox by checking the top edge of the rebox.
Shim if necessary.
4. Anchor rebox to the side framing members using 8d
nails or other suitable fasteners. Figure 8
5. The canopy must be installed for safe operation of the
heater. Refer to canopy installation details.
Loading ...
Loading ...
Loading ...