Warranty
This KOOLATRON product is warranted to the retail consumer for 90 days from date of retail
purchase, against defects in material and workmanship.
WHAT IS COVERED
- Replacement parts and labor.
- Transportation charges to customer for the repaired product.
WHAT IS NOT COVERED
- Commercial or industrial use of this product.
- Damage caused by abuse, accident, misuse, or neglect.
- Transportation of the unit or component from the customer to Koolatron.
IMPLIED WARRANTIES
Any implied warranties, including the implied warranty of merchantability are also limited to
duration of 90 days from the date of retail purchase.
WARRANTY REGISTRATION
Register on-line at www.koolatron.com AND keep the original, dated, sales receipt with this
manual.
WARRANTY AND SERVICE PROCEDURE
If you have a problem with your unit, or you require replacement parts, please telephone the
following number for assistance: 1-800-265-8456
A Koolatron Master Service Centre must perform all warranty work. Service after warranty may
be obtained at a Master Service Centre or at an authorized service dealer. Purchase Receipt
is required to establish warranty eligibility.
Koolatron has Master Service Centres at these locations:
U.S.A.
4330 Commerce Dr., Batavia, NY 14020-4102
Canada
139 Copernicus Blvd., Brantford, ON N3P 1N4
www.koolatron.com
©2017 Koolatron, Inc. All rights reserved.
All specification are subject to change without notice.
Made in China
03/2017-v4H1S141
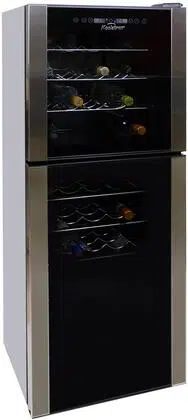
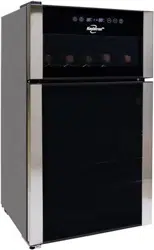
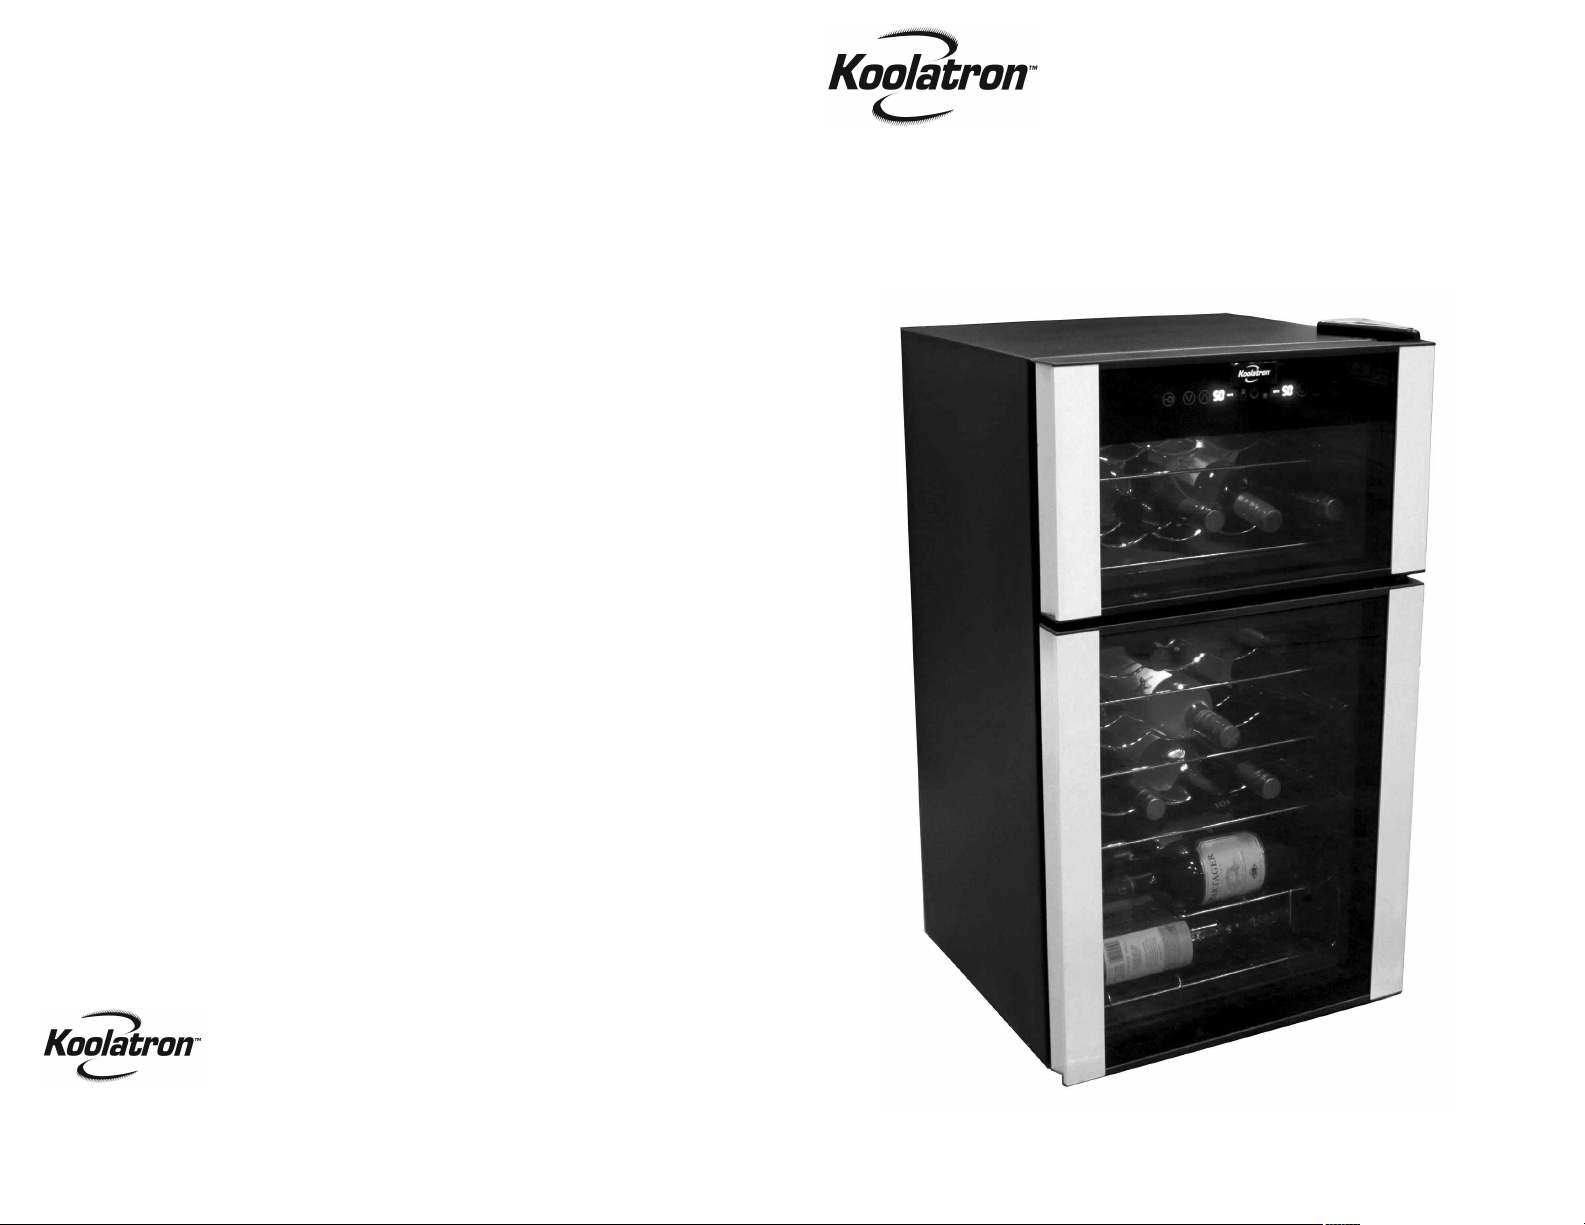
WC29
User Manual
29-bottle
DUAL ZONE
WINE CELLAR
SAFETY
- Household Use Only.
- This unit is an indoor appliance. DO NOT use OUTDOORS.
- There must be at least 127 mm (5”) clearance around the unit to ensure proper ventilation.
- Place unit on a flat surface, away from heat sources.
- Do not use the appliance if the plug or cable is damaged. If the power cord is damaged
and/or is malfunctioning, please contact the manufacturer.
- Pull the plug out of the outlet to disconnect. DO NOT pull the cord.
- Do not touch the plug with wet hands.
- Never clean appliance parts with flammable fluids. Do not store or use gasoline or any
other flammable vapors and liquids in the vicinity of this or any other appliance. The fumes
can create a fire hazard or explosion.
- Unplug the appliance when not in use.
Use of extension cords
Because of potential safety hazards under certain conditions, we strongly recommend against
the use of an extension cord. However, if you must use an extension cord, it is absolutely
necessary that it is a UL-listed (in the United States) or a CSA-listed (in Canada), 3-wire
grounding type appliance extension cord having a grounding type plug and outlet and that the
electrical rating of the cord is 15 amperes (minimum) and 120 volts.
INSTALLATION
• Choose a location where there is an electrical outlet within reach of the power cord. There
must be at least 127 mm (5”) clearance around the unit to ensure proper ventilation. Avoid
locations in direct sunlight, moist or extreme cold areas.
• The wine cooler should be placed where the ambient temperature is between 15 to 25°C
(59 to 77°F). If the ambient temperature is above or below this range, the performance of
the unit may be affected. Placing your unit in extreme cold or hot conditions may cause
interior temperatures to fluctuate.
• Before connecting the appliance to the power source, let it stand upright for
approximately 2 hours. This will reduce the possibility of a malfunction in the cooling
system from handling during transportation.
• Clean the interior surface with lukewarm water using a soft cloth.
3
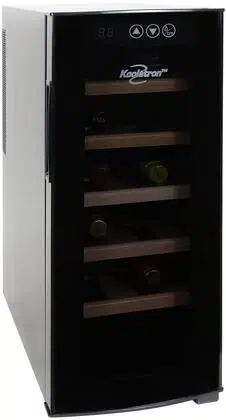
FEATURES
This twentynine-bottle wine cooler is designed to accept 750 ml bottles up to 315mm (12.5")
tall. The temperature settings are between 8°C (46°F) and 18°C (64°F). Temperature
selection, °C or °F, switchable. Interior light operated by external button.
SPECIFICATIONS
Power Requirements: AC 115V 60Hz 90W
Capacity: 29 x 750 ml (25.4 oz) bottles
Max. Temp.: 18°C +/- 3°C (64°F +/- 5°F) at 22°C (72°F) ambient air temp.
Min. Temp.: 8°C +/- 3°C (46°F +/- 5°F) at 22°C (72°F) ambient air temp.
Weight: 33.6 kg (74 lbs)
2
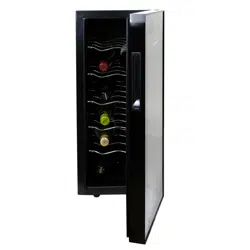
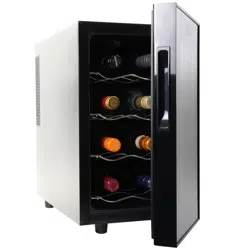
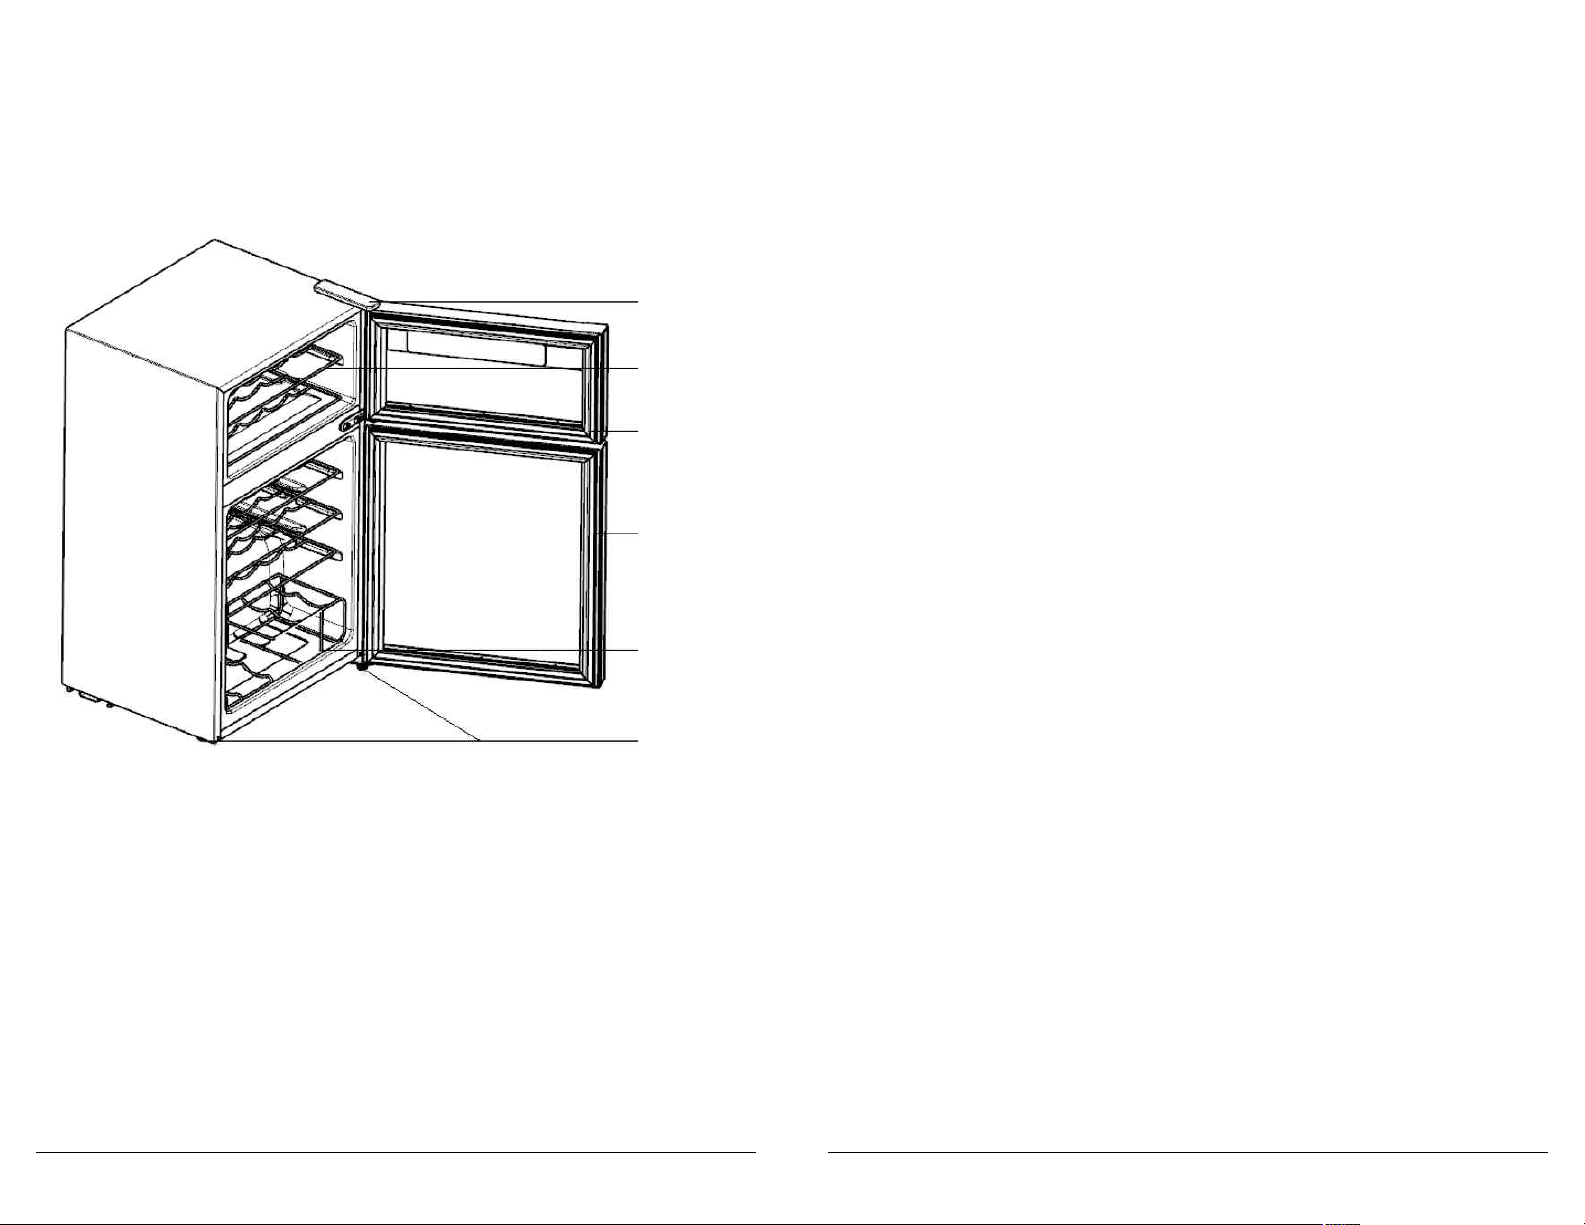
HINGE
WIRE SHELF
UPPER
GLASS DOOR
LOWER
GLASS DOOR
WIRE
BASKET
ADJUSTABLE
FEET
OPERATING INSTRUCTIONS (cont.)
TEMPERATURE SETTING
• Set the desired cooling temperature by pressing the ‘UP’ or ‘DOWN’ key to set your desired
temperature. Each depression of the buttons will scroll through the available temperature
settings in increments of 1 degree.
MEMORY FUNCTION
• The cooler has the power off memory function. When power on again, the wine cooler will
operate according to the setting mode before power off.
• For sparkling wine the temperature should be set between 46°- 48°F (8°- 9°C)
• For white wine the temperature should be set between 48°- 54°F (9°- 12°C)
• For red wine the temperature should be set between 55°- 65°F (13°- 18°C)
NOTES
• If the unit is unplugged, power loss, or turned off, you must wait 3 to 5 minutes before
restarting. If you attempt to restart before this interval the Wine Cooler will not start.
• When you use the wine cooler for the first time or restarting after being shut off for a long
time, there could be a few degrees variance between the temperature you select and the
one indicated on the LED readout. This is normal and it is due to the length of the activa-
tion time. Once the wine cooler is running for a few hours everything will return to normal.
• The zone temperature may have a difference of +/- 5°F (+/- 3°C) from setting depending
on loading and ambient conditions.
WARNING
Be careful when using the touch screen panel. Please protect the panel carefully to avoid
scratches, and maintain far away from strong magnetic field and high humidity areas, these
conditions may prevent the wine cooler from working properly.
FAULT INDICATION
• If the indication of the following table is displayed on the display area, it means the cooler
is with faults.
FAULT CODE FAULT DESCRIPTION
upper chamber display E1 Failure of temperature sensor in upper chamber
lower chamber display E1 Failure of temperature sensor in lower chamber
upper chamber display E4 Failure of defrosting sensor in upper chamber
lower chamber display E4 Failure of defrosting sensor in lower chamber
upper chamber display E6 Communication fault
WARNING When the above faults are displayed on the screen, please do not disassemble to check
by yourself. Please contact the special maintenance personnel of the local after-sales service
company for the maintenance.
5
OPERATING INSTRUCTIONS
• Powering on first time, the display screen gives a full display for 3s and the start-up sound
rings; then the machine enters into operation in the locked state.
• The setting temperatures of both zones will be displayed.
LOCK/UNLOCK KEY
- By pressing the ‘LOCK’ button for 3s in the locked mode, the buzzer sounds and the
unlocked mode is activated; After unlocking, the temperature display area of selected
chamber flashes.
- By pressing the ‘LOCK’ button for 3s in the unlocked mode, the buzzer rings and the
locked mode is activated; the temperature display areas of upper and lower chambers
stop flashing.
• In unlocked state, if the control panel is not touched within 30 seconds, the display screen
will stop flashing. When the cooler is in locked state, after 30 seconds, the display screen
will turn off. The display screen will turn on again when touching any key.
• In the locked mode, if touching any key besides ‘LIGHT’, the display screen will keep
flashing for 2.5s and the buzzer will alert to unlock the unit.
LIGHT key
• The light turns on by default for 30s. If the ‘LIGHT’ key is not operated within 30s, the light
will automatically turn off.
• Press the ‘LIGHT’ key to turn the light on or off.
SWITCH BETWEEN FAHRENHEIT AND CELSIUS TEMPERATURE DISPLAY
• In unlocked mode, press the UP key DOWN key at the same time for 3s to finish the switch
between Celsius temperature and Fahrenheit temperature; the screen will display the
Fahrenheit temperature or Celsius temperature under the current mode.
ZONE SELECTION
• Powering on first time, the temperature of each chamber will be set according to default
setting. By pressing the ‘ZONE SELECTION’ key, the temperature area will be switched
between upper chamber and lower chamber. Once a chamber is selected, the display will
flash and at this time the temperature of that chamber can be set up.
4
LIGHT TEMP.
UP
ZONE
SELECTION
LOCK UPPER
ZONE
LOWER
ZONE
TEMP.
DOWN

MAINTENANCE
6
CLEANING YOUR WINE COOLER
• Turn off the power, unplug the appliance, and remove all items including shelves and rack.
• Wash the inside surfaces with warm water and baking soda solution. The solution should
be about 2 tablespoons of baking soda with a quart of water.
• Wash the shelves with a mild detergent solution.
• Wring excess water out of the sponge or cloth when cleaning area of the controls, or any
electrical parts.
• Wash the outside cabinet with warm water and mild liquid detergent. Rinse well and wipe
dry with a clean soft cloth.
POWER FAILURE
Most power failures are corrected within a few hours and should not affect the temperature
of your appliance if you minimize the number of times the door is opened. If the power is
going to be off for a longer period of time, you need to take the proper steps to protect your
contents.
VACATION TIME
• Short vacations: Leave the Wine Cooler operating during vacations of less than three
weeks.
• Long vacations: If the appliance will not be used for several months, remove all items and
turn off the appliance. Clean and dry the interior thoroughly. To prevent door and mold
growth, leave the door open slightly: blocking it open if necessary.
MOVING YOUR WINE COOLER
• Remove all items.
• Securely tape down all loose items (shelves) inside your appliance.
• Turn the adjustable leg up to the base to avoid damage.
• Tape the door shut.
• Be sure the appliance stays secure in the upright position during transportation. Also
protect the outside of the appliance with a blanket, or similar item.
ENERGY SAVING TIPS
The Wine Cooler should be located in the coolest area of the room, away from heat
producing appliances, and out of the direct sunlight.
You can solve many common appliance problems easily, saving you the cost of a possible
service call. Try the suggestions below to see if you can solve the problem before calling the
servicer.
PROBLEM POSSIBLE CAUSE
Appliance does not operate. Not plugged in.
The circuit breaker tripped or a blown fuse.
Appliance is not cold enough. Check the temperature control setting.
External environment may require a higher setting.
The door is opened too often.
The door is not closed completely.
The door gasket does not seal properly.
Turns on and off frequently. The room temperature is hotter than normal.
The door is opened too often.
The door is not closed completely.
The temperature control is not set correctly.
The door gasket does not seal properly.
The light does not work. Not plugged in.
The circuit breaker tripped or a blown fuse.
The bulb has burned out.
The switch is in the “OFF” position.
Vibrations. Check to assure that the appliance is level.
The appliance seems to make The rattling noise may come from the flow of the
too much noise. refrigerant, which is normal.
As each cycle ends, you may hear gurgling sounds
caused by the flow of refrigerant in your appliance.
Contraction and expansion of the inside walls may
cause popping and crackling noises.
The appliance is not level.
The door will not close properly. The appliance is not level.
The door was reversed and not properly installed.
The gasket is dirty.
The shelves are out of position.
7
TROUBLESHOOTING GUIDE