Loading ...
Loading ...
Loading ...
EN / 11
4 Installation
Please read the “Safety Instructions”
section first!
Your washing machine automatically
detects the amount of laundry
placed inside when selecting a pro-
gram.
While installing the product, before
the first use, calibration should be
done to ensure that the laundry
amount is detected in the most ac-
curate way.
To do this, select the Drum Clean-
ing* program and cancel the spin
function. Start the program without
laundry. Wait for the program to fin-
ish, which will take about 15
minutes.
*The program name may vary de-
pending on the model. For the ap-
propriate program selection, review
the program descriptions section.
• Preparation of the location and electrical,
tap water and waste water installations at
the place of installation is under cus-
tomer's responsibility.
• Make sure that the water inlet and dis-
charge hoses as well as the power cable
are not folded, pinched or crushed while
pushing the product into its place after in-
stallation or cleaning procedures.
• Prior to installation, visually check if the
product has any defects on it. Do not have
the product installed if it is damaged.
Damaged products cause risks for your
safety.
4.1 Appropriate Installation Loca-
tion
• Place the product on a hard and level
floor. Do not place it onto a carpet with
high pile or other similar surfaces. Inappro-
priate floor may cause problems of noise
and vibration
• Total weight of the washing machine and
the dryer -with full load- when they are
placed on top of each other reaches to
approx. 180 kilograms. Place the product
on a solid and flat floor that has sufficient
load carrying capacity.
• Do not place the product on the power
cable.
• Do not install the product at places where
temperature may fall below 0 ºC. Freezing
might damage your product.
• Leave a minimum space of 1 cm between
the product and the furniture.
• If you will install the product on a surface
with steps, never place it close to the
edge.
• Do not place the product on any platform.
• Do not place heat sources such as
cooker, irons, ovens, heater etc. on the
appliance and do not use them on the
product.
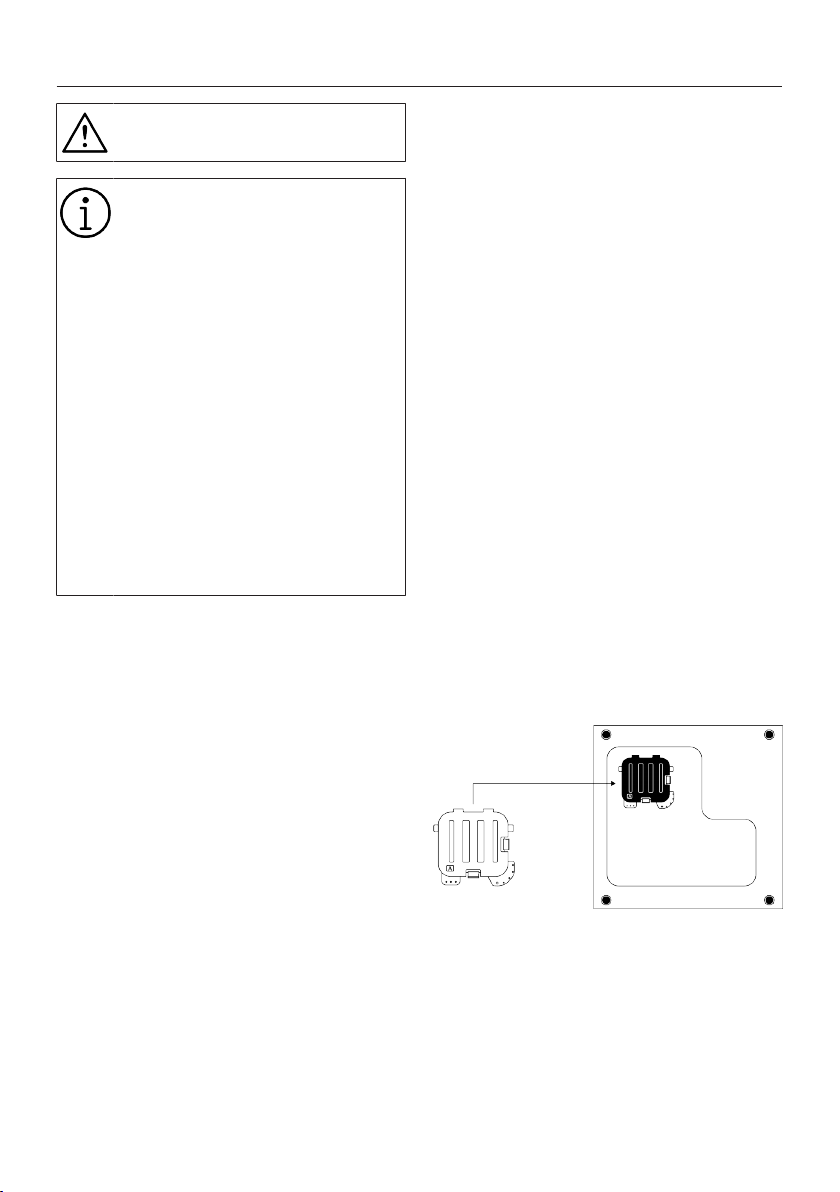
4.2 Assembly of Bottom Panel Cov-
ers
• In order to increase the sound comfort of
the product, attach cover A after removing
the package foam.
Cover A
Tilt the machine back slightly. Rest the tabs
of Cover A against the lower panel. Com-
plete the assembly by rotating the cover.
• Cover B and the Cap are optional. If avail-
able, attach cover B and the Cap.
Loading ...
Loading ...
Loading ...