
Loading ...
Loading ...
Loading ...
Advanced Setup – Part 1
107
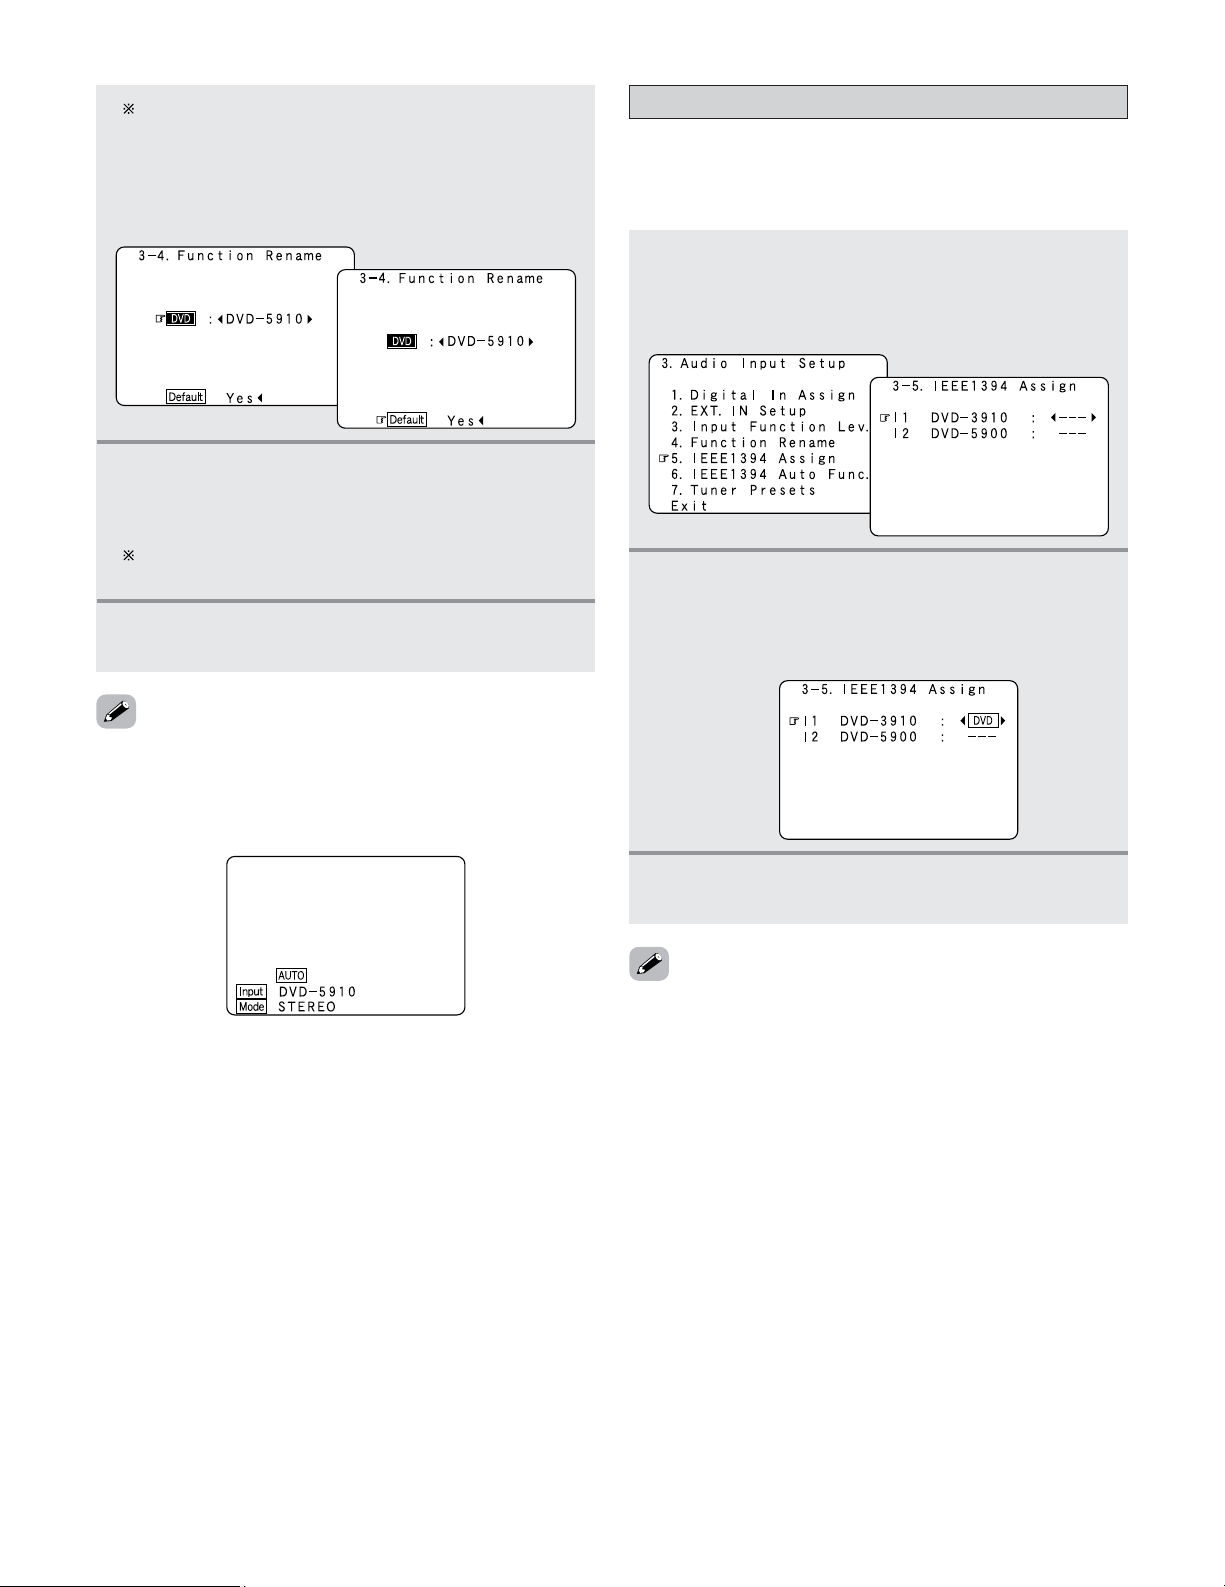
To reset the input function name to the default value,
press the CURSOR
FF
or
GG
button to highlight the input
function display, then press the CURSOR
HH
button
.
When “Default Yes” is selected, then press the
CURSOR
FF
button to reset to the default input function
name.
5
Once all the characters have been input, press
the
ENTER button.
• The “Function Rename” screen reappears.
Use the same procedure to change other input
function names as well.
6
Press the ENTER button to enter the setting.
• The “Audio Input Setup” menu reappears.
• When the input function is selected, the display is as shown
below.
Example: When the name has been changed to “DVD-
5910”
• If you do not wish to assign the device connected by
IEEE1394 cable to an input source, the IEEE1394 input can
be selected by turning the FUNCTION knob. In this case, the
connection information is cleared when the power of the
connected device or the AVR-5805CI is turned off, so the
selection procedure must be performed again.
• By default, if no device has been connected using an
IEEE1394 cable in the past, “No Connection” is displayed.
• “Connection Change” is displayed if there is a change in the
IEEE1394 connection status while this screen is displayed.
• If the model name cannot be acquired from the connected
IEEE1394 device, “UNKNOWN” is displayed.
• If an IEEE1394 device other than one for IEEE1394 audio
playback is connected, “Not Play” is displayed and the input
source cannot be assigned.
Setting the IEEE1394 Assignment
• Assign the device connected by IEEE1394 cable to an input
source. The power of the device to be assigned must be
turned on ahead of time.
1
Press the CURSOR
DD
or
HH
button to select
“IEEE1394 Assign” at the “Audio Input
Setup” menu, then press the
ENTER button.
• The “IEEE1394 Assign” screen appears.
2
Press the CURSOR
DD
or
HH
button to select the
device to be assigned to the input source, then
press the
CURSOR
FF
or
GG
button to select the
input source.
3
Press the ENTER button to enter the setting.
• The “Audio Input Setup” menu reappears.
Loading ...
Loading ...
Loading ...