Loading ...
Loading ...
Loading ...
Residen al Electronic Thermostat Electric Water Heater Use and Care Guide • 15
INSTALLATION
Step 10:
Installing the Leak
Detec on Sensor
The leak detect sensor (LDS) does not
provide protec on against a water
leak, it only provides no fi ca on that
water is present in the loca on of the
sensor. When a leak is detected the
control assembly will display an error
code accompanied by a fl ashing light
and audible signal. If the presence of
water is indicated disconnect power to
the water heater, turn off the incom-
ing water off and address the source
of the leak before returning the unit to
service. See included kit instruc ons
found with the LDS, for detailed instal-
la on instruc ons.
1
Connect the (LDS) to the
lower door connector.
2
A ach the LDS to the heater
or drain pan using the tape on
the back of the LDS. Ensure
the metal probes point down.
3
Use the included wire clamps
to organize the wires.
Step 11:
Adjus ng the
Temperature
With the installa on steps completed,
you may adjust the water heater’s
temperature se ng if desired.
WARNING! Be sure panels are
secured to reduce the risk of fi re and
electric shock.
1
Turn the electric power back
on.
2
Set the thermostat to the
desired temperature, on the
control assembly (See
Adjus ng the Control Assembly’s
Opera oal Modes found on page 17).
The set point on this water heater has
been factory set to approximately
120°F to reduce the risk of scald injury.
You may wish to set a higher tempera-
ture to provide hot water for automat-
ic dishwashers or laundry machines, to
provide more hot water capacity, and
to reduce bacterial growth. Higher
tank temperatures (140° F) kill bacteria
that cause a condi on known as
“smelly water” and can reduce the
levels of bacteria that cause water-
borne diseases.
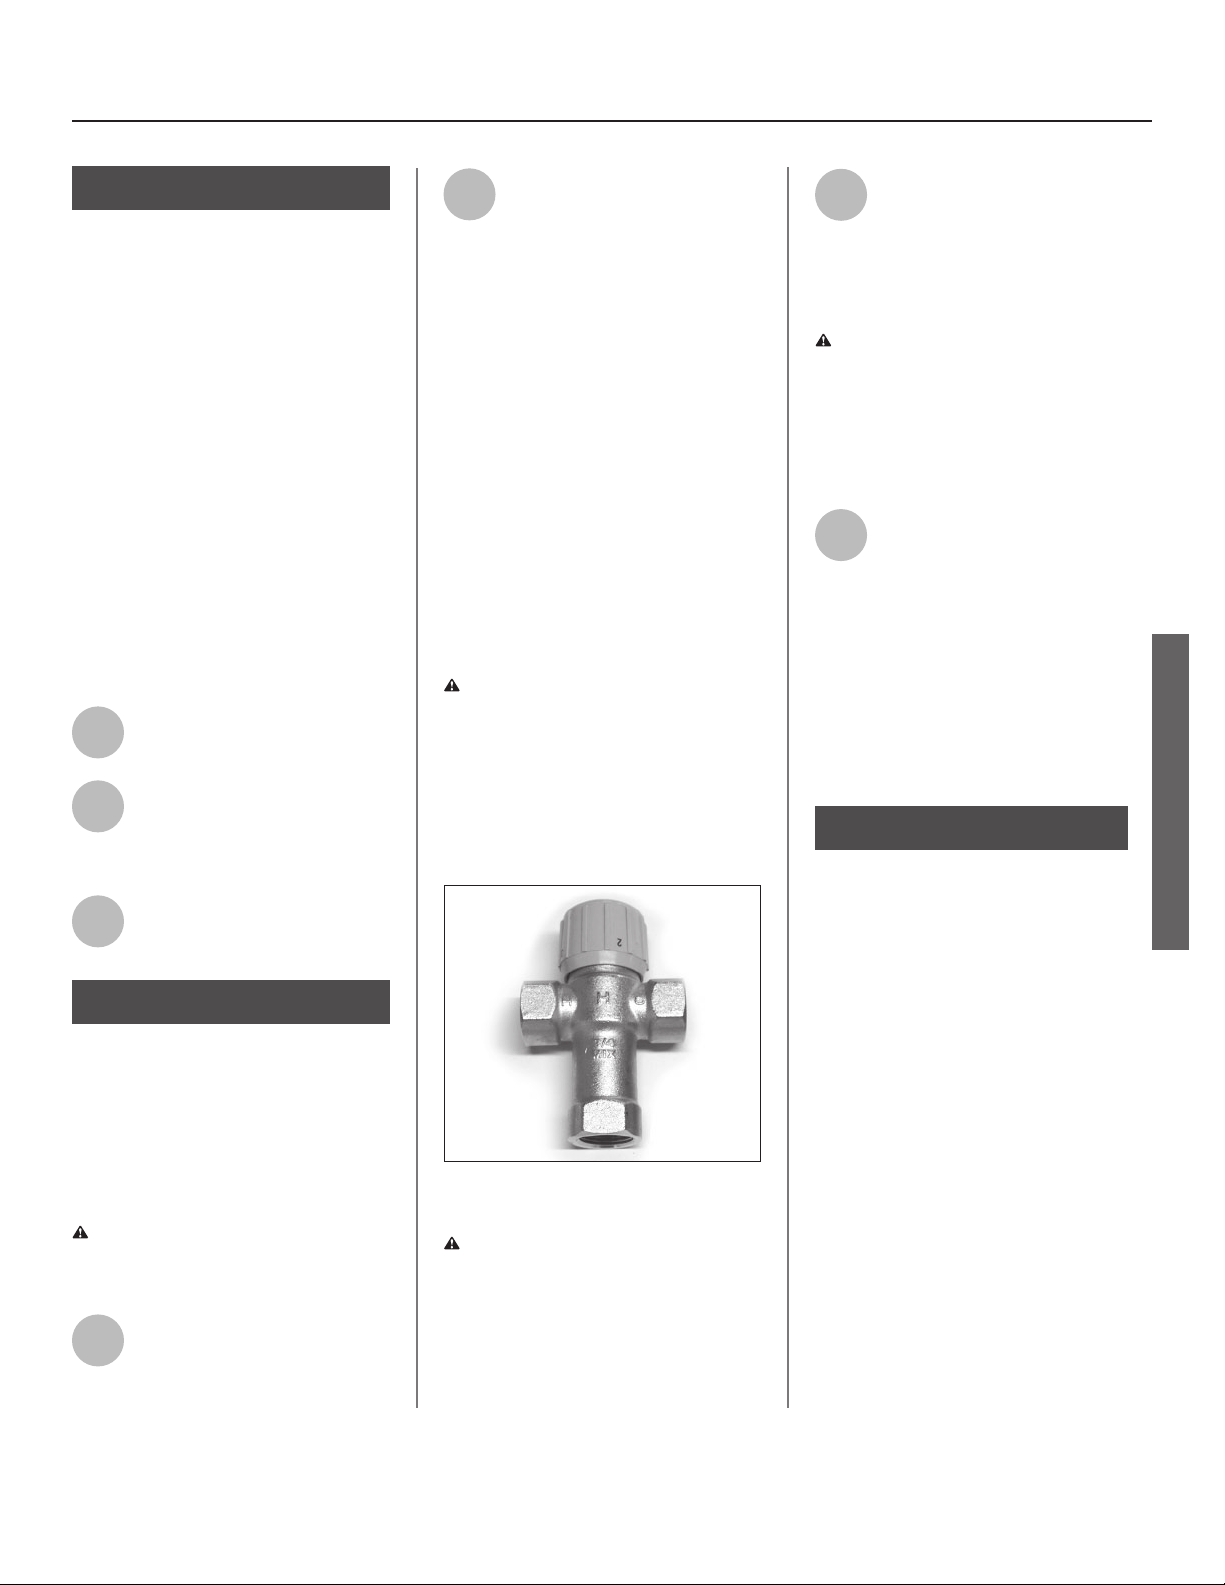
WARNING! Higher temperatures
increase the risk of scalding, but even at
120°F, hot water can scald (see page 4).
If you increase the water heater’s tem-
perature se ng, install Thermosta c
Mixing Valve(s) at each point-of-use to
reduce the risk of scalding.
Figure 20 - Adjust Thermostatic Mixing Valves at
each point-of-use to 120°F or lower.
WARNING! Working near an
energized circuit can result in severe
injury or death from electrical shock.
Check wires with a circuit tester to
make sure power is off .
3
Wait for the water to heat up.
It may take several hours for a
tank of cold water to heat up.
If you have no hot water a er two
hours, refer to the Troubleshoo ng
Sec on (see page 20).
WARNING! If you have increased
the temperature se ng and the
Thermosta c Mixing Valves are not set
properly (or not installed) you could
scald yourself while checking the
temperature.
4
Check water temperature at
several points of use in your
home (for example, bathtub
faucet, shower, or lavatory sink) and
adjust the Thermosta c Mixing Valves
as needed. If you aren’t sure how to
adjust the Thermosta c Mixing Valve
se ngs, or aren’t sure if you have
Thermosta c Mixing Valves, contact a
qualifi ed person.
Step 12:
Opera on
Remove/pull out the battery protec-
tive tab from the left side of the con-
trol assembly. The water heater is now
ready for normal operation. To keep
your water heater working safely and
efficiently and extend its life, perform
maintenance according to the sched-
ule on page 26.
Turn the electric power on at the
circuit breaker panel, or fuse box.
Power to the water heater will allow
the water heater to run a system diag-
nostic. This typically takes a few min-
utes. Once complete, proceed to the
Operations section of this manual.
NOTICE: If the system diagnostic yields
any codes, reference the diagnostic
codes section in this manual.
INSTALLATION
Loading ...
Loading ...
Loading ...