Loading ...
Loading ...
Loading ...
8
Operating the Cooktop
WARNING
• To avoid risk of fire, explosion, or carbon monoxide poisoning,
use the range only with the burners properly assembled (see Pg.
7). Burner rings must be properly seated for ignition.
• To avoid personal injury, turn cookware handles away from active
burners and the front edge of the range. Set cookware gently on
the grates, and center them for stability.
• Lift to reposition cookware. Sliding may damage the grate finish.
• Cookware with rough bottoms can permanently mar the grate finish.
• To avoid burns or fire hazard, keep the flame beneath the cookware.
• Always turn the burner on before placing the cookware, and turn
the burner off before removing the cookware. Always turn off all
burners when finished cooking.
• Do not turn the knob farther than HIGH until it ignites, or a burst of
flame could cause burns or damage the surrounding area.
• Do not touch any part of the burner while the igniter is sparking.
An electric shock could result.
• Never light the burners with a flame.
• If the gas does not ignite in 4 seconds, or if the flame goes out and
gas escapes, turn the burner off. Open a window, wait 5 minutes
for the gas to dissipate, then try lighting the burner.
Selecting Cookware
For overall safety, efficiency, and best results, select cookware
best suited to the task. Use cookware that has tight-fitting lids
and flat, smooth bottoms, and is well-balanced.
IMPORTANT: Take care to avoid spills. The porcelain-coated
grates, spill tray, and burner caps are not acid-proof. Some foods
can permanently mar the coating if not cleaned off quickly.
Things to Know Before Using the Cooktop
• A normal flame is steady and blue. Foreign material in the gas
line, especially in a new range, may cause an orange flame that
disappears with use. Yellow-tipped flames are normal for LP gas.
• See Pg. 5 for the heat ranges of the different burners.
• Food cooks as quickly at a gentle boil as at a rolling boil, which
wastes energy and cooks out moisture, flavor, and nutrients.
• Use a low/medium flame with poor-heat-conducting cookware
(e.g., glass, ceramic, or cast iron). Adjust the flame to cover 1/3
of the cookware diameter to ensure even heating and lower the
risk of scorching the food.
• Dacor’s SimmerSear feature lets you precisely control the flame
on the SimmerSear burner, from low to high heat.
Lighting a Burner
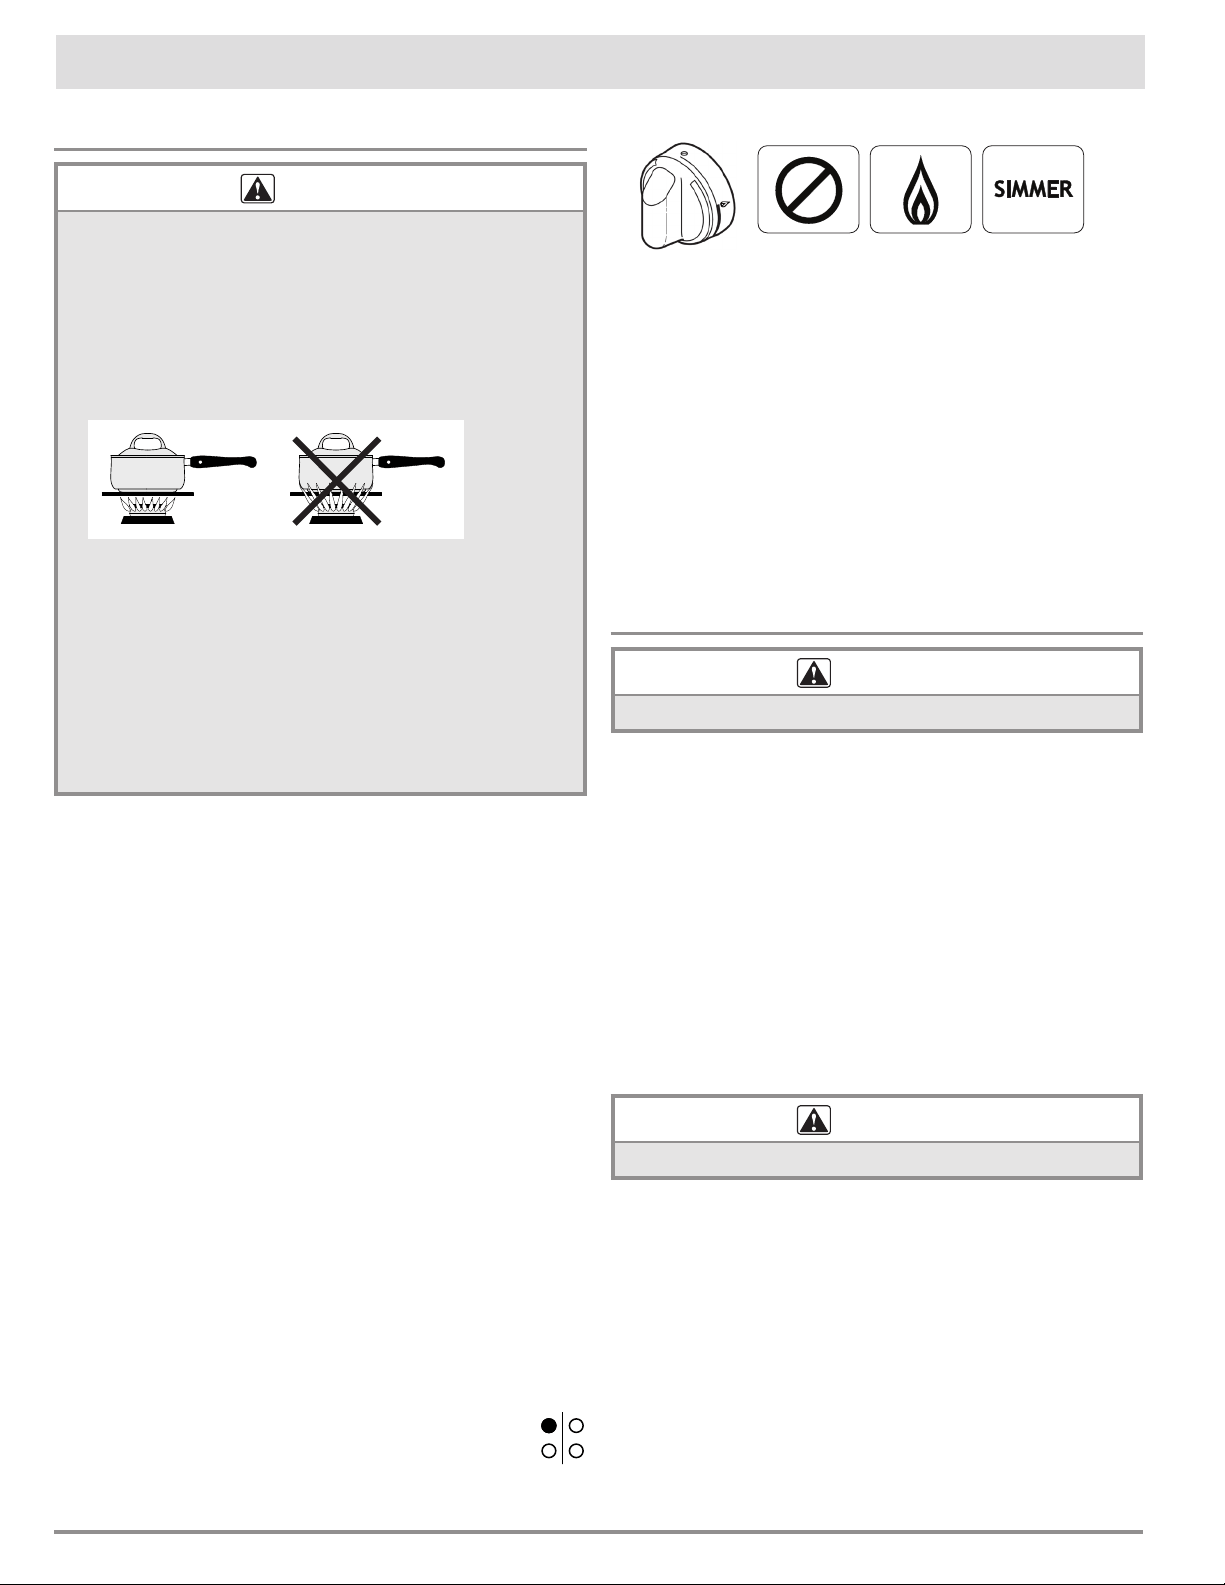
Each knob has a small diagram next to it that shows which
burner it controls.
1. Push-turn the knob to HIGH (flame icon).
The knob illuminates; the igniter sparks (click-click) until the
burner ignites (about 4 sec’s). The flame burns evenly around
the burner, except below each grate-support finger, where the
flame is reduced by Dacor’s Smart Flame feature.
If there is no ignition in 4 seconds, or if the flame goes out, turn
the burner off. Open a window, and let the gas dissipate for 5
minutes, then try relighting. If the burner still does not ignite,
the igniter keeps sparking, or if the flame spreads unevenly
around the burner cap, see Troubleshooting, Pg. 15.
2. Place the cookware on the grate, and adjust the flame to the
cooking task.
Operating the Oven
WARNING
Do not touch any part of the oven during or directly after use.
Burning In the Oven
Manufacturing residue commonly remains in the oven. Burn this
residue away before using the oven for the first time.
1. Shut birds and other pets in another, well-ventilated room.
2. Open kitchen windows, and turn on the range hood.
3. Turn the oven to BROIL for 10 minutes.
Odors and smoke from the backguard vent are normal.
4. Turn the oven to 350°F for 30 minutes, then turn off the oven.
5. When odors and smoke clear, close the windows, and turn off
the range hood.
Installing/Removing the Oven Racks
WARNING
The oven racks become hot when the oven is in use.
The rack supports offer seven positioning levels.
Installing/Removing a Standard Oven Rack
1. Orient the rack with the safety notches toward the oven.
OFF
HIGH LOW
Operating the Range
Loading ...
Loading ...
Loading ...