Loading ...
Loading ...
Loading ...
Westinghouse Outdoor Power Equipment, LLC | 15
MAINTENANCE
MAINTENANCE
MAINTENANCE SCHEDULE
Disconnect the spark plug boot from the spark plug
when performing maintenance on the pressure washer�
Regular maintenance will improve performance and extend
the service life of the pressure washer� Follow the hourly
or calendar intervals, whichever occurs rst. More frequent
service is required when operating in adverse conditions
as noted below�
Before Each Use
Check engine oil
Check water inlet screen and gasket
Clean around air intake and mufer
After First 5 Hours
Change engine oil
After 50 Hours or Every Season
Clean air lter
Change engine oil if operating under heavy load or in
hot environments
Clean spark arrestor
After 100 Hours or Every Season
Inspect/clean spark arrestor
Inspect/clean spark plug
Inspect/adjust valve clearance*
After 300 Hours
Replace spark plug
Replace air lter
* Recommend service to be performed by
authorized Westinghouse service dealer�
CLEANING THE PRESSURE WASHER
DO NOT spray the pressure washer with water� Water
can contaminate the fuel system and can enter the
engine through the cooling slots and damage the engine�
1. Use a damp cloth to clean exterior surfaces of the
pressure washer�
2. Use a soft bristle brush to remove dirt and oil�
3. Use an air compressor (25 PSI) to clear dirt and debris
from the pressure washer�
4. Inspect all air vents and cooling slots to ensure that they
are clean and unobstructed�
CLEANING SPRAY NOZZLES
Detach the nozzle from the spray lance� Use the included
nozzle cleaning tool to loosen any particles in the nozzle�
Flush with water�
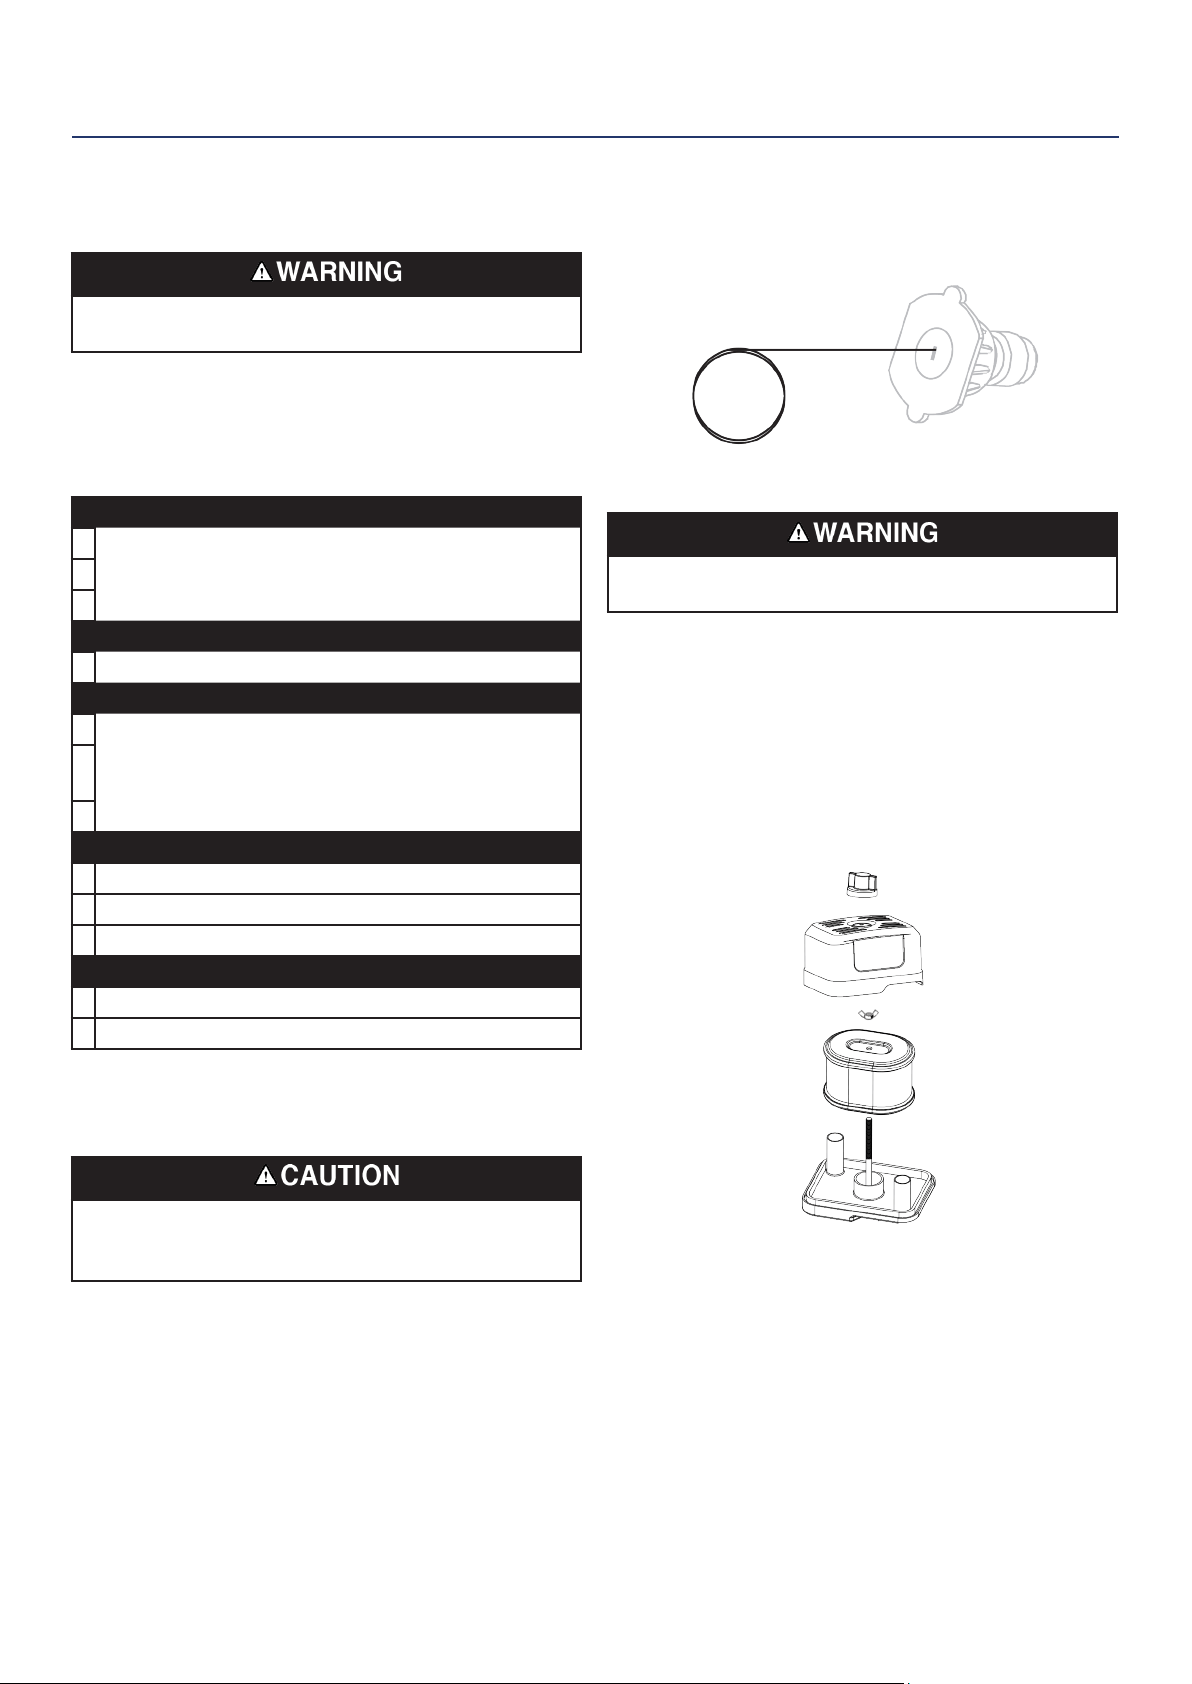
AIR FILTER MAINTENANCE
Fire hazard. Never use gasoline or other ammable
solvents to clean the air lter.
The air lter must be cleaned after every 50 hours of use or
six months (frequency should be increased if the pressure
washer is operated in a dusty environment)�
1. Place the pressure washer on a level surface and allow
the engine to cool for several minutes�
2. Use your ngers to unscrew the thumb screw on top
of the air lter assembly. Remove the wing nut, then
remove the air lter.
3. Use compressed air to clean the air lter from the inside
out�
Note: The outer foam air lter element is not intended to
be removed. If torn, replace the air lter.
Loading ...
Loading ...
Loading ...