Loading ...
Loading ...
Loading ...
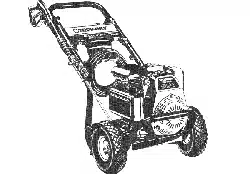
ASSEMBLY
[NPORTANT: Read entire owner's manuaH before you
attempt to assembHeor operate your new pressure washer,
Remove Pressure 4asher from
Carton
" Remove the parts bag packed with pressure washer.
° SHke two corners at the end of carton from top to
bottom so the pane[ can be folded down fHat_then
remove aHHpacHdngmaterial
, RoHHpressure washer out of carton,
Carton Contents
Items in the carton include:
° HaHn Unit
Safety Goggles
HandHe
PHast[cAccessory Tray
High Pressure Hose
Spray Gun
NozzHe Extension with Qu[cH<Connect Fitting
O[H Bottle
Parts Bag (wNch [ncHudes the following):
Owner's HanuaH
Engine HanuaH
Em[ssbns ControH Warranty Sheet
Owner's Registration Card
Bag containing 4 muHrJ-coHoredQuick Connect Spray
Tips
HandHe Fastening Hardware Kit (which incHudes):
Carriage BoHt
"U' BoHt (2)
PHastic Knobs (3)
Tree CHips (4)
PREPARING PRESSURE
WASHER FOR USE
If you have any probHems with the assembHy of your
pressure washer or if parts are missing or damaged_ caHHthe
pressure washer heHpHineat i -888-6 i i -670&
To prepare your pressure washer for operation, you
will need to perform these tasks:
H. Firthout and send in registration card.
2. Attach handHeto main unit_ then attach accessory tray
to handHe.
3. Add oiH to engine crankcase.
4. Add fueH to fueHtank.
5. Connect high pressure hose to spray gun and pump.
6. Connect water suppHy to pump.
7. Attach nozzHe extension to spray gun.
8. SeHect/attach quick connect spray tip to nozzHe
extension.
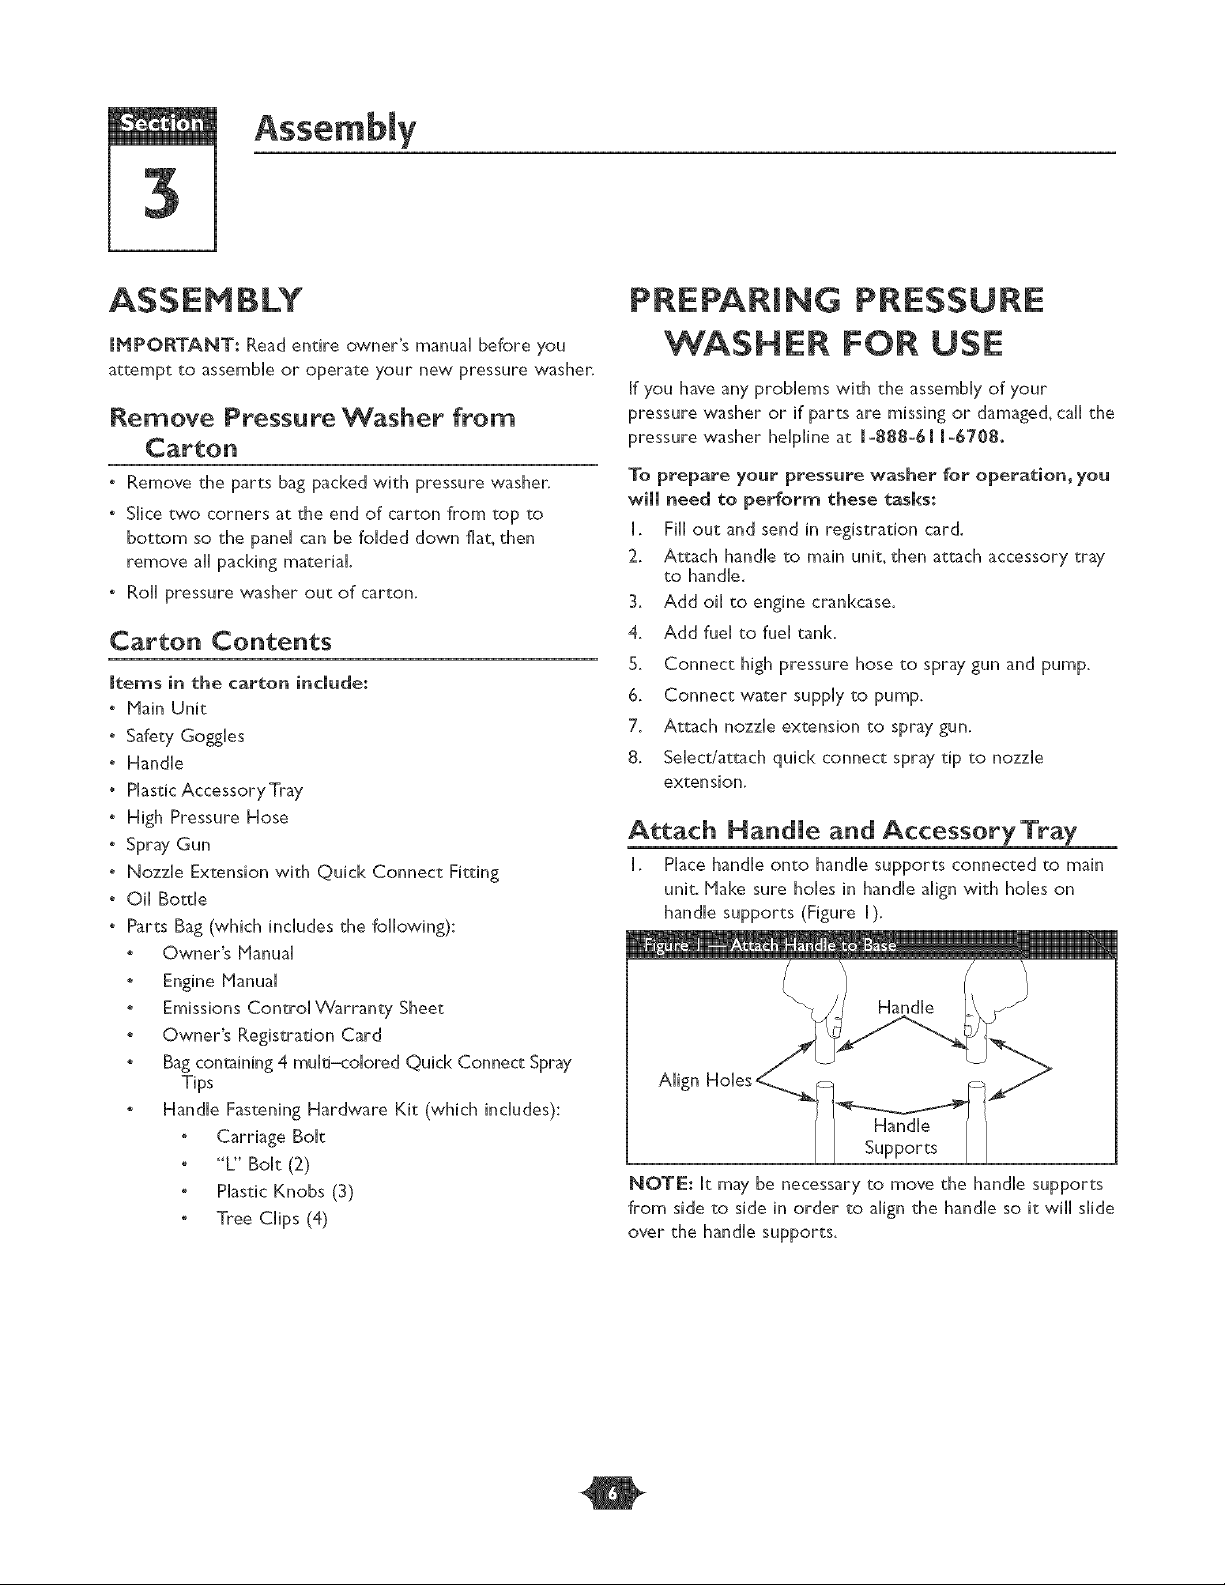
Attach Handle and Accessory Tray
H. PHace handHe onto handHe supports connected to main
unit. Hake sure holies in handHeaHignwith holies on
handHesupports (Figure H).
HandHe
Align
NOTE: It may be necessary to move the handHe supports
from side to side in order to aHign the handHe so it wiHHsHide
over the handHe supports.
O
Loading ...
Loading ...
Loading ...