
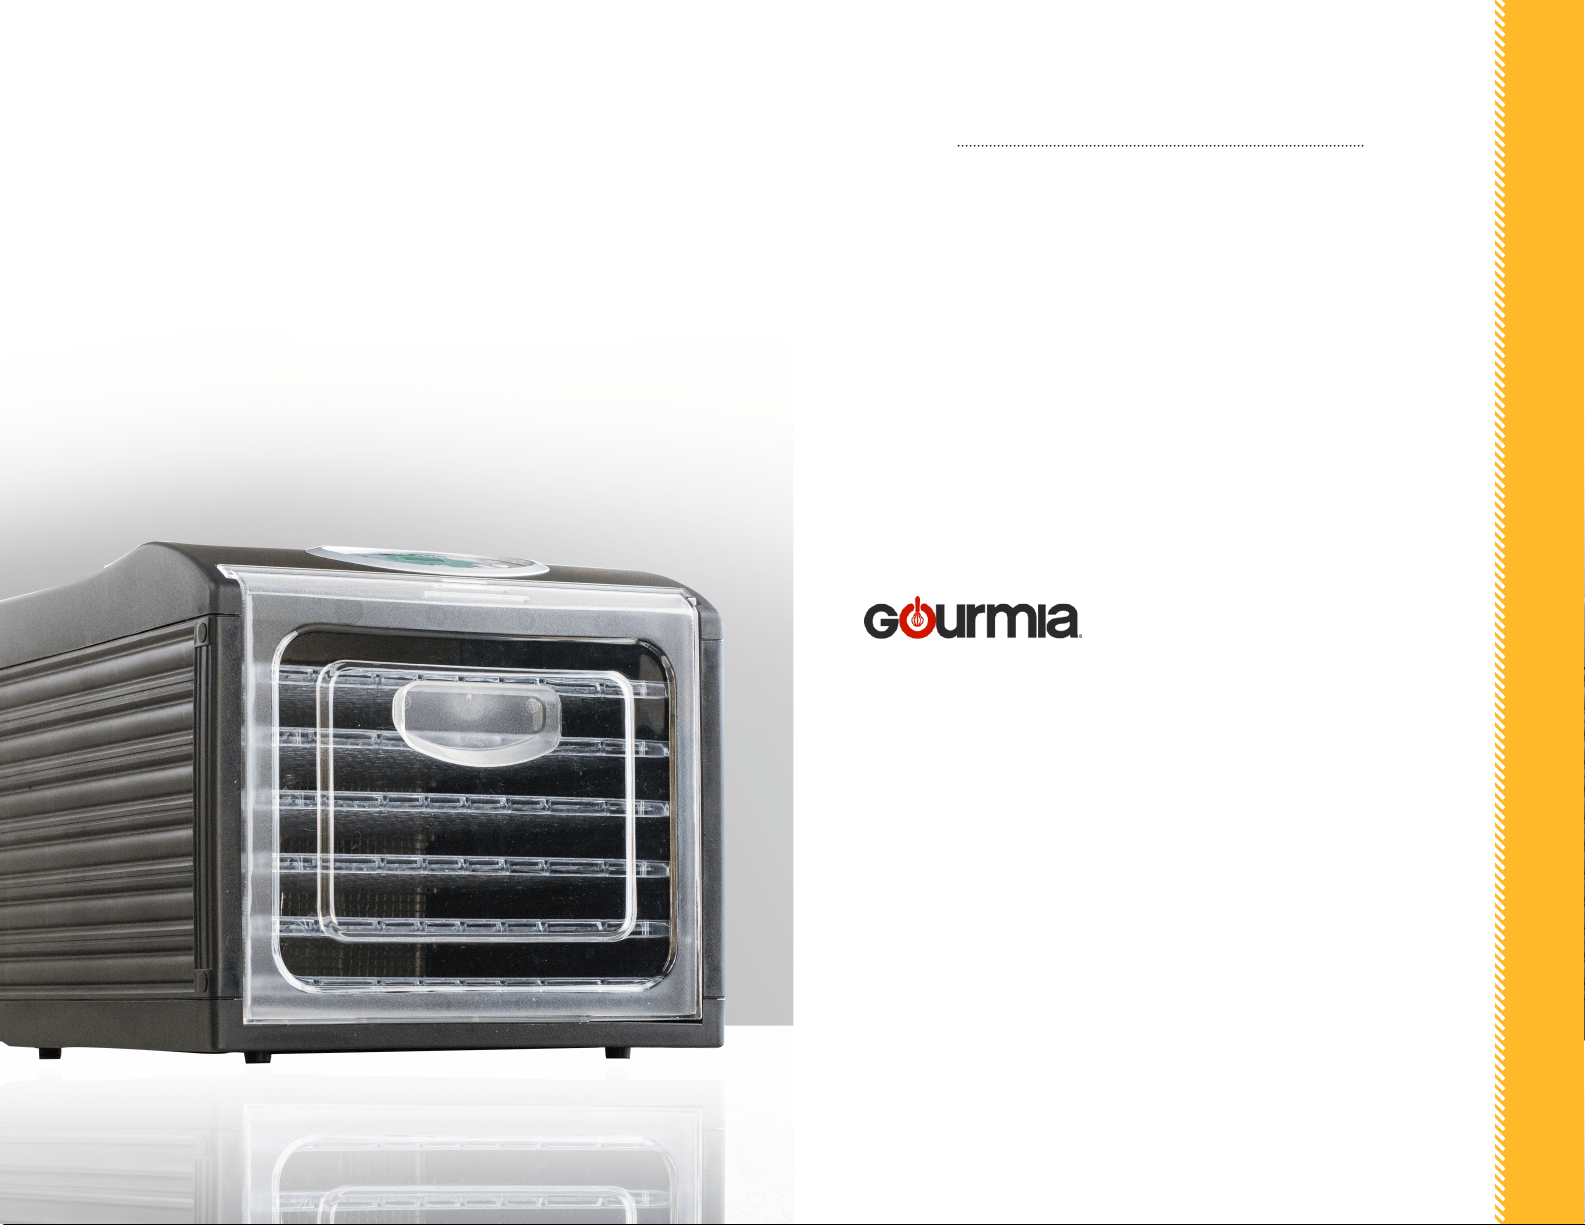
CUT+DRY AUTO DEHYDRATOR
MODEL# GFD1650
© 2016 Gourmia
www.Gourmia.com
The Steelstone Group
Brooklyn, NY
All rights reserved. No portion of this manual may be reproduced by any means whatsoever
without written permission from The Steelstone Group, except for the inclusion of quotations in a
media review.
Although every precaution has been taken in the preparation of this manual, The Steelstone
Group assumes no responsibility for errors or omissions. Nor is any liability assumed for damages
resulting from the use of the information contained herein. Although every eort has been made
to ensure that the information contained in this manual is complete and accurate, The Steelstone
Group is not engaged in rendering professional advice or services to the individual consumer; fur-
ther, The Steelstone Group shall not be held responsible for any loss or damage allegedly arising
from any information or suggestion in this manual.
ISBN: 978-1-929862-XX-X
10 9 8 7 6 5 4 3 2
1
Printed in China
Enjoy Naturallly Good-for-You
Dried Snacks & Treats from GOURMIA!
With the purchase of the Cut + Dry Dehydrator, you are entering the sweet,
healthful and delicious world of natural snacking! Now, you can prepare the fresh fruit,
herbs, owers, vegetables and meat you like and dehydrate them successfully with
very little eort. Consider all the snacks you’d like to eat and enjoy…fruit leathers or
roll-ups, earthy dried beets, sweet dried carrots, delectable dried pineapple, super-
sweet strawberries, and the list goes on and on! The results of natural dehydration
are not only delicious, they are truly healthful and certainly less costly than purchased
dried foods.
We are sure you and your family will love all the delicious trail mixes, granola,
dried herbs, meat jerky and other dehydrated treats you will prepare in the Gourmia
Cut + Dry Dehydrator. It’s never been so easy!
The following pages of this manual give you full and complete instructions for all
the functions and features of your Cut + Dry Dehydrator. Inside these pages, you’ll nd
safety information, instructions for operating, assembly, cleaning and maintenance
of your Cut + Dry Dehydrator. You’ll also nd helpful charts for preparing foods for
dehydration, along with pre-treatment suggestions and helpful hints. Please read all
safety instructions and complete directions carefully for safe usage at all times.
Thank you for your purchase! We hope you will enjoy all the innovative products
brought to you by our family at Gourmia.
SAFETY FIRST p. 6
FEATURES & FUNCTIONS p.9
Cut + Dry Housing p. 9
Internal Automatic Fan p.9
Top Air Vent p. 9
Back Air Intake p.9
EasyVue Door p. 10
Drying Trays p. 10
Protective Food Sheet p.10
Drip Pan p. 10
LED CONTROL PANEL p. 13
BEFORE FIRST USE & MAINTENANCE p. 15
FOOD SELECTION & PREPARATION p. 17
Fruit p. 17
Vegetables p. 18
Meat p. 18
Nuts p. 19
Herbs & Flowers p. 19
GOURMIA IN YOUR KITCHEN! p. 20
WARRANTY & SERVICE p. 23
TABLE OF CONTENTS

SAFETY FIRST
SAFETY FIRST
76
IMPORTANT SAFEGUARDS
When operating this electric appliance, basic safety instructions should
always be followed. Refer to the following for these instructions.
1. READ ALL SAFETY & USAGE INSTRUCTIONS BEFORE USING Cut + Dry
Dehydrator.
2. EXERCISE EXTREME CAUTION: Do not touch hot surfaces or trays while
dehydrating. Burns may occur.
3. AVOID ELECTRICAL SHOCK. DO NOT immerse cord, plug or the Cut + Dry
Dehydrator in water or other liquid.
4. Use pot holders or oven mitts when handling the hot Drying Trays, Drip Pan,
EasyVue Door, or Protective Food Sheet.
5. UNPLUG Cut + Dry Dehydrator from outlet when not in use or before cleaning.
DO NOT add or remove parts or accessories while HOT. Do not let cord hang
over edge of table or counter or touch hot surfaces, including the Cut + Dry
Dehydrator.
6. Children should not use Cut + Dry Dehydrator unsupervised; close supervision
is required when appliance is used near or with children.
7. Never touch, cover or obstruct the Top Air Vent or Back Air Intake during or
after operation. Hot air may cause burns. Keep children away from Vent and
Intake.
8. Operate the Cut + Dry Dehydrator on a level surface well away from any hot
gas or electrical burner, heat source, combustible spray cans or pressurized
items.
9. Do not operate the Cut + Dry Dehydrator outdoors.
10. Never operate the Cut + Dry Dehydrator with a damaged cord or plug or one
that has malfunctioned or been damaged in any way. Immediately contact
Customer Service for analysis.
11. DO NOT add unauthorized accessory attachments. Such use may result in
electric shock, injury or re.
12. Use only factory cord supplied; NEVER add extension cords. When done using,
switch control to OFF then pull plug from outlet.
13. DO NOT operate the Cut + Dry Dehydrator when empty.
14. Do not use the Cut + Dry Dehydrator for any use other than intended. Do not
use on or near a stovetop or other heat source.
SAVE THESE INSTRUCTIONS
FOR HOUSEHOLD USE ONLY
Electrical Polarized Plug: This Cut + Dry
Dehydrator has a polarized plug (one blade
is wider than the other). To reduce the risk
of electrical shock, the plug is intended to
be used by inserting it into the electrical
outlet only one way. If the plug does not t
securely into the outlet, turn the plug and
re-insert. Do not modify this plug. If the
plug does not t the outlet securely, call a
qualied electrician for assistance. DO NOT
use this plug with extension cords of any
kind.
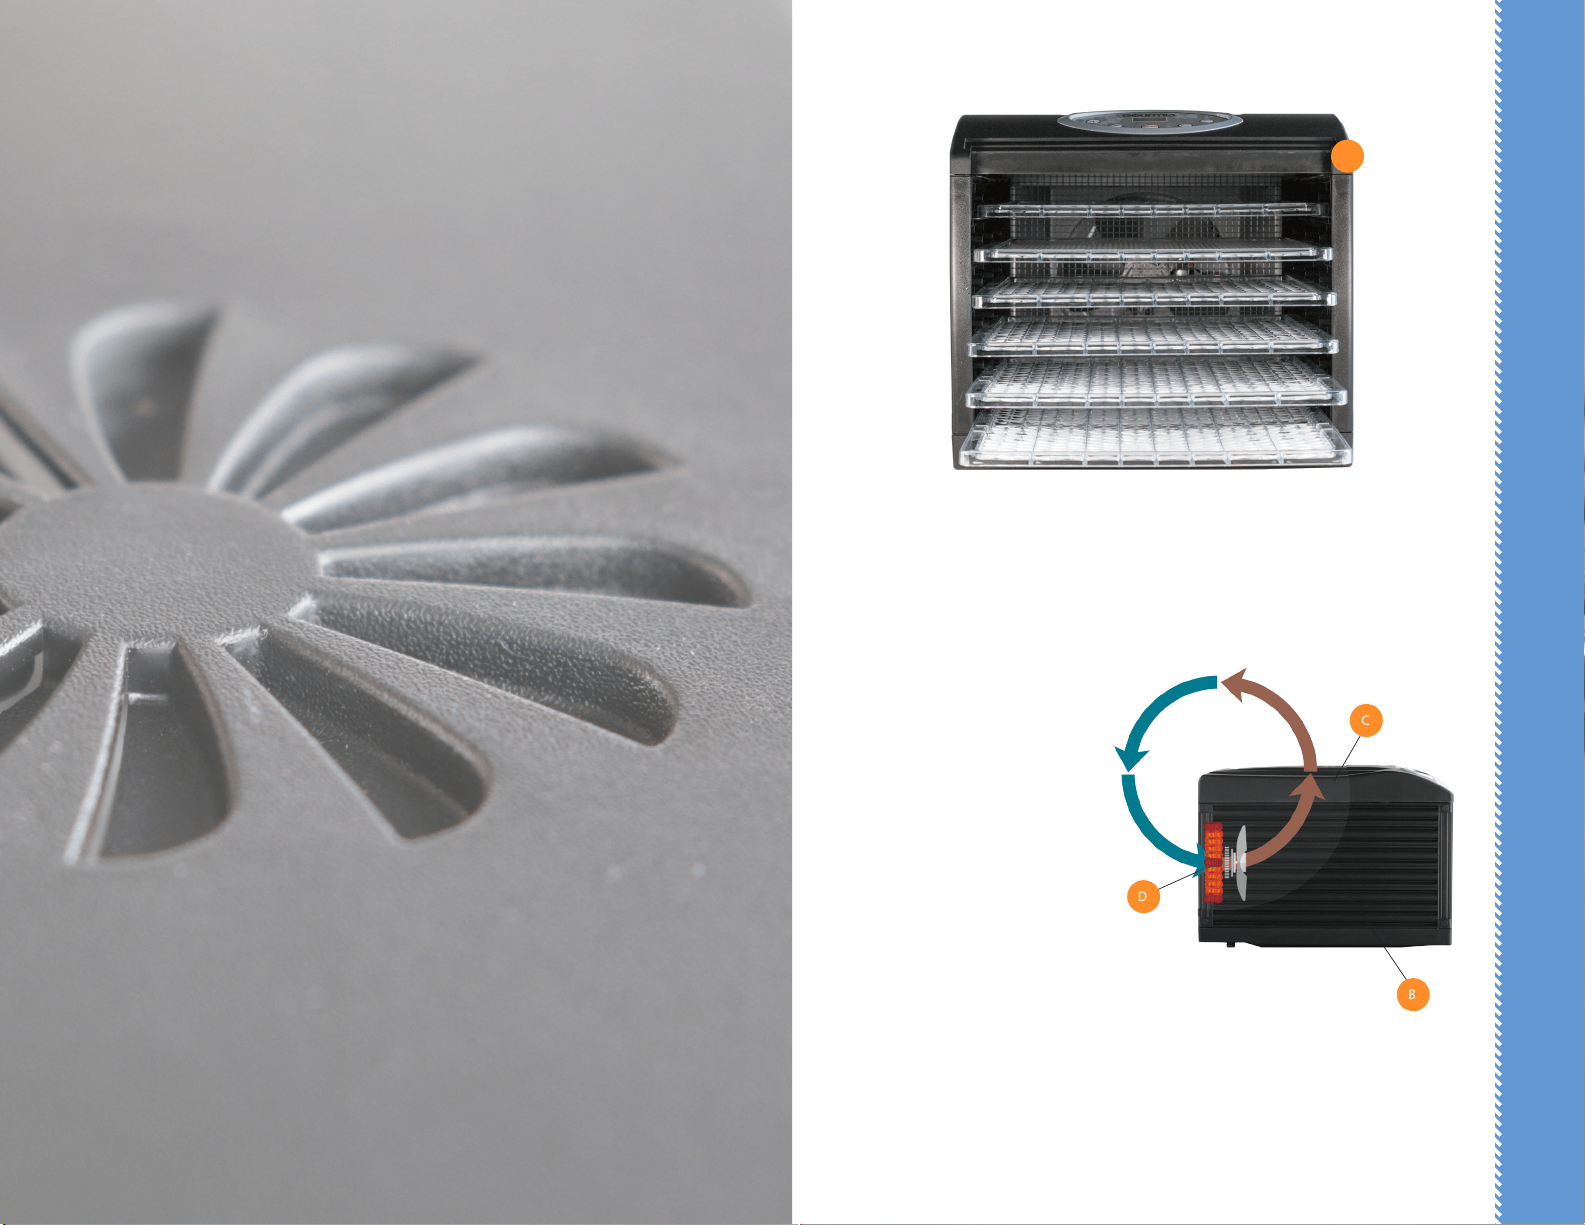
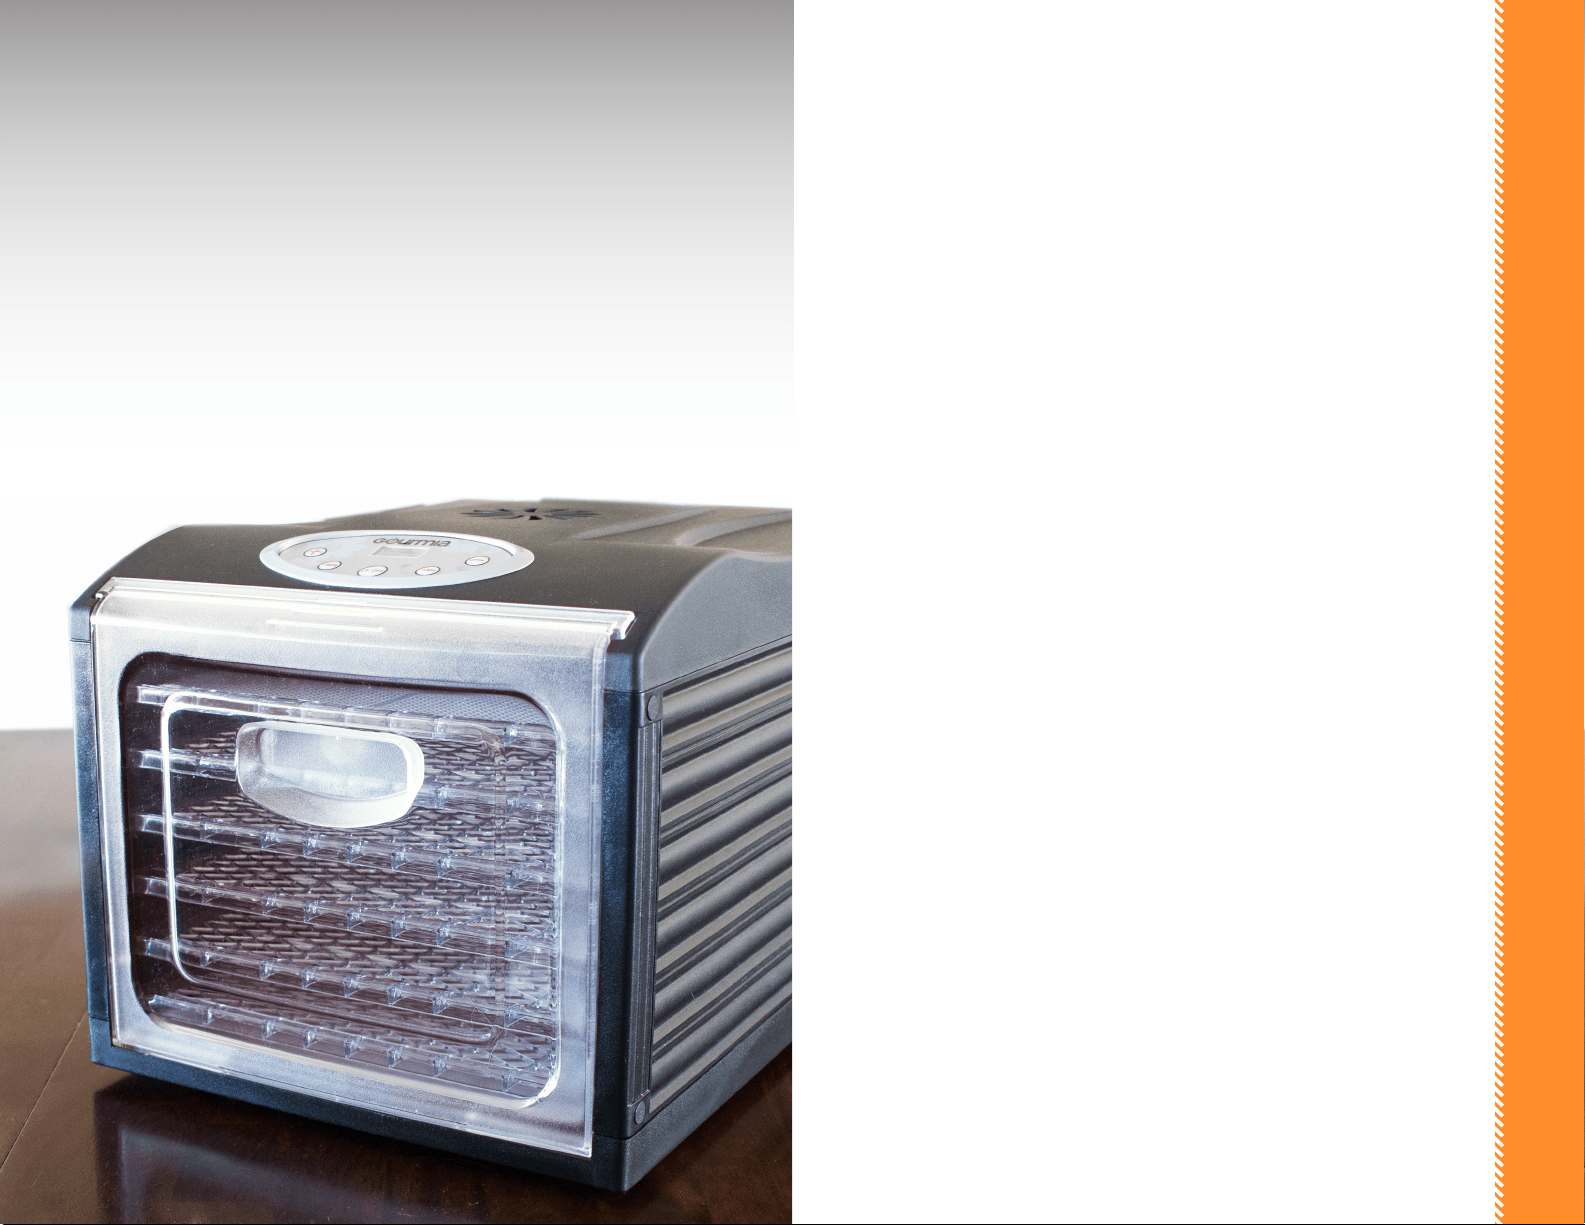
CUT + DRY DEHYDRATOR HOUSING (see reference A.)
The Housing unit for the Cut + Dry Dehydrator holds the Drying Trays in
integrated slots, the Automatic Fan and other interior workings. It also
contains the removable Protective Food Sheet and Drip Pan. It is specially
designed to securely hold foods on trays while drying.
Internal Automatic Fan (see
reference B.) The Automatic
Fan is housed internally and
circulates warm air throughout
the dehydrator for uniform
drying. The Automatic Fan
operates as directed by the LED
Control Panel.
Top Air Vent (see reference C.)
Air is removed from the Cut +
Dry Dehydrator via the Top Air
Vent. Do not obstruct or cover the vent during
operation or while cooling after use.
Back Air Intake (see reference D.)
The Back Air Intake on the Cut + Dry Dehydrator pulls air into the unit and
pushes it through the dehydrator housing and trays. Do not obstruct or
cover the Back Air Intake during operation or while cooling after use.
(IMAGES with LABELS)
FEATURES & FUNCTIONS
A
9
FEATURES & FUNCTIONS
FEATURES & FUNCTIONS
1110
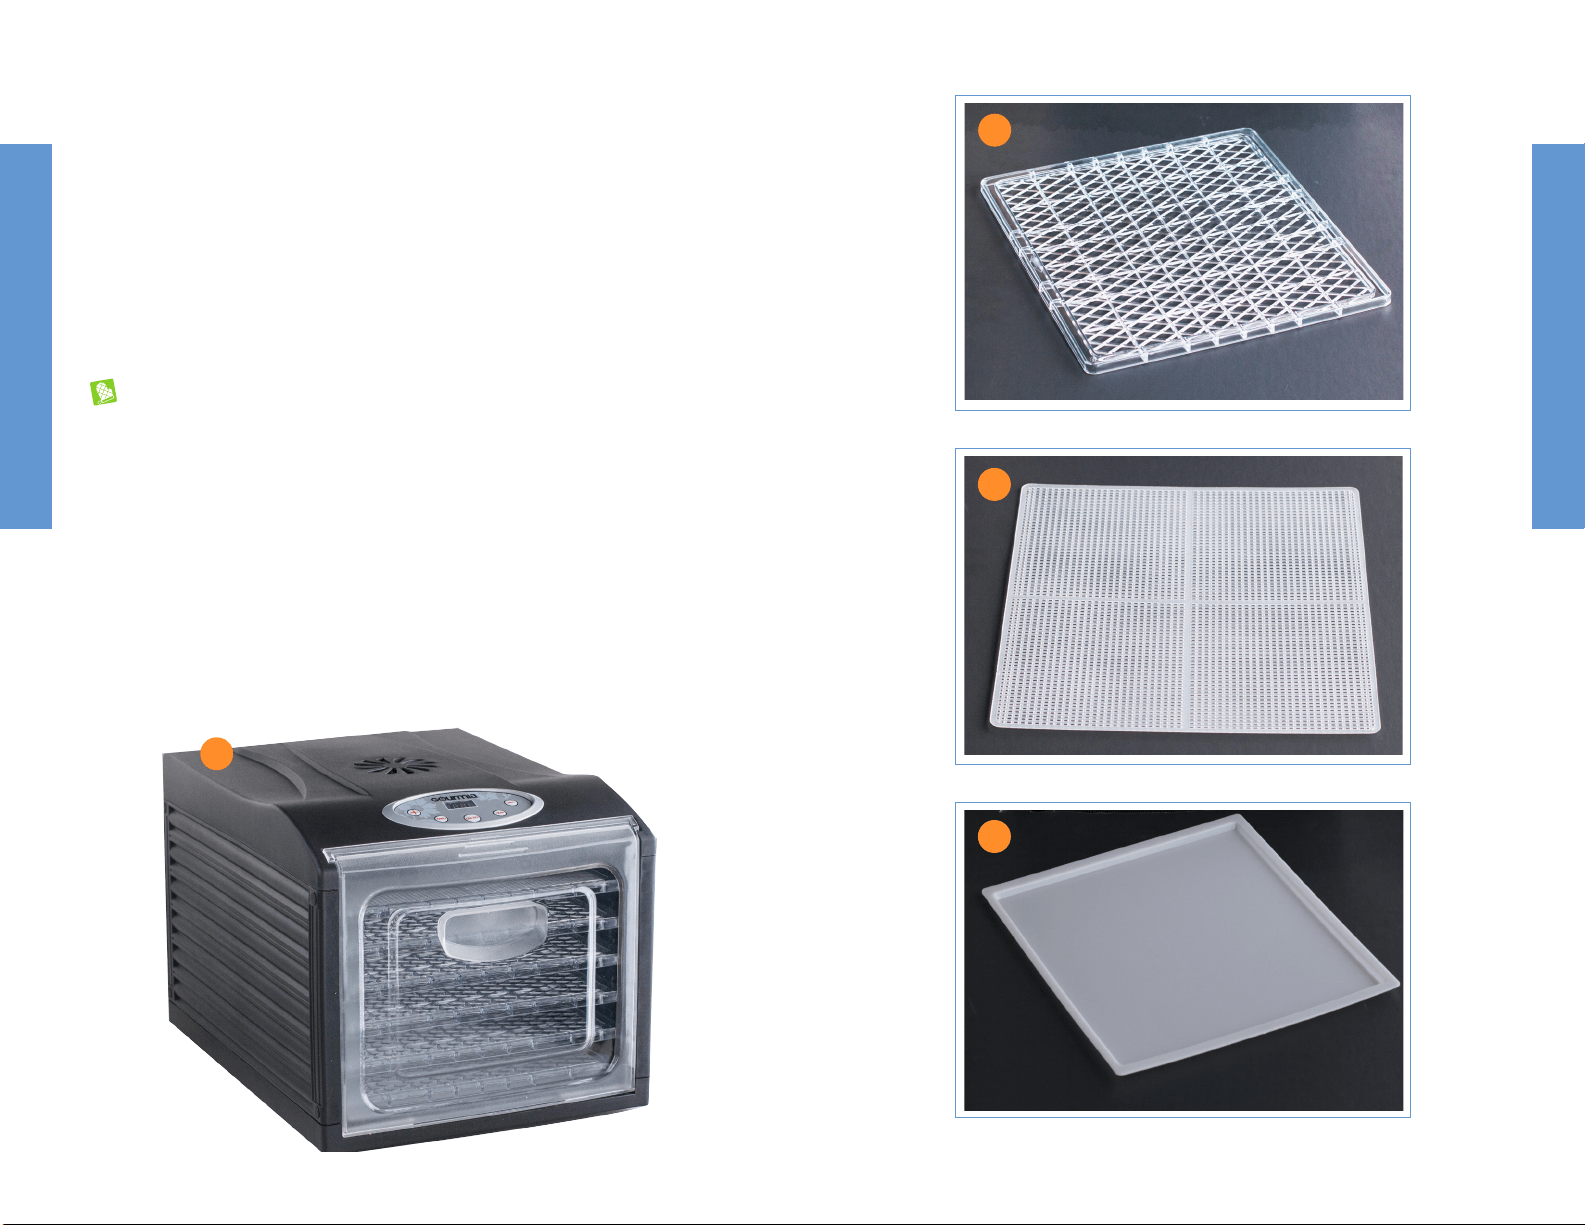
EasyVue Door (g.1) An important
feature of the Cut + Dry Dehydrator is
the EasyVue Door, which is transparent
for quick viewing. The process of drying
can be observed without opening the
door. This reduces the loss of heat and
allows views of all tray levels.
CAUTION: Use caution when opening
the door while food is drying.
Although temperatures are not high,
burns can occur from hot air.
Use pot holders or mitts while
opening and closing the EasyVue Door
and handling Drying Trays. Opening
the EasyVue Door may increase drying
times.
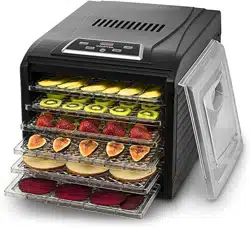
Drying Trays (g.2) There are 6 (six)
plastic Drying Trays included with
the Cut + Dry Dehydrator. These
trays provide enough space to dry a
substantial amount of food in one easy
operation. The plastic trays are not
designed to hold very heavy foods. They
are perforated thoroughly to allow air
to circulate for drying and to allow any
moisture or debris to fall to the Drip Pan.
Protective Food Sheet (g.3) If foods
are fragile or thinly sliced, the Protective
Food Sheet with smaller perforations
holds the food intact as it dries.
The Protective Food Sheet should be
used exclusively when making fruit
leathers or roll-ups, and it should always
be used on top of a Drying Tray. Lightly
coat the Protective Food Sheet with
cooking spray before adding fruit or
other fragile foods for drying. This will
allow the food to slip easily o the Sheet
after drying.
Drip Pan (g.4) Although many foods
will not drip moisture or debris while
drying, the handy Drip Pan catches all so
that interior cleaning is not needed.
g.1
g.2
g.3
g.4
1312
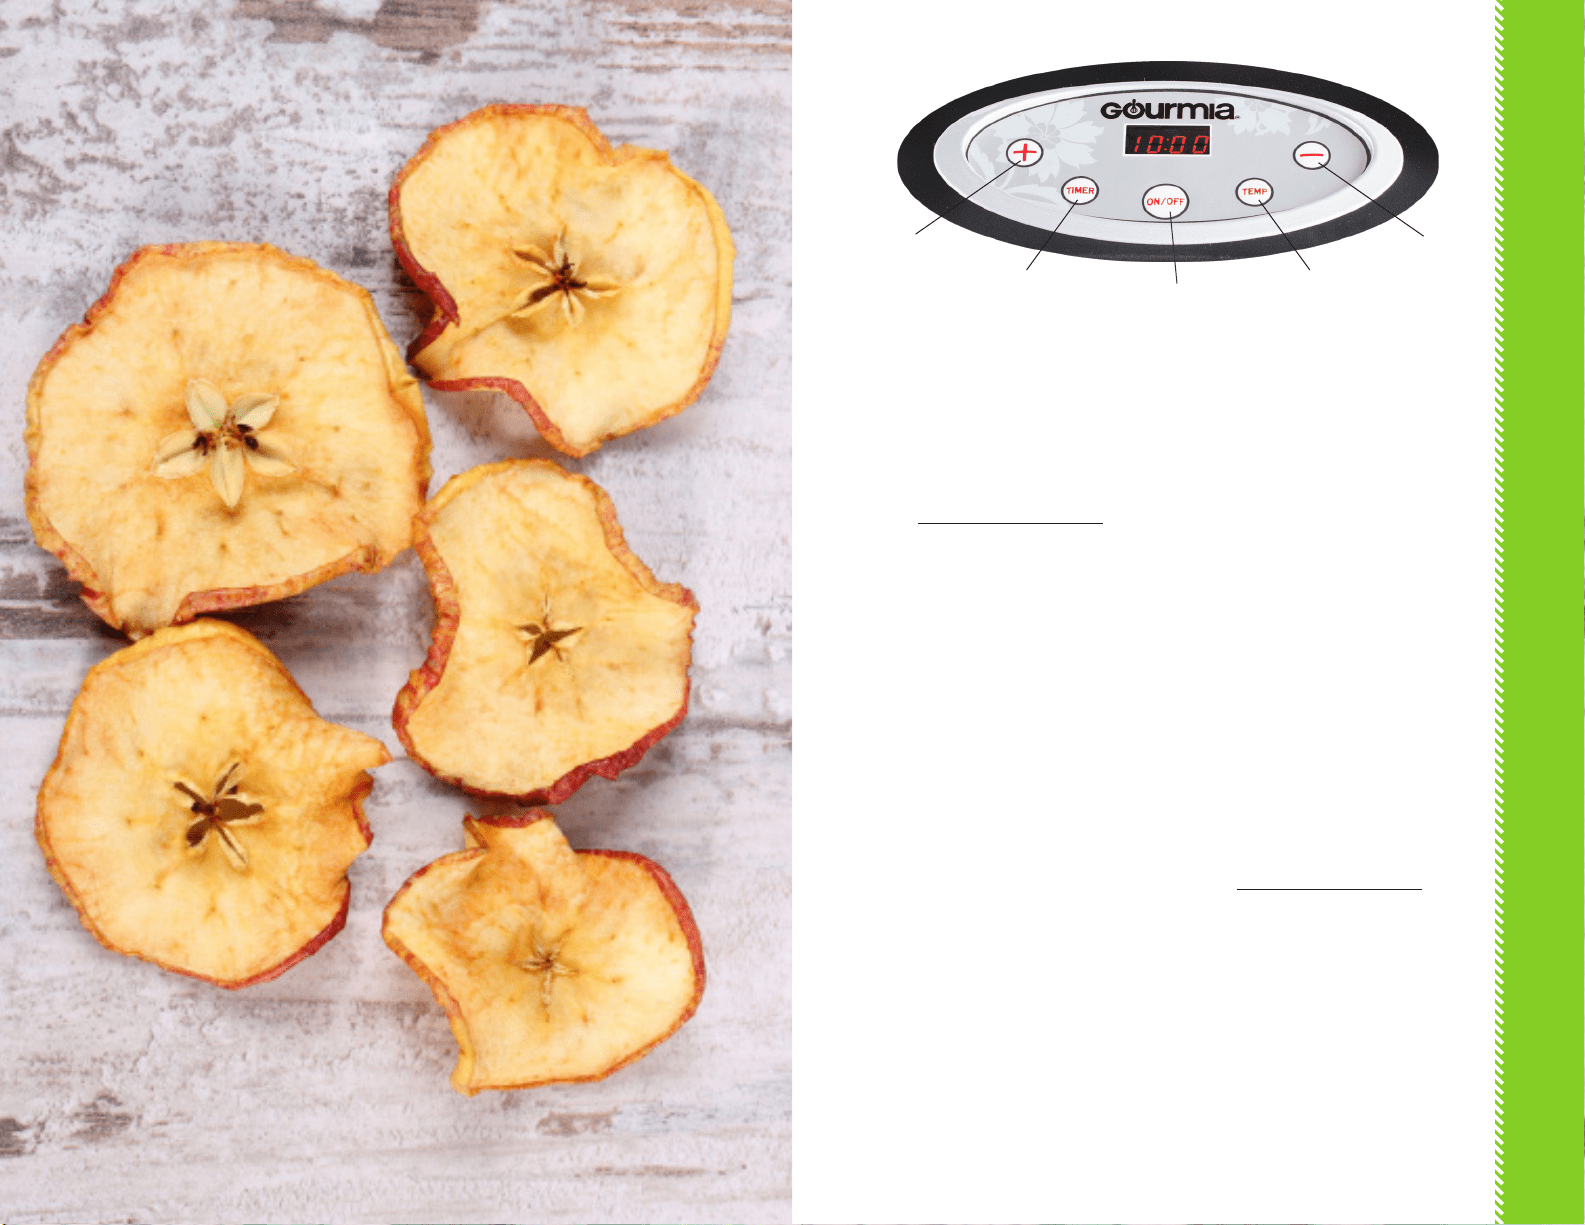
Setting TIME and TEMP
Settings to Start
1. Place prepared foods on the
Drying Trays (see p. 17 for food
preparation tips). Do not overload
the Drying Trays with food.
2. Food should be placed on Drying
Trays in single layers ONLY, not
touching or overlapping in any
way.
3. Plug the polarized plug into
a compatible outlet. A BEEP
sound indicates the Cut + Dry
Dehydrator is receiving power.
4. Slide the EasyVue Door down until
it is securely closed.
5. Press the ON/OFF Icon on the
Control Panel. The drying process
will begin right away. The
Automatic Fan will start rst. The
interior Heating Element
will begin automatically heating
within 5 seconds.
6. The LED Display on the Control
Panel will display the default
drying time of 10 hours (10:00).
7. Press the TEMP Icon on the
Control Panel. The LED Display
will show the default TEMP of
158°F. The LED Display will then
automatically return to display the
drying time remaining.
Changing TIME and TEMP
Settings while Drying
Occasionally, it may be appropriate
to speed the drying process or slow it
down, depending on how the drying
is proceeding. In order to do so, follow
the simple Step-by-Step instructions
that follow.
NOTE: The Time remaining in the
drying process is always shown on the
LED Display during the process.
The LED Control Panel holds all the electronic instructions for drying foods.
Follow the simple Step-by-Step instructions below to successfully start and
complete the drying process.
LED CONTROL PANEL
13
TIMER
icon
TEMP
icon
ON/OFF
icon
INCREASE/+
Icon
DECREASE/—
icon
LED CONTROL PANEL
14
1. To change the drying time, WHILE
IN PROCESS, Press the + Icon to
increase the time or the — Icon to
decrease the time. The time will
increase/decrease in 30 minute
increments. When the new time is
set, the LED Display will show the
new drying time.
2. To change the temperature,
WHILE IN PROCESS, Press the
TEMP Icon then Press the + Icon
to increase the temp or the —
Icon to decrease the temp. The
temperature will increase/decrease
in 9°F increments. When the new
temperature is set, the LED Display
will automatically return to indicate
the remaining drying time.
NOTE: Verify the new temperature by
pressing the TEMP Icon.
NOTE: To reset the time and
temperature to default time of 10 hours
(10:00) and Temp of 158°F, Press the
ON/OFF Icon to turn OFF. Press the
ON/OFF Icon to turn ON. The Cut + Dry
Dehydrator will automatically return to
the default time and temperature.
When Drying Process is Complete
When the drying process is complete,
the LED Display will indicate 0:00. The
Heating Element will automatically turn
o. The Automatic Fan will turn o after
10 seconds. The Cut + Dry Dehydrator
will BEEP for 20 seconds as an indicator
that the drying process is complete. The
LED Display will display END.
Press the ON/OFF Icon on the Control
Panel to turn OFF the dehydrator.
Carefully remove food on trays, using
pot holders or oven mitts.
Unplug power cord from the wall outlet.
BEFORE FIRST USE
1. Place the Cut + Dry Dehydrator on a level, at surface that is clean and dry.
2. Ensure that the Cut + Dry Dehydrator is several inches away from
obstructions, such as walls, cabinets, doors, and other appliances. Allow
enough room above the Dehydrator so the EasyVue Door can be fully
opened.
3. Wash the Drying Trays and Protective Food Sheet in warm, sudsy water.
Dry thoroughly.
4. Use a soft damp cloth to clean the exterior of the Cut + Dry Dehydrator
and EasyVue Door. Dry with a paper towel or soft cloth.
5. Read safety instructions.
6. Press the ON/OFF Icon to start the Cut + Dry Dehydrator drying process.
Dry the interior and Drying Trays for 30 minutes before adding food. This
helps dry the interior for initial use. Smoke or odors are normal during the
initial 30 minute drying time. Allow sucient ventilation.
7. Insert Drying Trays into the Cut + Dry Dehydrator and enjoy!
MAINTENANCE
ALWAYS allow the Cut + Dry Dehydrator to cool completely before cleaning.
Unplug the Cut + Dry Dehydrator before cleaning.
After each use, clean and dry the Drying Trays and Protective Food Sheet in
warm, soapy water. Use a damp cloth to clean the Cut + Dry Dehydrator and
EasyVue Door, if needed. DO NOT immerse the dehydrator in water. Use non-
abrasive cleaners or soft soap only.
Do not place Drying Trays or Protective Food Sheet in dishwasher.
BEFORE USE & MAINTENANCE
15

FOOD SELECTION & PREP
FOOD SELECTION & PREP
1716
The drying time for any food is dependent on several factors, including the
thickness of the food, the amount of food in the dehydrator, the type of foods to
be dried and the humidity levels of the weather. Because of these factors, you will
want to occasionally check the food as it dries and determine whether or not it is
ready to be removed.
One easy way to determine if food is dried is to place a piece in a small, self-
sealing plastic bag. Seal the bag and shake it lightly. If moisture appears, the food
is not ready to be removed.
Drying Fruit Hints & Tips
• Select fruit that is ripe; avoid fruit
that is not yet ripe or over-ripe. If
not yet ripe, the texture and taste
may be unappealing; if over-ripe,
the texture may be mushy and the
avor bland.
• Wash fruit just before drying to
remove any debris or dirt.
• Do not use fruit that has
blemishes, evidence of bug
infestation or worms, or
discoloration.
• Cut o parts of fruit that appear to
be bruised or damaged in transit.
• Discard pits, stones, seeds and
other inedible parts of the fruit.
• Peel fruit, if desired, or if rinds or
peels lend a bitter or unappetizing
taste or texture.
• Always peel waxed or sprayed
fruit.
• Slice or cut fruit as desired (see
notes following).
Cutting & Slicing Hints & Tips
Fruit can be peeled and quartered,
such as apricots, or sliced thinly,
whichever method is best suited to
the fruit you are using. Cut plums,
cherries, and peaches in half and
remove the pits or stones. For fruit
such as apples, peel and slice thinly.
Consider pre-treatment for apples to
make them especially appetizing (see
the section following). When cutting
fruit, the sizes should be uniform so
that the drying is also uniform.
Pre-Treatment for Fruit:
Preparation for drying can include
dipping fruit into their own juices,
such as lemons, limes and other citrus
fruit.
Sodium Bisulte (food grade) can also
be used. Use a ratio of 1 teaspoon to
one quart of water. Dipping fruit into
the water mixture preserves color and
nutrients.
Steaming can also be used to set color
in fruit. Steam only a few minutes
over a gentle heat. Remove and cool
FOOD SELECTION & PREP
17
FOOD DEHYDRATING GUIDE
Food Drying Times Temp (°F) Preparation
FRUIT
Apples 6-7 hours 135-145 slice ¼-inch thick
Bananas 7-8 hours 135-145 slice ¼-inch thick
Blueberries 36-42 hours 135-145 arrange whole berries on trays
Grapes 42-48 hours 135-145 slice in half
Mango 4-6 hours 135-145 slice 1/8-inch thick
Pineapple 8-9 hours 135-145 slice ¼-inch thick
Raspberries 24-28 hours 135-145 arrange whole berries on trays
Strawberries 8-10 hours 135-145 slice ½-inch thick
Tomatoes 6-8 hours 135-145 slice ¼-inch thick
HERBS 4-6 hours 100-115 Arrange on trays
VEGETABLES
Beets 4-6 hours 125-140 Peel, slice 1/8-inch thick
Bell peppers 10-12 hours 125-140 Slice ¼-inch thick
Broccoli 4-5 hours 125-140 Break into orets
Carrots 4-6 hours 125-140 Peel, slice 1/8-inch thick
Celery 3-4 hours 125-140 Slice ¼-inch thick
Kale 4-5 hours 125-140 Arrange whole leaves on trays
Mushrooms 3-4 hours 125-140 Slice ¼-inch thick
Summer Squash 4-6 hours 125-140 Slice ¼-inch thick
Yams 4-5 hours 125-140 Slice ¼-inch thick
MEAT, SEAFOOD & JERKY
Beef, Poultry or Fish 5-6 hours 150-158 Trim fat o, slice ¼-inch thick

FOOD SELECTION & PREP
FOOD SELECTION & PREP
1918
completely. Dry with a paper towel and
place in the dehydrator.
Drying Vegetables Hints & Tips
As with fruit, the critical component of
drying vegetables is to start with the
most fresh, crisp vegetables at the peak
of ripeness.
• Unripe vegetables often have an
extremely bitter, acidic avor. Avoid
any that are under-ripe or over-ripe
for best avor results.
• Wash and dry vegetables just
before drying to remove any debris
or dirt.
• Do not use vegetables that
have blemishes, evidence of
bug infestation or worms, or
discoloration.
• Cut o parts of vegetables that
appear to be bruised or damaged
in transit.
• Discard seeds, stems, rinds
and other inedible parts of the
vegetable.
• Peel vegetables; almost all
vegetables should be peeled or cut
before drying. Rinds or peels lend
a bitter or unappetizing taste or
texture.
• Slice or cut vegetables as desired
(see notes following).
Cutting & Slicing Vegetables
Hints & Tips
Create uniform pieces for drying; slice
or quarter vegetables as needed. Pieces
should be no larger than 1½ -2 inches
in diameter. Cut thin slices of dense
vegetables, such as potatoes and beets.
Trim ends and leave some vegetables
whole, such as asparagus and green
beans.
Pre-treatment of vegetables is
usually recommended and is best
accomplished by blanching over
boiling water for 2 to 3 minutes, just
long enough to set the color and
remove acidic avors. After blanching,
arrange on the Drying Trays.
Drying Meat Hints & Tips
• To properly dry meat, ALWAYS use
temperatures above 140°F to avoid
potentially dangerous bacteria
growth.
• Meat must be sliced very thinly
to be dried. Partially freeze meat
for up to 1 hour. Remove and slice
thinly across the grain. Place on
the Drying Trays right away. Do not
crowd or overlap the meat slices.
• When done, test a piece of meat.
It should crack when bent without
snapping. Remove and cool
completely on racks. Store in sealed
plastic bags for up to 2 weeks or
freeze until use.
• Seafood llets should also be thinly
sliced. If needed, partially freeze
the sh rst, then thinly slice with a
sharp knife. Remove any bones, even
small ones, for best results.
• Create a great low fat Teriyaki Chicken
Jerky by thinly slicing chicken breasts
and marinating in Teriyaki sauce for
1 hour prior to drying. Arrange on
Drying Trays right away right away
and dry at 145*F until crisp. When
done, add crushed red pepper, chili
powder or other spices to kick up the
avor.
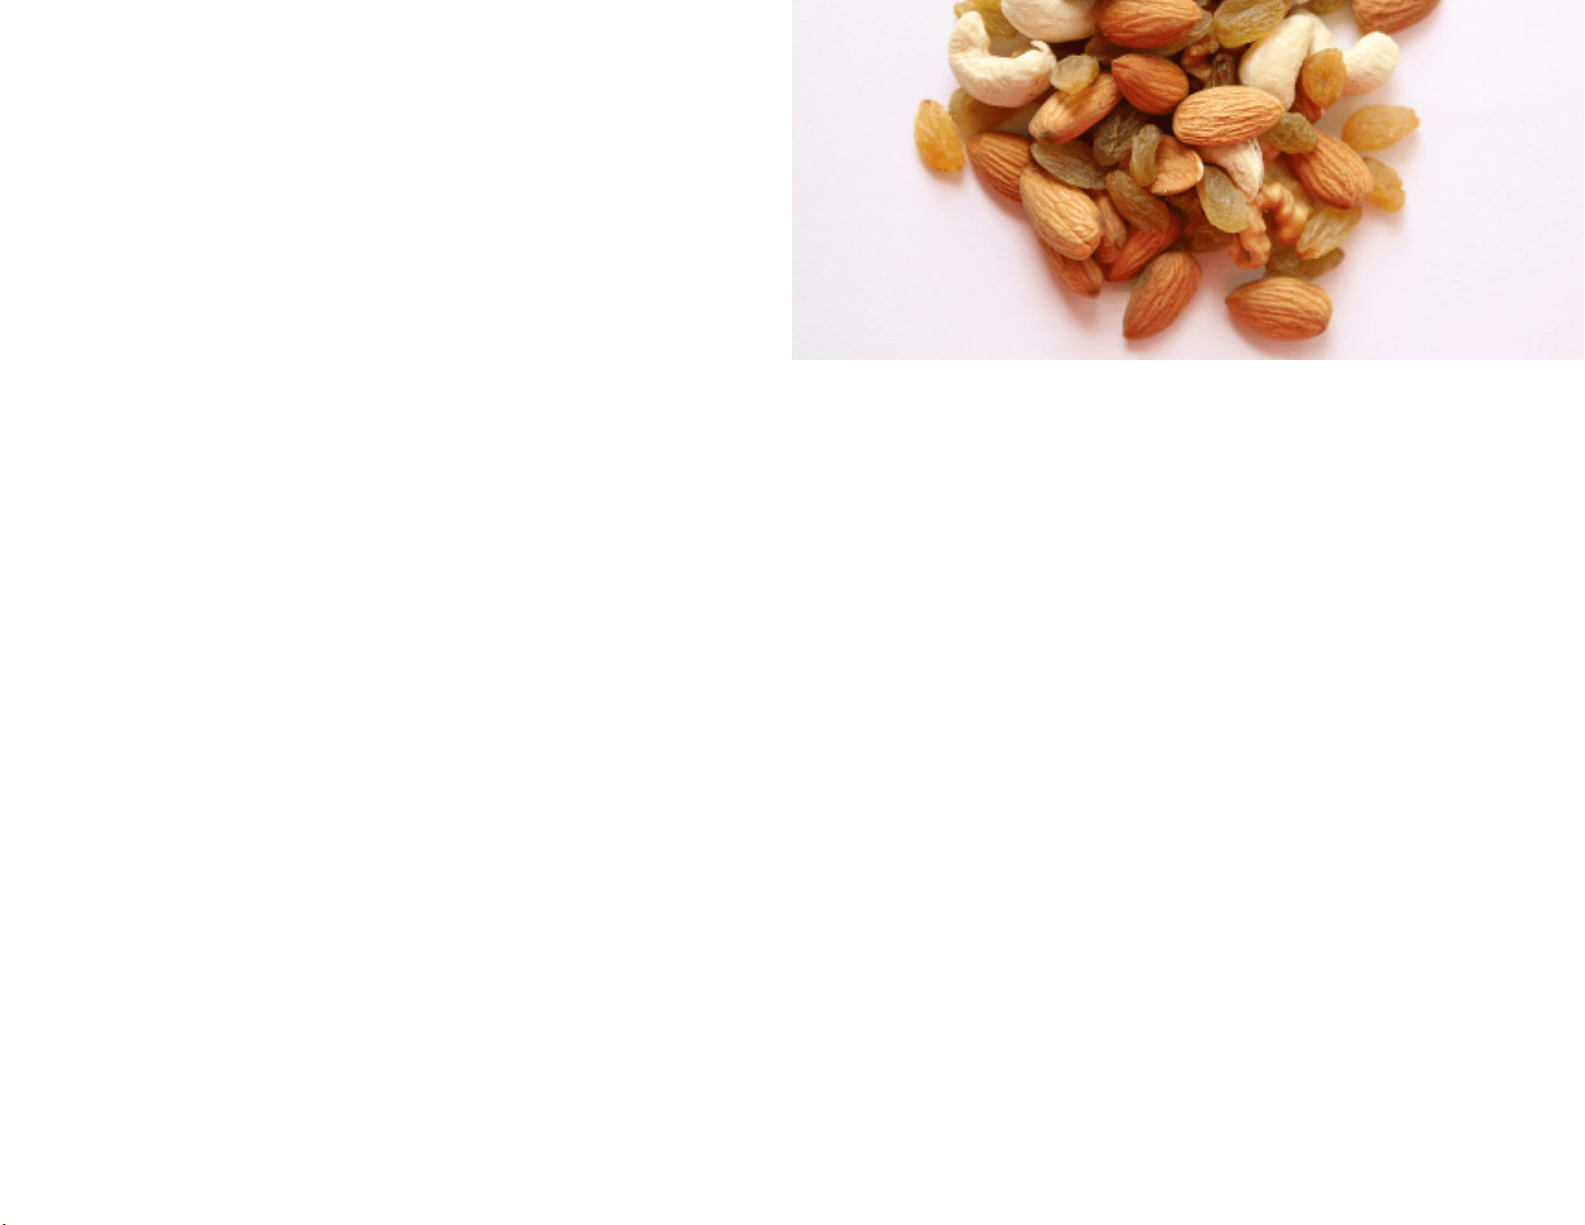
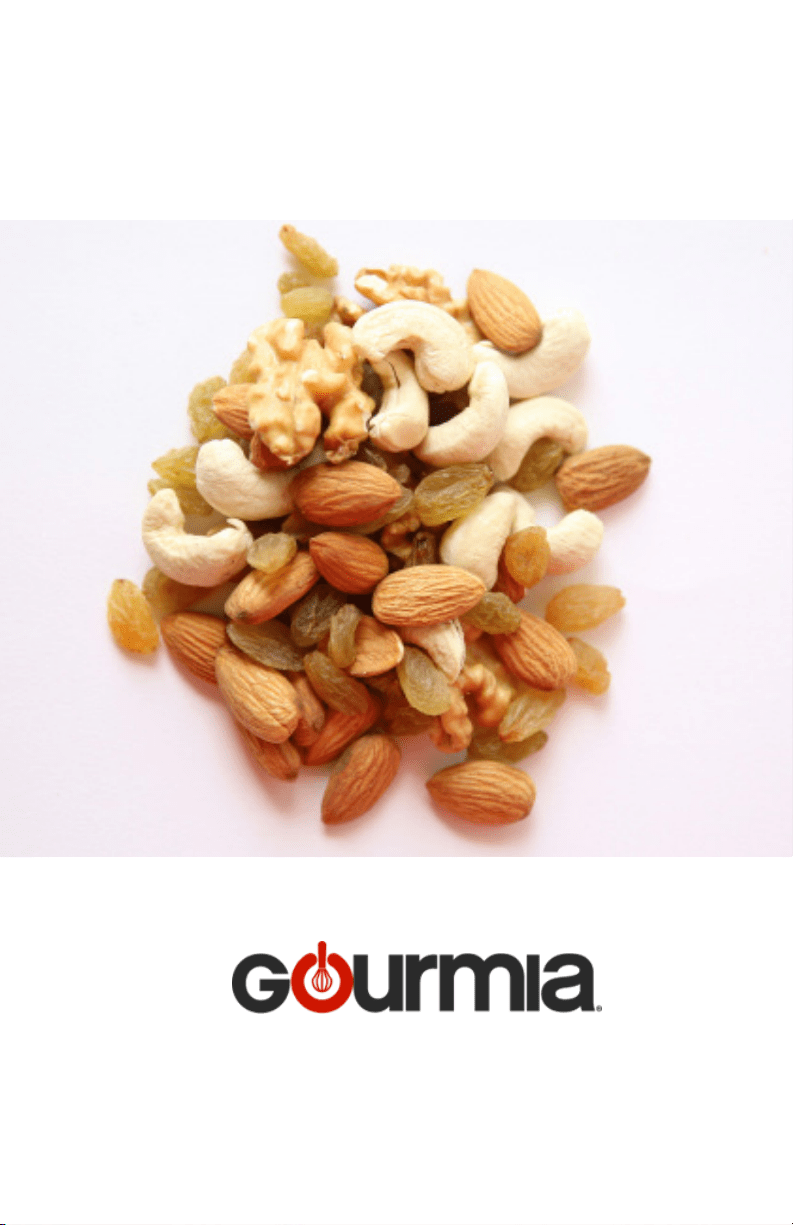
Drying Nuts Hints & Tips
• To reduce enzymes, rst soak raw nuts
in plenty of water for 24 hours before
drying (cashews for 6 hours). The nuts
will expand in size – allow plenty of
room in the jar or bowl. Drain the nuts
and dry until crispy, about 10 hours.
Store in air-tight containers.
Drying Herbs & Edible Flowers
Hints & Tips
• Rinse thoroughly in cold water and
gently dry. Remove any dead or
discolored leaves. Spread on Drying
Trays and dry for up to 8 hours.
Remove and cool. Break or crush the
herbs and store in a dark, cool place
in a self-sealing container. Flowers can
be dried in much the same way and
used as garnishes or for avoring.
CAUTION: Be condent that the owers
and herbs selected for drying are
edible and pose no danger or threat if
consumed. If in doubt, throw away the
herbs or owers.
Did you know? Although Gourmia is the new kid on the block, we’ve
already established ourselves as one of the leading manufacturers of creative and
innovative kitchen products.
Check out these new kitchen appliances and check our website often for new
product release information @ www.gourmia.com
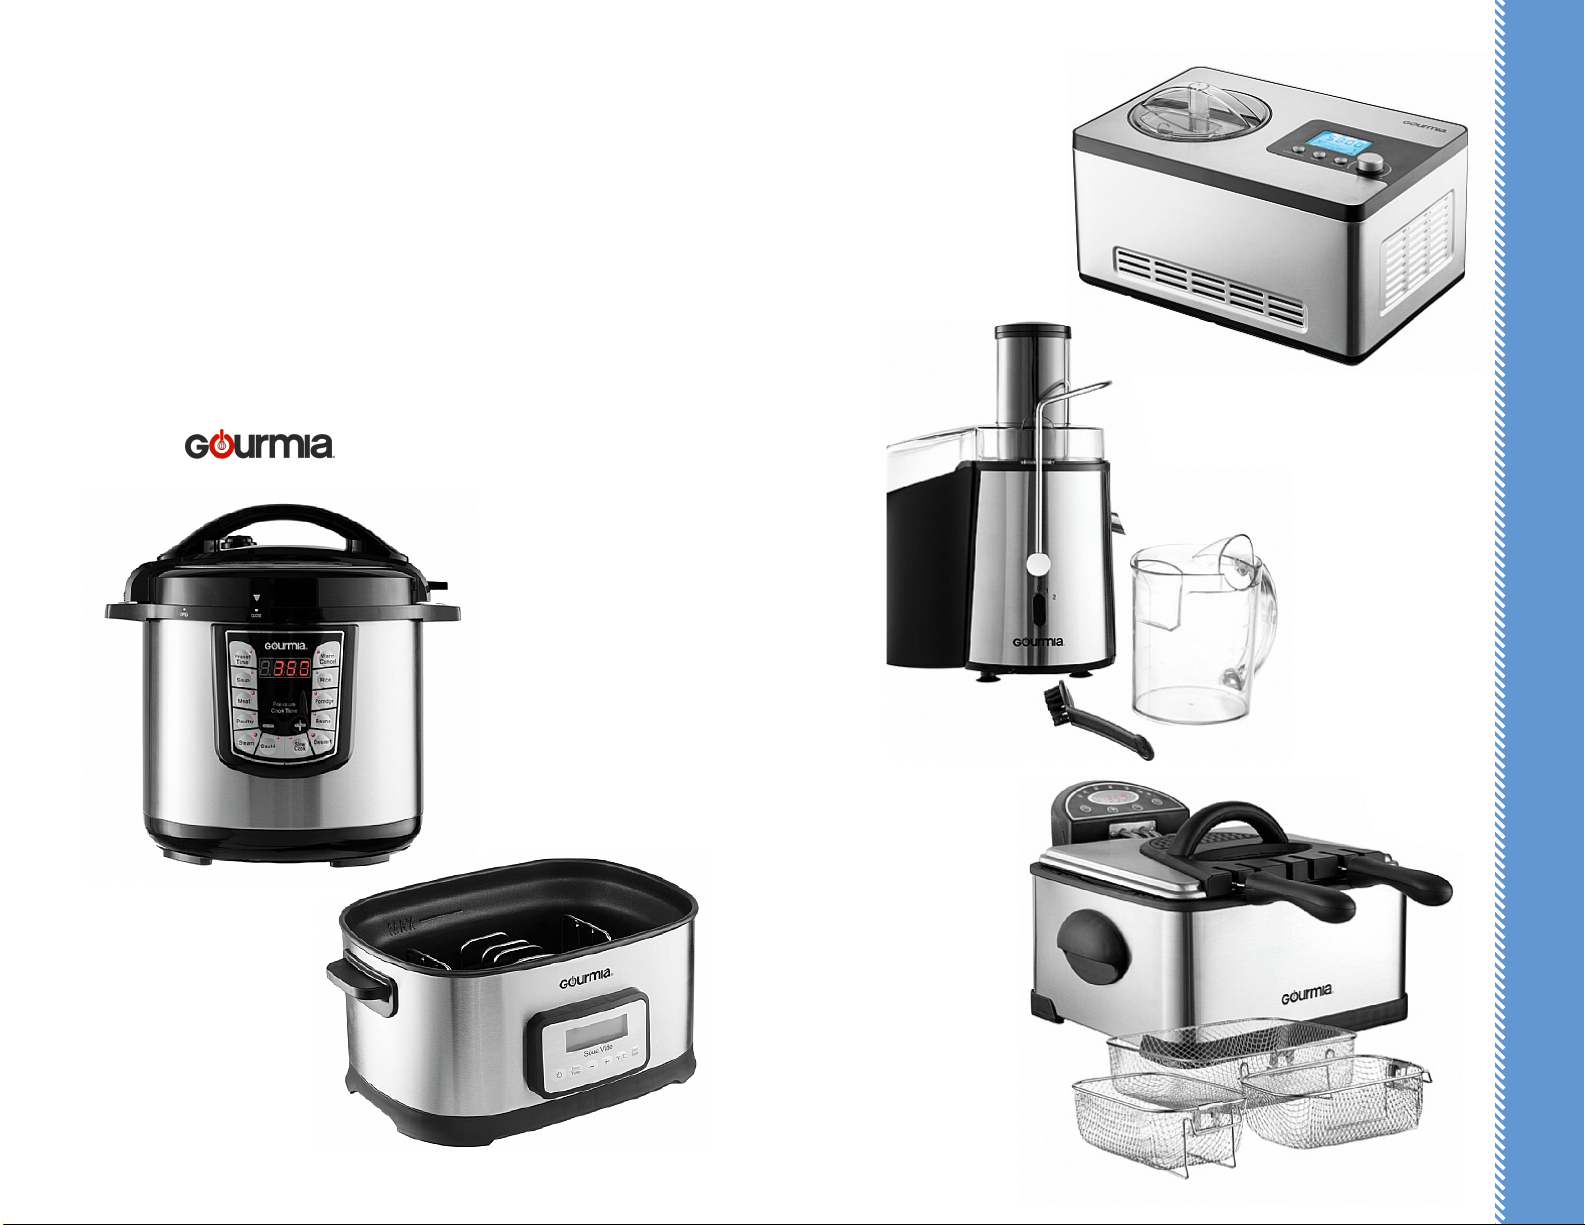
Gourmia 8 Quart Smart Pot
Electric Pressure Cooker
GCP800
Gourmia 9 Quart Sous Vide
Water Oven Cooker
GSV550
Why not Add these Best-selling
Appliances to your Kitchen!
Gourmia Stainless Steel
Deep Fryer with
3 Frying Baskets
GDF500
Gourmia Wide Mouth Fruit
and Vegetable Juice Extractor
GJ750
Gourmia 2.2 Quart Automatic
Ice Cream, Gelato, Sorbet
& Frozen Yogurt Maker
GSI400
GOURMIA IN YOUR KITCHEN!
GOURMIA IN YOUR KITCHEN!
WARRANTY & SERVICE
23
WARRANTY & SERVICE
This Limited Warranty is for one full year from the date of purchase. It is
applicable to the original purchaser only and is not transferable to a third party
user. Repair or replacement of defective parts is solely at the seller’s discretion.
In the event that repair isn’t possible, the seller will replace the product/part. If
product repair/replacement won’t suce, the seller has the option of refunding
the cash value of the product or component returned.
Product defects not covered under the Warranty provisions include normal
wear and damage incurred from use or accidental negligence, misuse of
instruction specications or repair by unauthorized parties. The manufacturing
company is not liable for any incidental or consequential damages incurred by
such circumstances.
For Customer Service or Questions, Please call: 888-552-0033
www.gourmia.com
www.gourmia.com
