
Loading ...
Loading ...
Loading ...
Page 9
ASSEMBLY
SELECTING THE CUTTER BIT
This router comes with 1/2”collet and 1/4”
collet sleeve that accept cutter bits with
1/2” and 1/4” shanks, respectively. The 1/2”
collet is equipped on the tool, the 1/4” collet
sleeve can be installed inside the 1/2” collet.
INSTALLING THE 1/4” COLLET
SLEEVE (FIG. 1)
1. Disconnect the plug from the power
supply.
2. Remove the router motor from the
base; refer to the section “REMOVING
MOTOR FROM BASE”.
3. Set the router motor upside down on its
top cap with the collet pointing up.
4. Press the spindle-lock button to engage
and lock the spindle shaft and 1/2”
collet (FIG. 1a).
FIG. 1a
1/2” collet
Spindle-lock
button
5. Place the wrench (included) on the 1/2”
collet and turn it counterclockwise to
loosen the collet slightly to accept the
cutter bit shank.
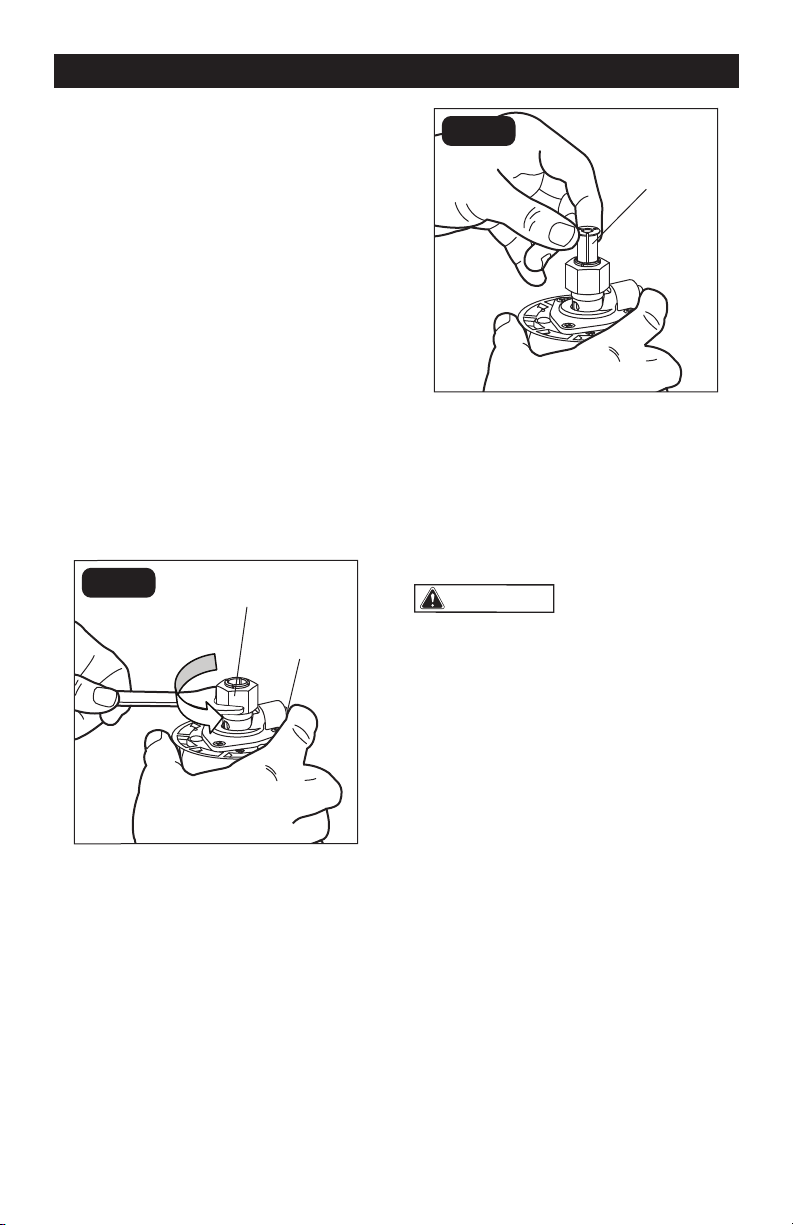
6. Insert the 1/4” collet sleeve into the
1/2” collet assembly as far as it will go
(FIG. 1b).
FIG. 1b
1/4” Collet
sleeve
7. With the 1/4” collet sleeve inserted and
the spindle-lock button pressed in to
engage the shaft, place the wrench on
the 1/2” collet and turn it clockwise until
the 1/4” collet sleeve is tightened in it.
REPLACING THE CUTTER BIT
CAUTION:
Always ensure that
the tool is switched OFF and unplugged
from the power supply before installing or
removing bits or accessories.
INSTALLING THE CUTTER BIT
(FIG. 2)
1. Disconnect the plug from the power
supply.
2. Remove the router motor from the
base; refer to the section “REMOVING
MOTOR FROM BASE”.
3. Set the router motor upside down on its
top cap, with the collet pointing up.
4. Press the spindle-lock button to engage
and lock the spindle shaft and collet.
5. Place the wrench on the collet and turn
it counterclockwise to loosen the collet
slightly to accept the cutter bit shank.
6. Insert the cutter bit shank into the
collet assembly as far as it will go, then
back the shank out until the cutters are
approximately 1/8” to 1/4” away from
the face of the collet (FIG. 2).
Loading ...
Loading ...
Loading ...