Loading ...
Loading ...
Loading ...
17
EN
GETTING STARTED
1. Remove the exterior and interior packaging. Check that ice basket and ice scoop is
included. If any parts are missing, please contact our customer service.
2. Clean the interior with lukewarm water and a soft cloth. Take out the ice basket and
clean it
3. Find a location for your ice maker that is protected from direct sunlight and other
sources of heat (i.e.: stove, furnace, radiator). Place the ice maker on a level
surface. Maker sure that there is at least 4 inches of space between the back and
sides of your ice maker and the wall.
4. Allow one hour for the refrigerant uid to settle before plugging ice maker in.
5. The appliance must be positioned so that the plug is accessible.
Note: ll with potable water only.
OPERATION
1. Open the cover, remove the ice basket and pour water into water reservoir. Keep
water level below the level mark.
2. Press “ON/OFF” button on the control panel to turn on the unit to begin the ice
making cycle.
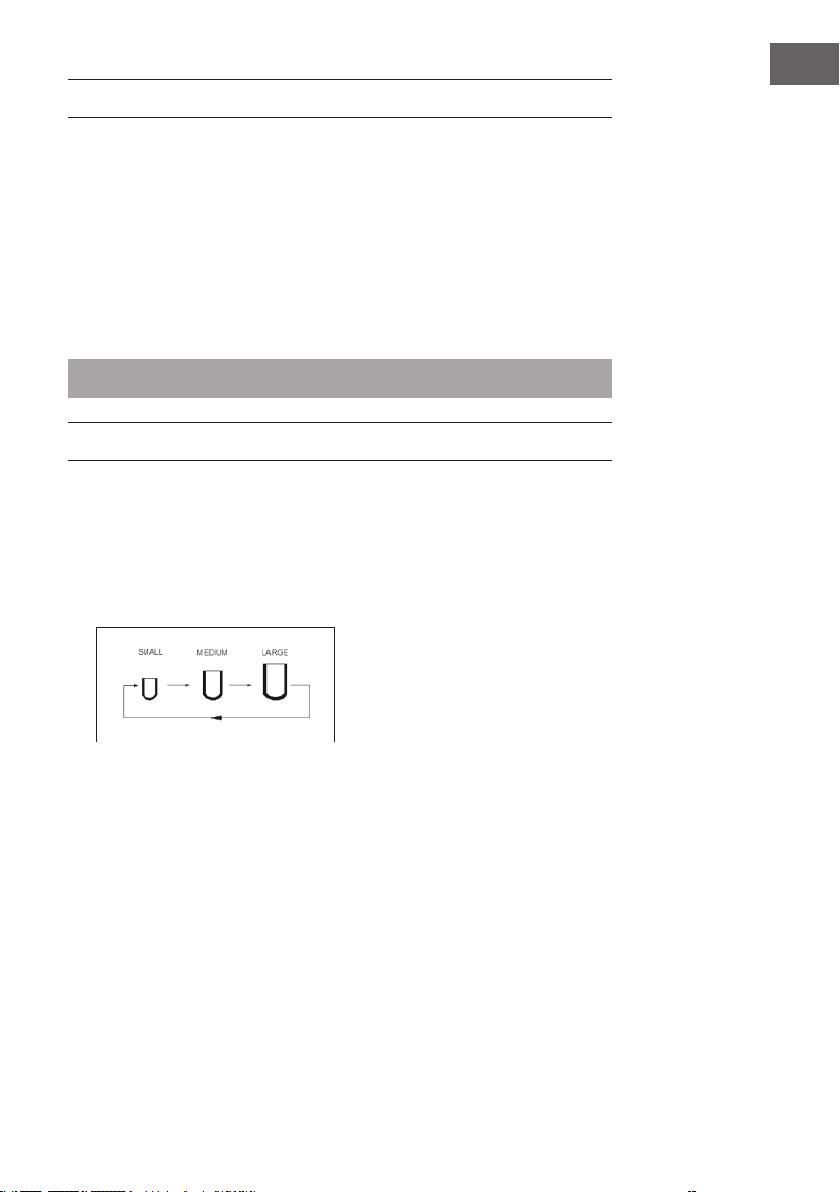
3. Select the size of the ice cube by pressing the “Select” button. Three sizes: SMALL,
MEDIUM or LARGE can be selected:
4. The ice making cycle lasts 6 to 15 minutes, depending on the size of the ice cube
selection and the ambient temperature. In the extreme hot room temperature, ice-
making time maybe vary a lot.
Loading ...
Loading ...
Loading ...