Loading ...
Loading ...
Loading ...
10
• If the auger and impeller still does NOT stop in five
seconds, see an Authorized Service Dealer.
Engage the Drive Wheels
NOTICE
DO NOT move the speed control lever while the
traction control lever is engaged. This can result in damage
to the drive system.
1. To move the snowthrower forward, set the speed control
lever (B, Figure 11) to one of the forward positions.
2. Select a lower number for heavy snow, a middle number
for light snow, and a higher number to transport the
snowthrower.
3. Push and hold down the traction control lever (F).
4. To move the snowthrower in reverse, set the speed
control lever to R1 or R2.
5. Push and hold down the traction control lever.
6. To stop the snowthrower, release the traction control
lever. The unit will stop immediately.
• If the unit does not stop, adjust the control cable.
See Adjust the Traction Control Cable.
• If the unit still does not stop, see an Authorized
Service Dealer.
Note: If you remove snow at too fast of a rate, it will overload
the machine capacity.
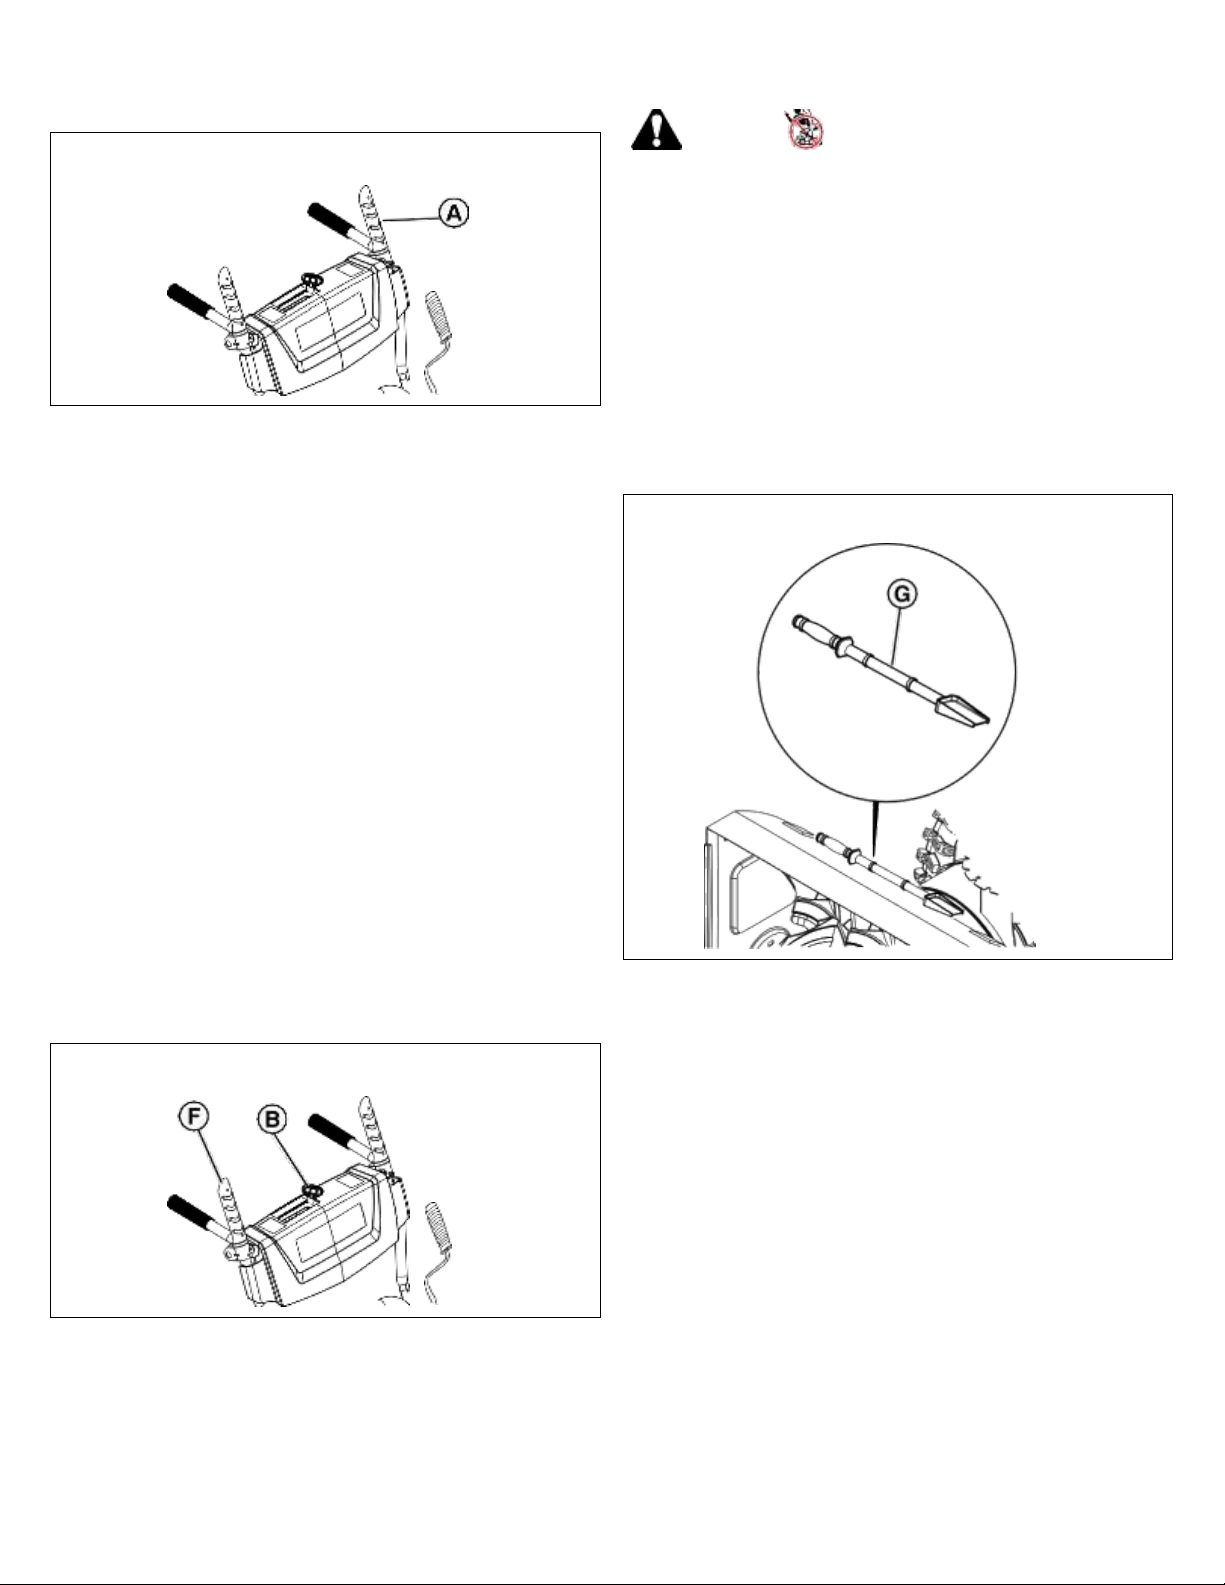
Clean a Clogged Discharge Chute
DANGER
The rotating impeller in the discharge chute throws snow.
Fingers can quickly become caught in the impeller and
result in traumatic amputation or severe laceration. DO NOT
use your hands to clean a clogged discharge chute! Always
use a clean-out tool.
1. STOP the engine. Remove the ignition key or push/pull
key.
2. Make sure that the impeller does not rotate.
3. Use a clean-out tool (G, Figure 12) to remove snow from
the discharge chute. DO NOT use your hands to clean a
clogged discharge chute!
12
Headlight
Some models are equipped with a headlight that illuminates
the area in front of the snowthrower. When you START the
engine, the headlight turns ON. There is no switch.
Use the Wheel Release - Lock Pins (if
equipped)
When you move the unit to a different location, you
can temporarily disengage one or two wheels from the drive
axles.
1. Open the pull-ring (A, Figure 13) over the wheel hub.
10
11
Loading ...
Loading ...
Loading ...