Loading ...
Loading ...
Loading ...
7077-801D • September 17, 2019
23
B. Draft
Draft is the pressure dierence needed to vent appliances
successfully. When an appliance is drafting successfully,
all combustion by products are exiting the home through
the chimney.
Considerations for successful draft include:
• Preventing negative pressure
• Location of appliance and chimney
To measure the draft or negative pressure on your
appliance use a magnehelic or a digital pressure gauge
capable of reading 0 - .25 inches of water column (W.C.).
The appliance should be running on high for at least 15
minutes for the test. With the stove running on high you
should have a negative pressure equal to or greater than
the number given in the chart. If you have a lower reading
than you nd on the chart, your stove does not have
adequate draft to burn the fuel properly.
C. Negative Pressure
NOTICE: GHP assumes no responsibility for the
improper performance of the chimney system
caused by:
• Inadequate draft due to environmental conditions
• Downdrafts
• Tight sealing construction of the structure
• Mechanical exhausting devices
MODEL
Minimum Vacuum
Requirements
PH35PS 0.17 inches W.C.
PH50PS 0.17 inches W.C.
PH50CAB 0.17 inches W.C.
Correct low draft or low vacuum problems by doing one of
the following:
• Thoroughly clean the exhaust path and venting (See
Maintenance Section).
• Inspect for worn or broken gaskets. Repair any gaskets
suspected of leaking, or adjust the trim.
D. Inspect Appliance & Components
• Remove appliance and components from packaging
and inspect for damage.
• Report to your dealer any parts damaged in shipment.
• Read all the instructions before starting the
installation. Follow these instructions carefully
during the installation to ensure maximum safety
and benet.
Tools and building supplies normally required for
installation, unless installing into an existing masonry
replace:
- Reciprocating Saw
- Channel Locks
- Hammer
- Phillips Screwdriver
- Tape Measure
- Plumb Line
- Level
- Framing Material
- Hi-temp Caulking Material
- Gloves
- Safety Glasses
- Framing Square
- Electric Drill & Bits (1/4”)
- 1/4” Self-Tapping Screws
May also need:
- Vent Support Straps
- Venting Paint
E. Tools And Supplies Needed
• Upper level air leaks such as:
- Recessed lighting
- Attic hatch or open windows
- Duct leaks
To minimize the eects of negative air pressure:
• Install the outside air kit with the intake facing
prevailing winds during the heating season
• Ensure adequate outdoor air for all combustion
appliances and exhaust equipment
• Ensure furnace and air conditioning return vents are
not located in the immediate vicinity of the appliance
• Avoid installing the appliance near doors, walkways or
small isolated spaces
• Recessed lighting should be a “sealed can” design
• Attic hatches weather stripped or sealed
• Attic mounted duct work and air handler joints and
seams taped or sealed
Inspect appliance and components
for damage.
Damaged parts may impair safe operation.
• Do NOT install damaged components.
• Do NOT install incomplete components.
• Do NOT install substitute components.
Report damaged parts to dealer.
WARNING
Negative pressure results from the imbalance of air
available for the appliance to operate properly. It can be
strongest in lower levels of the house.
Causes include:
• Exhaust fans (kitchen, bath, etc.)
• Range hoods
• Combustion air requirements for furnaces, water
heaters and other combustion appliances
• Clothes dryers
• Location of return-air vents to furnace or air
conditioning
• Imbalances of the HVAC air handling system
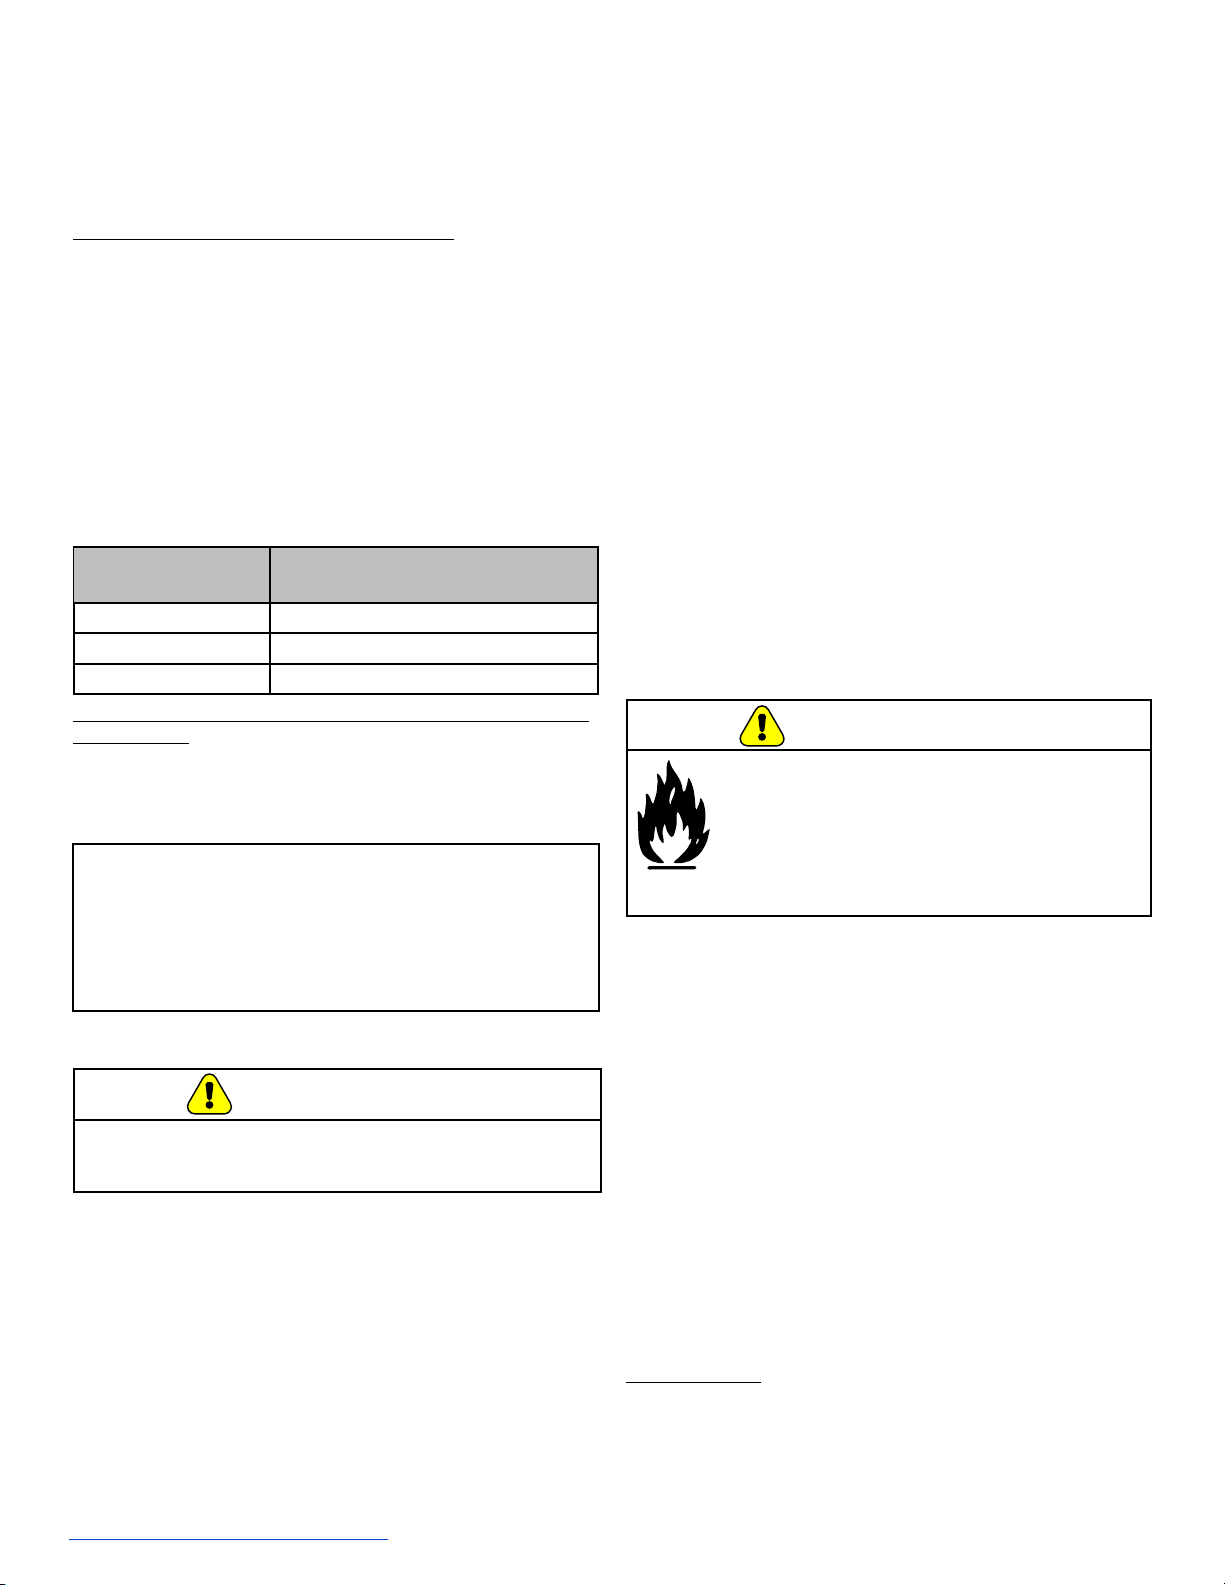
WARNING!
Risk of Asphyxiation!
Negative pressure can cause spillage of combustion
fumes and soot.
Loading ...
Loading ...
Loading ...