Loading ...
Loading ...
Loading ...
65
EN
Flash shooting
3
3
The built-in flash can be set manually as required. The built-in flash can be used for
flash photography in a variety of shooting conditions.
Using a flash (flash photography)
1
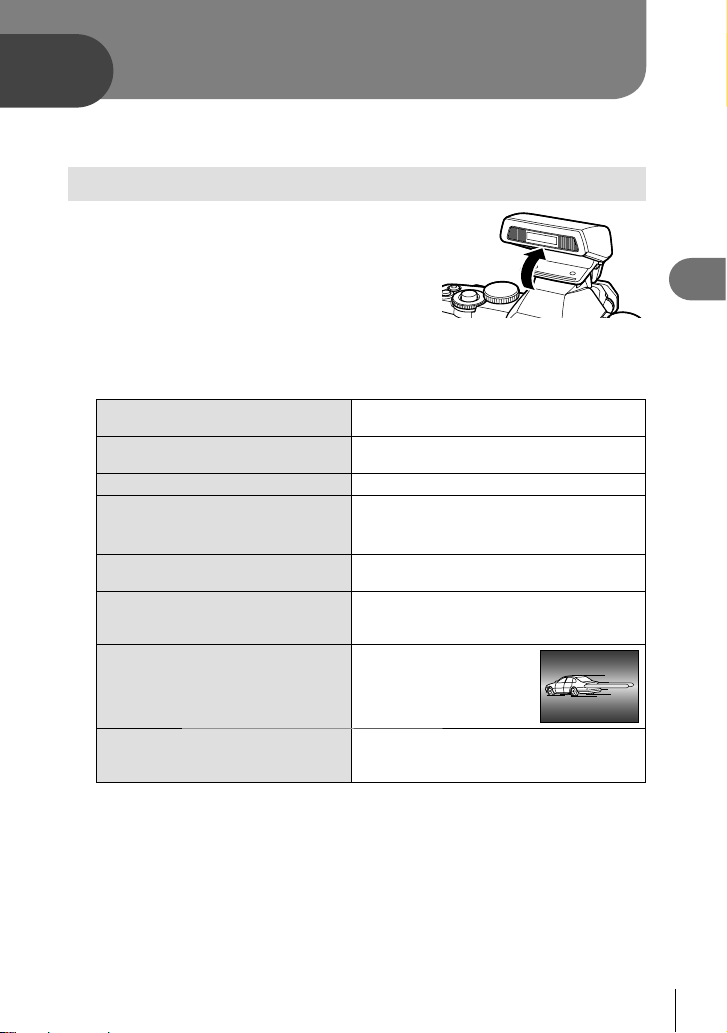
Attach the flash unit and raise the flash
head.
• g “Attaching the flash unit” (P. 7)
2
Display the super control panel or live
control and highlight the fl ash mode.
3
Use the sub dial to choose a setting.
• The options available and the order in which they are displayed vary depending on
the shooting mode. g “Flash modes that can be set by shooting mode” (P. 108)
AUTO Auto flash
The flash fires automatically in low light or
backlight conditions.
#
Fill-in flash
The flash fires regardless of the light
conditions.
$
Flash off The flash does not fire.
!/
#!
Red-eye reduction flash
This function allows you to reduce the red-
eye phenomenon. In S and M mode, the
flash always fires.
#SLOW
Slow synchronization
(1st curtain)
Slow shutter speeds are used to brighten
dimly-lit backgrounds.
!SLOW
Slow synchronization
(1st curtain)/Red-eye
reduction flash
Combines slow synchronization with red-eye
reduction.
#SLOW2/
2nd
Curtain
Slow synchronization
(2nd curtain)
The flash fires just before
the shutter closes to
create trails of light behind
moving light sources.
#FULL,
#1/4 etc.
Manual
For users who prefer manual operation. If
you press the INFO button, you can use the
dial to adjust the flash level.
4
Press the shutter button all the way.
# Cautions
• In [!/#!(Red-eye reduction flash)], after the pre-flashes, it takes about 1 second
before the shutter is released. Do not move the camera until shooting is complete.
• [!/#!(Red-eye reduction flash)] may not work effectively under some shooting
conditions.
• When the flash fires, the shutter speed is set to 1/250 sec. or slower. When shooting
a subject against a bright background with the fill-in flash, the background may be
overexposed.
Flash shooting
Loading ...
Loading ...
Loading ...