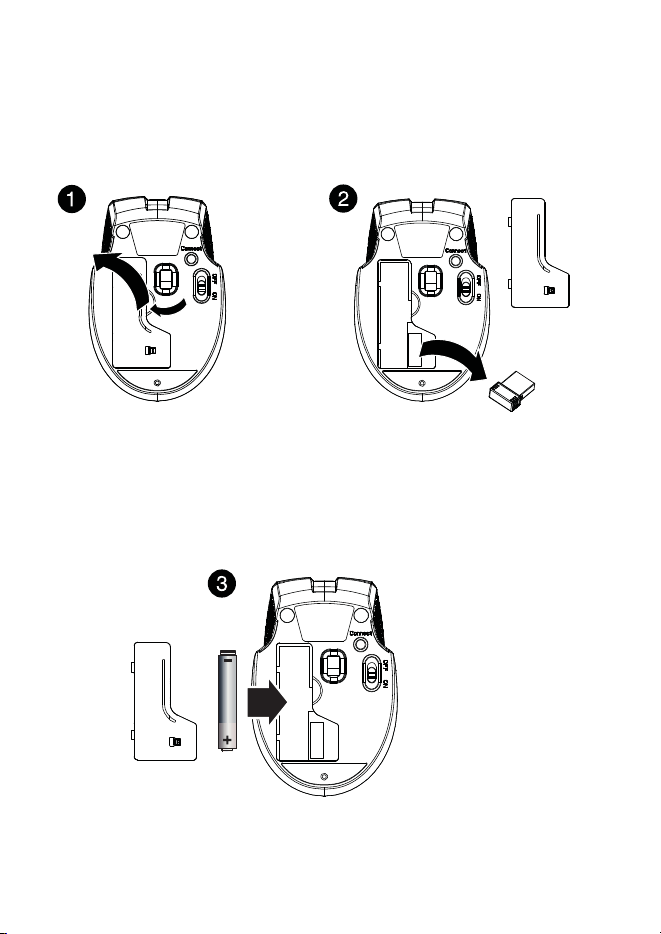
INSTALLING THE BATTERY AND REMOVING THE
USB TRANSCEIVER
1 Take the battery cover o.
2 Remove the USB transceiver from package or from battery
compartment.
3 Insert the included AA battery into the battery compartment. Make
sure that the + and - signs match the symbols in the compartment.
4 Replace the battery cover.
Tip: Store the USB transceiver in the mouse when it is not in use.
LEGAL NOTICES
FCC Statement
This device complies with Part 15 of the FCC Rules. Operation is subject to the following two conditions: (1) this device may
not cause harmful interference, and (2) this device must accept any interference received, including interference that may
cause undesired operation.
This equipment has been tested and found to comply with the limits for a Class B digital device, pursuant to Part 15 of the
FCC Rules. These limits are designed to provide reasonable protection against harmful interference in a residential
installation. This equipment generates, uses and can radiate radio frequency energy and, if not installed and used in
accordance with the instructions, may cause harmful interference to radio communications. However, there is no guarantee
that interference will not occur in a particular installation. If this equipment does cause harmful interference to radio or
television reception, which can be determined by turning the equipment o and on, the user is encouraged to try to correct
the interference by one or more of the following measures:
• Reorient or relocate the receiving antenna.
• Increase the separation between the equipment and receiver.
• Connect the equipment into an outlet on a circuit dierent from that to which the receiver is connected.
• Consult the dealer or an experienced radio/TV technician for help.
Warning: Changes or modifications not expressly approved by the party responsible for compliance could void the user’s
authority to operate the equipment.
RSS-Gen and RSS-210 statement
This device complies with Industry Canada license-exempt RSS standard(s).
Operation is subject to the following two conditions: (1) this device may not cause interference, and (2) this device must
accept any interference, including interference that may cause undesired operation of the device.
Le présent appareil est conforme aux CNR d'Industrie Canada applicables aux appareils radio exempts de licence.
L'exploitation est autorisée aux deux conditions suivantes : (1) l'appareil ne doit pas produire de brouillage, et (2) l'utilisateur
de l'appareil doit accepter tout brouillage radioélectrique subi, même si le brouillage est susceptible d'en compromettre le
fonctionnement.
RSS-102 statement
This equipment complies with Industry Canada radiation exposure limits set forth for an uncontrolled environment.
Cet équipement est conforme à l'exposition aux rayonnements Industry Canada limites établies pour un environnement non
contrôlé.
ONE-YEAR LIMITED WARRANTY
For complete warranty, visit www.insigniaproducts.com.
CONTACT INSIGNIA
1-877-467-4289 (U.S. and Canada) or 01-800-926-3000 (Mexico)
www.insigniaproducts.com
INSIGNIA is a trademark of Best Buy and its aliated companies.
Distributed by Best Buy Purchasing, LLC
©2016 Best Buy. All rights reserved.
Made in China
V3 ENGLISH 16-0288
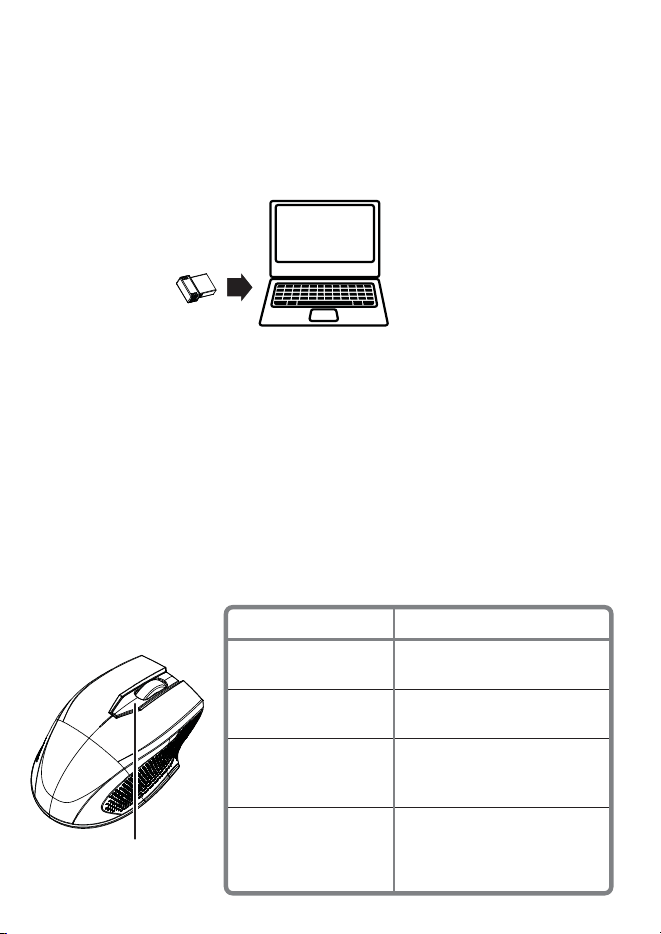
CONNECTING YOUR MOUSE TO YOUR COMPUTER
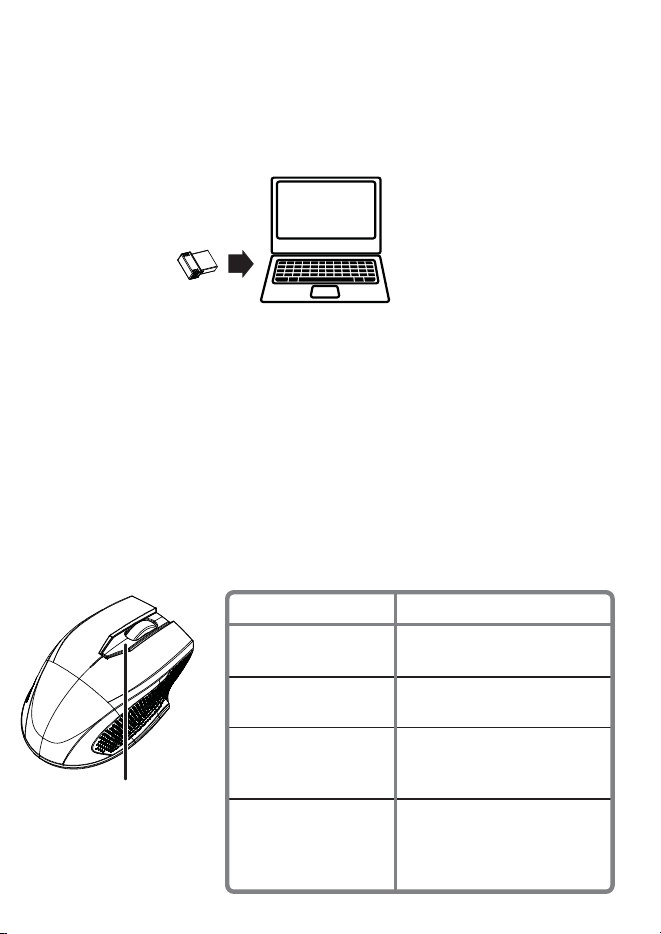
1 Plug the USB transceiver into a USB port on your computer.
2 Slide the ON/OFF switch on your mouse to ON.
The computer automatically detects the mouse and you can
immediately begin using it.
If the mouse does not work:
• Move your mouse closer to your computer.
• Re-plug the USB transceiver into the USB port on your computer,
then press the connect button on the mouse. The Red LED on the
mouse ashes steadily while in pairing mode (10 seconds). After
pairing successfully, the Red LED blinks three times, then turns o.
• Check the battery in your mouse. The Red LED blinks for 10 seconds
when the battery is low.
RED LED
Before using your new product, please read these instructions to prevent any damage.
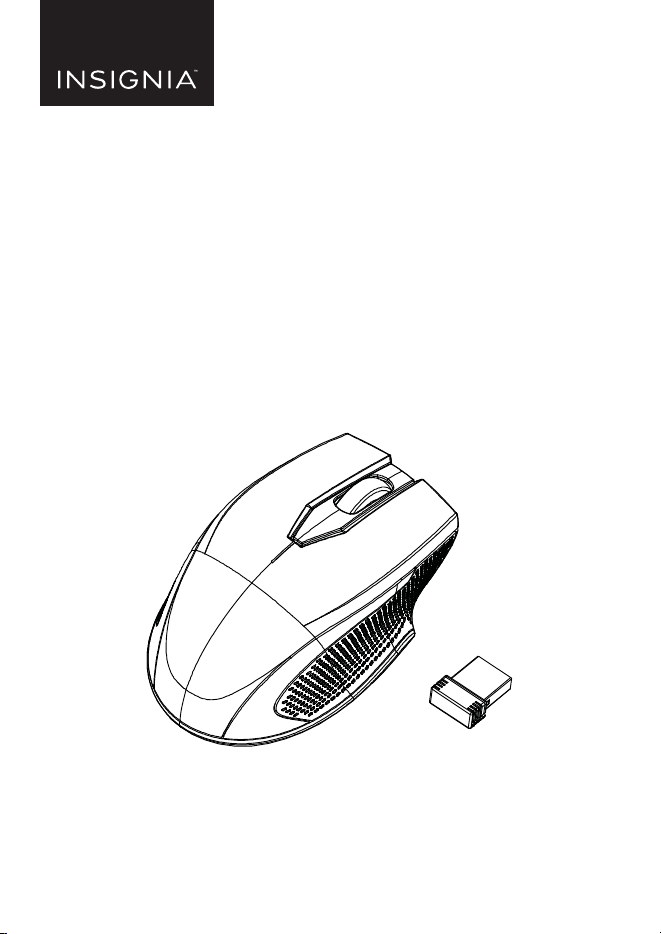
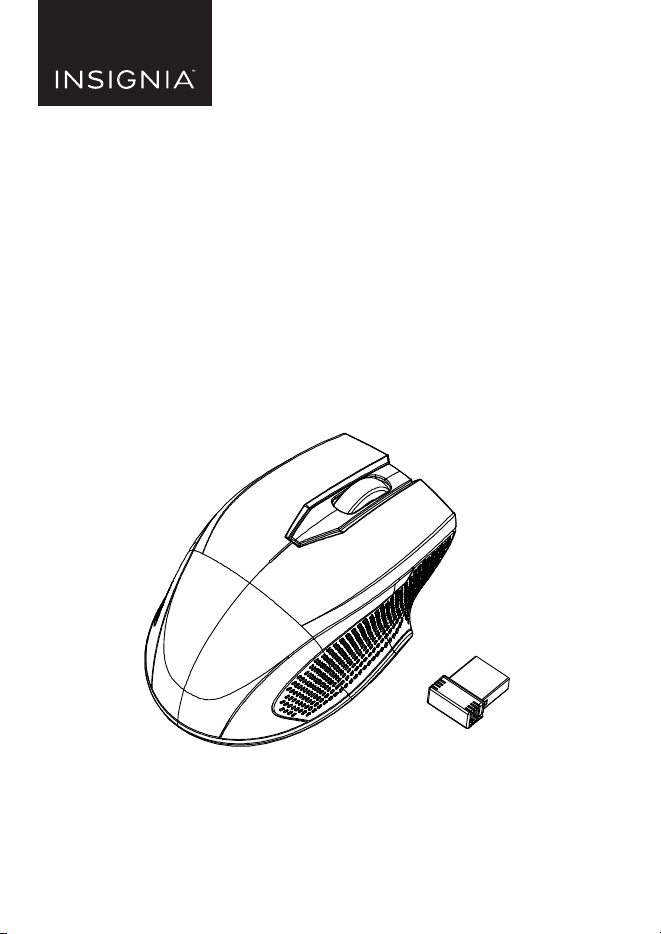
PACKAGE CONTENTS
• Wireless Optical Mouse
• USB transceiver
• AA battery (1)
• Quick Setup Guide
SYSTEM REQUIREMENTS
• Windows® 10, Windows® 8.1, Windows® 8, Windows® 7, Windows Vista®,
or Mac OS 10.X or higher
• One available USB port
FEATURES
• Blue sensor for enhanced tracking
CLEANING YOUR MOUSE
• Wipe the mouse with a damp, lint-free cloth.
SPECIFICATIONS
Mouse:
• Dimensions (L×W×H): 3.85 × 2.57 × 1.43 in. (9.78 × 6.53 × 3.64 cm)
• Weight: 1.86 oz. (.05 kg)
• Battery: 1 AA alkaline battery
• Battery life: 6 months (based on average usage)
• Radio frequency: 2.4Ghz
• Operating distance: 33 feet (10 meters)
• Rating: 1.5V C.C. - 10mA
USB transceiver:
• Dimensions (L×W×H): .7 × .6 × .2 in. (1.8 × 1.4 × .6 cm)
• Weight: 1.2 g ± 0.5g
• Interface: USB 1.1, 2.0 , 3.0
TROUBLESHOOTING
My mouse is not working.
• Move your mouse and computer closer together.
• Make sure that your computer meets the system requirements.
• Only use the mouse on a clean, at, non-slippery surface to ensure
smooth and accurate cursor action.
• If your mouse stops working:
• Make sure that your mouse and USB transceiver are paired by
pressing the connect button on the mouse.
• Replace the mouse battery.
• Try connecting your USB transceiver into a dierent USB port on
your computer.
• Avoid using your mouse on reective, transparent, or metallic surfaces.
QUICK SETUP GUIDE
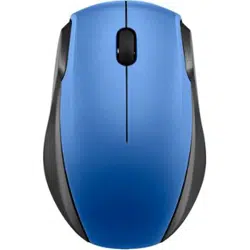
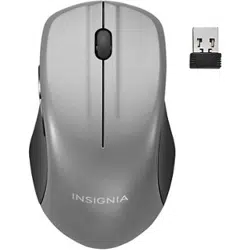
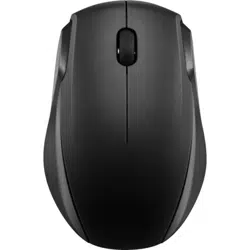
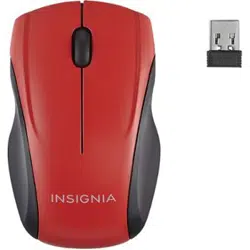
Wireless Optical
Mouse
NS-PNM7013-BK/NS-PNM7013-BL/NS-PNM7013-RD
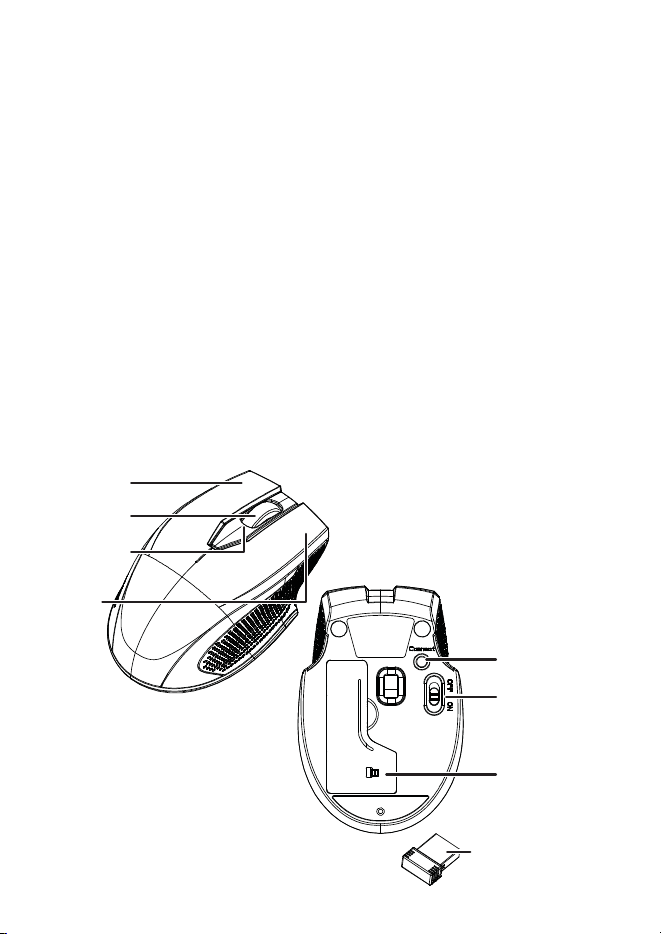
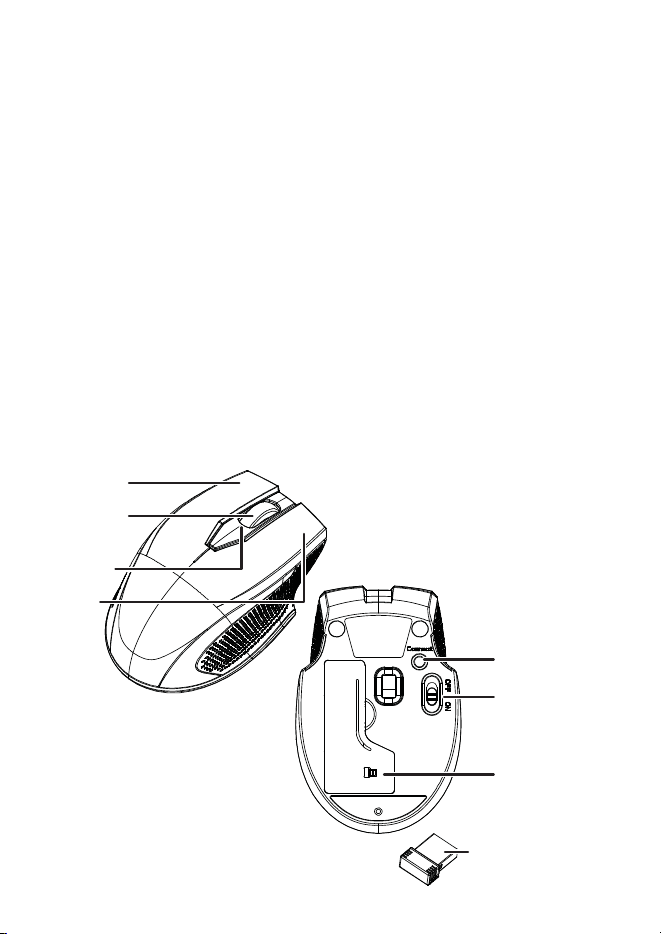
OFF/ON switch
Connect button
Battery cover
USB transceiver
Red LED
Right
button
Left button
Scrolling wheel
Pull
FUNCTION
Power ON
Low battery warning
Pairing
Pairing failed
DESCRIPTION
Red LED is on for 3 seconds,
then turns o.
Red LED blinks for 10
seconds.
Red LED blinks three times
after pressing the Connect
button.
After the Connect button is
pressed, the Red LED blinks,
then lights solid for 10
seconds.
Red LED
AA battery
INSTALLING THE BATTERY AND REMOVING THE
USB TRANSCEIVER
1 Take the battery cover o.
2 Remove the USB transceiver from package or from battery
compartment.
3 Insert the included AA battery into the battery compartment. Make
sure that the + and - signs match the symbols in the compartment.
4 Replace the battery cover.
Tip: Store the USB transceiver in the mouse when it is not in use.
LEGAL NOTICES
FCC Statement
This device complies with Part 15 of the FCC Rules. Operation is subject to the following two conditions: (1) this device may
not cause harmful interference, and (2) this device must accept any interference received, including interference that may
cause undesired operation.
This equipment has been tested and found to comply with the limits for a Class B digital device, pursuant to Part 15 of the
FCC Rules. These limits are designed to provide reasonable protection against harmful interference in a residential
installation. This equipment generates, uses and can radiate radio frequency energy and, if not installed and used in
accordance with the instructions, may cause harmful interference to radio communications. However, there is no guarantee
that interference will not occur in a particular installation. If this equipment does cause harmful interference to radio or
television reception, which can be determined by turning the equipment o and on, the user is encouraged to try to correct
the interference by one or more of the following measures:
• Reorient or relocate the receiving antenna.
• Increase the separation between the equipment and receiver.
• Connect the equipment into an outlet on a circuit dierent from that to which the receiver is connected.
• Consult the dealer or an experienced radio/TV technician for help.
Warning: Changes or modifications not expressly approved by the party responsible for compliance could void the user’s
authority to operate the equipment.
RSS-Gen and RSS-210 statement
This device complies with Industry Canada license-exempt RSS standard(s).
Operation is subject to the following two conditions: (1) this device may not cause interference, and (2) this device must
accept any interference, including interference that may cause undesired operation of the device.
Le présent appareil est conforme aux CNR d'Industrie Canada applicables aux appareils radio exempts de licence.
L'exploitation est autorisée aux deux conditions suivantes : (1) l'appareil ne doit pas produire de brouillage, et (2) l'utilisateur
de l'appareil doit accepter tout brouillage radioélectrique subi, même si le brouillage est susceptible d'en compromettre le
fonctionnement.
RSS-102 statement
This equipment complies with Industry Canada radiation exposure limits set forth for an uncontrolled environment.
Cet équipement est conforme à l'exposition aux rayonnements Industry Canada limites établies pour un environnement non
contrôlé.
ONE-YEAR LIMITED WARRANTY
For complete warranty, visit www.insigniaproducts.com.
CONTACT INSIGNIA
1-877-467-4289 (U.S. and Canada) or 01-800-926-3000 (Mexico)
www.insigniaproducts.com
INSIGNIA is a trademark of Best Buy and its aliated companies.
Distributed by Best Buy Purchasing, LLC
©2016 Best Buy. All rights reserved.
Made in China
V3 ENGLISH 16-0288
CONNECTING YOUR MOUSE TO YOUR COMPUTER
1 Plug the USB transceiver into a USB port on your computer.
2 Slide the ON/OFF switch on your mouse to ON.
The computer automatically detects the mouse and you can
immediately begin using it.
If the mouse does not work:
• Move your mouse closer to your computer.
• Re-plug the USB transceiver into the USB port on your computer,
then press the connect button on the mouse. The Red LED on the
mouse ashes steadily while in pairing mode (10 seconds). After
pairing successfully, the Red LED blinks three times, then turns o.
• Check the battery in your mouse. The Red LED blinks for 10 seconds
when the battery is low.
RED LED
Before using your new product, please read these instructions to prevent any damage.
PACKAGE CONTENTS
• Wireless Optical Mouse
• USB transceiver
• AA battery (1)
• Quick Setup Guide
SYSTEM REQUIREMENTS
• Windows® 10, Windows® 8.1, Windows® 8, Windows® 7, Windows Vista®,
or Mac OS 10.X or higher
• One available USB port
FEATURES
• Blue sensor for enhanced tracking
CLEANING YOUR MOUSE
• Wipe the mouse with a damp, lint-free cloth.
SPECIFICATIONS
Mouse:
• Dimensions (L×W×H): 3.85 × 2.57 × 1.43 in. (9.78 × 6.53 × 3.64 cm)
• Weight: 1.86 oz. (.05 kg)
• Battery: 1 AA alkaline battery
• Battery life: 6 months (based on average usage)
• Radio frequency: 2.4Ghz
• Operating distance: 33 feet (10 meters)
• Rating: 1.5V C.C. - 10mA
USB transceiver:
• Dimensions (L×W×H): .7 × .6 × .2 in. (1.8 × 1.4 × .6 cm)
• Weight: 1.2 g ± 0.5g
• Interface: USB 1.1, 2.0 , 3.0
TROUBLESHOOTING
My mouse is not working.
• Move your mouse and computer closer together.
• Make sure that your computer meets the system requirements.
• Only use the mouse on a clean, at, non-slippery surface to ensure
smooth and accurate cursor action.
• If your mouse stops working:
• Make sure that your mouse and USB transceiver are paired by
pressing the connect button on the mouse.
• Replace the mouse battery.
• Try connecting your USB transceiver into a dierent USB port on
your computer.
• Avoid using your mouse on reective, transparent, or metallic surfaces.
QUICK SETUP GUIDE
Wireless Optical
Mouse
NS-PNM7013-BK/NS-PNM7013-BL/NS-PNM7013-RD
OFF/ON switch
Connect button
Battery cover
USB transceiver
Red LED
Right
button
Left button
Scrolling wheel
Pull
FUNCTION
Power ON
Low battery warning
Pairing
Pairing failed
DESCRIPTION
Red LED is on for 3 seconds,
then turns o.
Red LED blinks for 10
seconds.
Red LED blinks three times
after pressing the Connect
button.
After the Connect button is
pressed, the Red LED blinks,
then lights solid for 10
seconds.
Red LED
AA battery
INSTALACIÓN DE LA PILA Y EXTRACCIÓN DEL
TRANSCEPTOR USB
1 Remueva la cubierta del compartimiento de la pila.
2 Remueva el transceptor USB del paquete o del compartimiento de la
pila.
3 Inserte la pila AA incluida en su compartimiento. Verique que los
símbolos + y – en la pila correspondan con los símbolos + y – en el
compartimiento.
4 Vuelva a colocar la cubierta de la pila.
Consejo: guarde el transceptor USB en el ratón cuando no lo use.
AVISOS LEGALES
Declaración de la FCC
Este dispositivo satisface la parte 15 del reglamento FCC. Su utilización está sujeta a las siguientes dos condiciones: (1) este
dispositivo no puede causar interferencia dañina, y (2) este dispositivo debe aceptar cualquier interferencia recibida incluyendo
interferencias que puedan causar una operación no deseada.
Este equipo ha sido sometido a pruebas y se ha determinado que satisface los límites establecidos para clasicarlo como
dispositivo digital de Clase B de acuerdo con la Parte 15 del reglamento FCC. Estos límites están diseñados para proporcionar una
protección razonable contra interferencias dañinas en un ambiente residencial. Este dispositivo genera, utiliza y puede irradiar
energía de radiofrecuencia y, si no es instalado y utilizado de acuerdo a las instrucciones, puede causar interferencias perjudiciales
en las comunicaciones de radio. Sin embargo, no se garantiza que no ocurrirá interferencia en una instalación particular. Si el
equipo causa interferencias perjudiciales en la recepción de la señal de radio o televisión, lo cual puede comprobarse
entendiéndolo y apagándolo alternativamente, se recomienda al usuario corregir la interferencia por uno de los siguientes
procedimientos:
• Cambie la orientación o la ubicación de la antena receptora.
• Aumente la distancia entre el equipo y el receptor.
• Conecte el equipo a un tomacorriente de un circuito distinto de aquel al que está conectado el receptor.
• Solicite consejo al distribuidor o a un técnico experto en radio y televisión para obtener ayuda.
Advertencia: cualquier cambio o modicación que no esté aprobado expresamente por la parte responsable por el
cumplimiento puede anular la autoridad del usuario para operar el equipo.
Declaración RSS-Gen y RSS-210 de IC
Este dispositivo cumple con las normas RSS de Industria Canadá de las unidades exentas de licencia.
Su utilización está sujeta a las siguientes dos condiciones: (1) este dispositivo no puede causar interferencia dañina, y (2) este
dispositivo debe aceptar cualquier interferencia recibida incluyendo interferencias que puedan causar una operación no deseada.
Le présent appareil est conforme aux CNR d'Industrie Canada applicables aux appareils radio exempts de licence. L'exploitation
est autorisée aux deux conditions suivantes : (1) cet appareil ne doit pas provoquer d’interférences et (2) doit accepter toutes
interférences reçues, y compris celles risquant d’engendrer un fonctionnement indésirable du dispositif.
Declaración RSS-102
Este equipo cumple con los límites de exposición a la radiación de Industria Canadá especicados para un ambiente de acceso
libre.
Cet équipement est conforme aux limitations prévues par IC pour l’exposition aux irradiations dans le cadre d’un environnement
d’accès libre.
GARANTÍA LIMITADA DE UN AÑO
Para los detalles sobre la garantía, visite www.insigniaproducts.com.
COMUNÍQUESE CON INSIGNIA
1-877-467-4289 (EE.UU. y Canadá) o el 01-800-926-3000 (México)
www.insigniaproducts.com
INSIGNIA es una marca comercial de Best Buy y sus compañías asociadas.
Distribuida por Best Buy Purchasing, LLC
© 2016 Best Buy. Todos los derechos reservados.
Hecho en China
V3 ESPAÑOL 16-0288
CONEXIÓN DE SU RATÓN A LA COMPUTADORA
1 Inserte el transceptor USB en un puerto USB en su computadora.
2 Deslice el interruptor de encendido y apagado (ON/OFF) en su ratón
a la posición ON (Encendido).
Su computadora detectará automáticamente el ratón y se puede
usarlo de inmediato.
Si el ratón no funciona, haga lo siguiente:
• Instale su ratón más cerca de su computadora.
• Enchufe nuevamente el transceptor USB en el puerto USB de su
computadora y presione el botón connect (conectar) en el ratón. El
LED rojo del ratón parpadea regularmente cuando está en el modo
de emparejamiento (10 segundos). Cuando el emparejamiento se ha
hecho, el LED rojo parpadea tres veces y se apaga.
• Compruebe la pila en el ratón. El LED rojo parpadea por 10
segundos cuando la pila tienen poca carga.
LED ROJO
CONTENIDO DEL PAQUETE
• Ratón óptico inalámbrico
• Transceptor USB
• Pila AA (1)
• Guía de instalación rápida
REQUISITOS DEL SISTEMA
• Windows® 10, Windows® 8.1, Windows® 8, Windows® 7, Windows Vista®,
o Mac OS 10.X o más reciente
• Un puerto USB disponible
CARACTERÍSTICAS
• Sensor azul para un seguimiento mejorado
LIMPIEZA DEL RATÓN
• Limpie el ratón con un paño húmedo, sin pelusas.
ESPECIFICACIONES
Ratón:
• Dimensiones (Largo × Ancho × Alto): 3.85 × 2.57 × 1.43 pulg.
(9.78 × 6.53 × 3.64 cm)
• Peso: 1.86 oz (0.05 kg)
• Pila: 1 pila alcalina AA
• Autonomía de la batería: 6 meses (en función de un uso promedio)
• Frecuencia de radio: 2.4 GHz
• Distancia de operación: 33 pies (10 metros)
• Potencia nominal: 1.5 V CC – 10 mA
Transceptor USB:
• Dimensiones (Largo × Ancho × Alto): 0.7 × 0.6 × 0.2 pulg.
(1.8 × 1.4 × 0.6 cm)
• Peso: 1.2 g ± 0,5 g
• Interfaz: USB 1.1, 2.0, 3.0
LOCALIZACIÓN Y CORRECCIÓN DE FALLAS
Mi ratón no funciona.
• Acerque el ratón de su computadora.
• Asegúrese de que su computadora cumple con los requisitos de sistema.
• Utilice el ratón únicamente sobre una supercie limpia, plana y
antideslizante para garantizar la acción uniforme y exacta del cursor.
• Si su ratón deja de funcionar:
• Asegúrese de que su ratón y el transceptor USB estén emparejados,
presionando el botón connect (conectar) en el ratón.
• Reemplace la pila del ratón.
• Trate de conectar el transceptor USB en un puerto USB diferente de su
computadora.
• Evite usar su ratón sobre una supercie reectante, transparente o
metálica.
LED rojo
Tirar
FUNCIÓN
Unidad encendida
Aviso de pila baja
Emparejamiento
El emparejamiento
no se realizó
DESCRIPCIÓN
El LED rojo se ilumina por 3
segundos y se apaga.
El LED rojo parpadea por 10
segundos.
El LED rojo parpadea tres veces
después de presionar el botón
de conectar (Connect).
Después de presionar el botón
de conectar (Connect), el LED
rojo parpadea y se ilumina en
continuo por 10 segundos.
LED rojo
Pila AA
Interruptor de
ENCENDIDO/APAGADO
Botón conectar
Cubierta de la batería
Botón
secundario
Botón primario
Rueda de
desplazamiento
Antes de usar su producto nuevo, lea este instructivo para prevenir cualquier daño.
GUÍA DE INSTALACIÓN RÁPIDA
Ratón óptico
inalámbrico
NS-PNM7013-BK/NS-PNM7013-BL/NS-PNM7013-RD
Transceptor USB