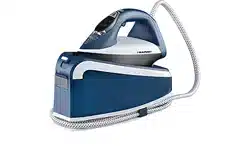
HS-26
Instruction Manual
Visit our website to learn more about our other products and customer support.
www.trueandtidy.com

TRUE & TIDY (1) Year Limited Warranty
True & Tidy products are warranted for 1 year from the date of
purchase if the appliance is defective in materials or workmanship.
True & Tidy will repair or replace (at our option) your appliance
during this period. Any replacement product will carry the remaining
warranty of the original product.
True & Tidy is not liable for any incidental, misuse, negligence or
failure to follow True & Tidy’s user manual.
To obtain a repair or replacement under the terms of this warranty,
contact customer service for return authorization. After receiving
authorization, carefully pack your unit and return to the service
center. Please enclose a note or letter explaining the issue along with
proof of purchase and $9.95 for shipping and handling. Please
provide your name, phone number, and complete address.
If you have any questions regarding this warranty, you may contact us
at 1-888-293-3492 or through our website www.trueandtidy.com
Customers located outside of the continental US will be responsible
for all international shipping charges for your return or replacement.
WARRANTY

Carefully read all instructions before operating the steamer for the first
time.
This appliance is not intended for use by children or persons with reduced
physical, mental or sensory capabilities, or lack of experience and
knowledge without the supervision or instruction concerning the use of the
appliance by a person responsible for their safety.
Remove and safely discard the protective cover to prevent choking hazard
for children.
Always unplug the steamer and wait for it to cool down before attaching or
detaching the fabric and lint brush during filling, cleaning, and de-scaling.
Ensure that the steamer is properly assembled before use.
Only use attachments or accessories provided and specified in this
instruction manual. Use this manual for attachment and accessory
instructions.
Do not fill the water tank past the MAX indicator line as this may cause the
water to overflow or leak.
Take extra precautions when using the appliance due to hot steam.
Do not touch the steam nozzle during use.
Never use the steamer while the clothes are on the body.
Never direct the steam nozzle towards people, animals, and plants.
Do not leave appliance unattended while it is in operation or powered on.
Always ensure the garment steamer is preheated for 2-3 minutes prior to
use to prevent water leakage from the steam nozzle.
Always test the garment steamer on a small part of the fabric before
continuous steaming to ensure the temperature is not too high for the
fabric.
Do not use steamer if it shows visible signs of damage or if there is leaking.
Do not store steamer with water in the water tank. Always empty the tank
after each use to prevent mineral build-up.
Allow the steamer to cool down completely before storing.
Always place steamer on a secure surface.
If the steamer is not used for an extended period of time, disconnect the
power plug from the outlet.
Do not use the appliance if the power cord is damaged.
Do not use outdoors. This appliance is for household use only.
Do not fill the water tank with hot water or corrosive cleaning agents.
Distilled or filtered water is strongly recommended.
Refer to this manual for cleaning instructions.
Only connect to 120V power outlet.
Do not immerse the appliance, plug, or power cord in water to reduce the
risk of electric shock.
IMPORTANT SAFETY MEASURES

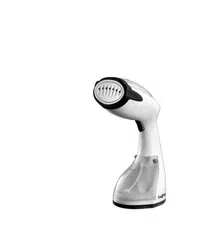
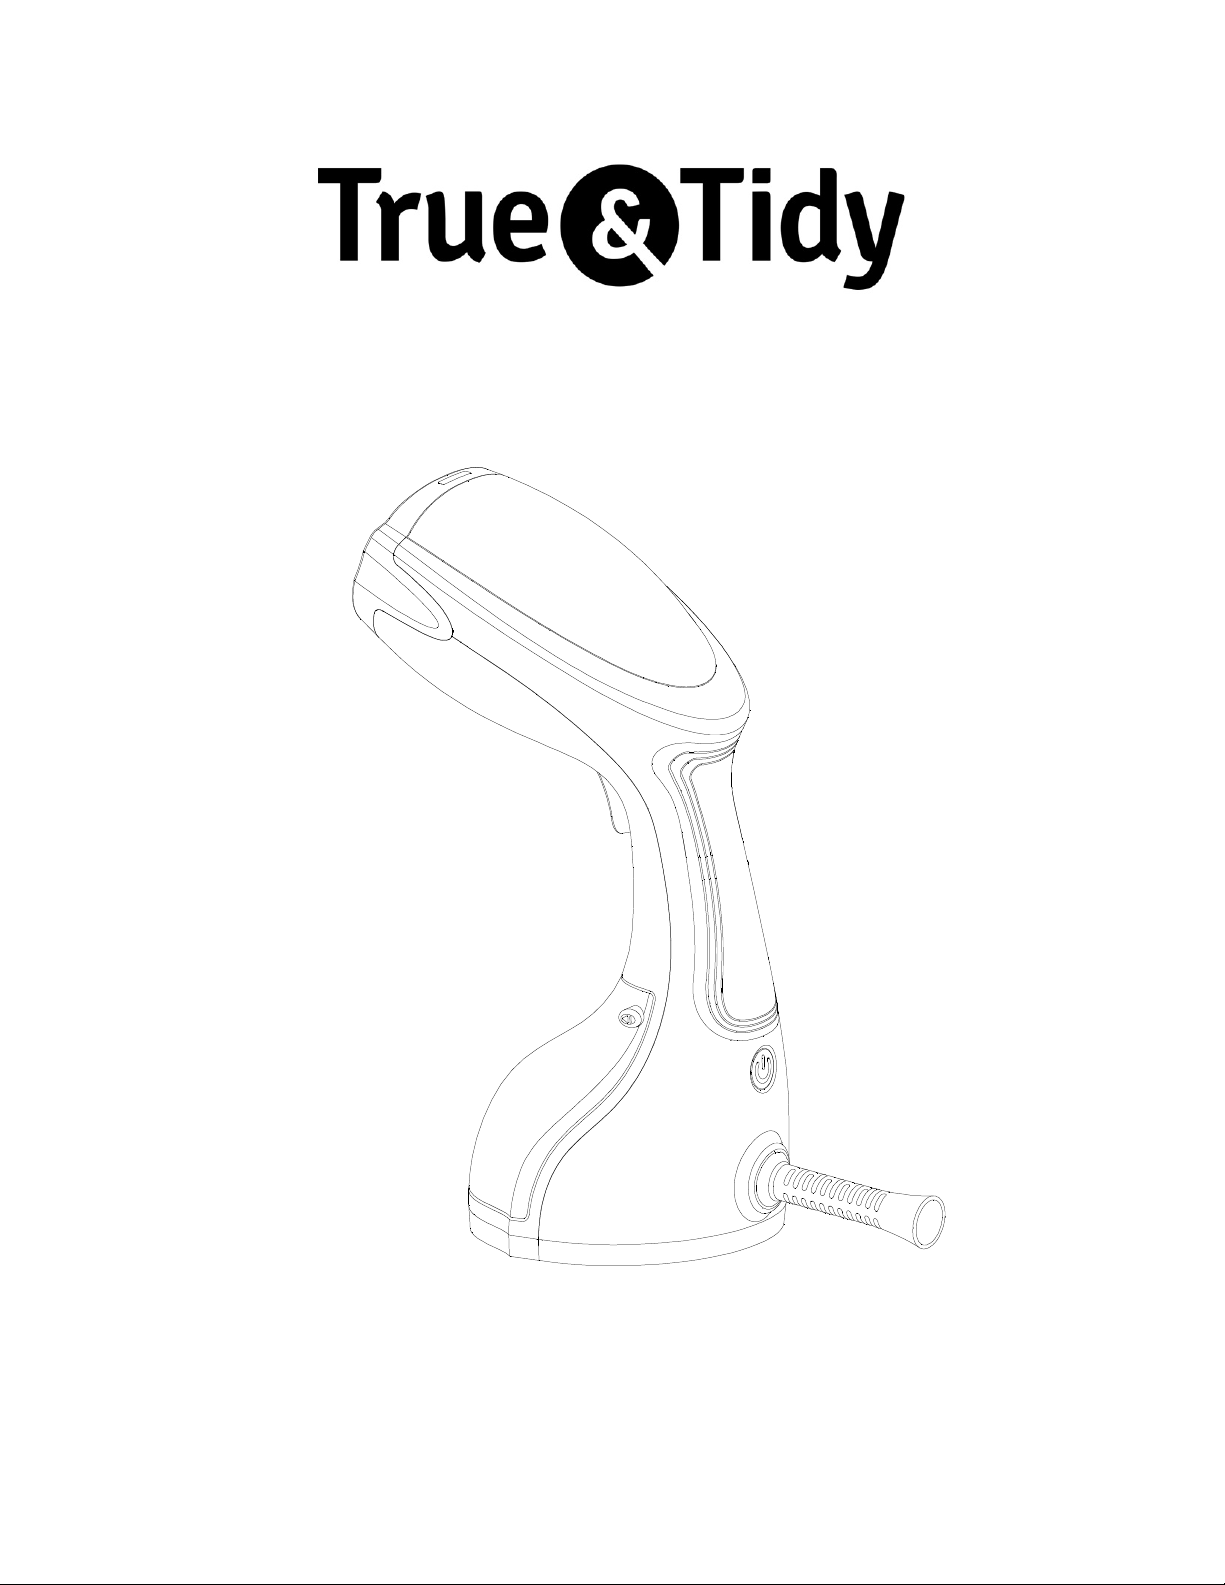
Parts & Accessories
A. Stainless Steel Plate
B. Power Indicator Light
C. Soft Grip Handle
D. On/Off Power Button
E. Cord Wrap
F. Steam Control Button
G. Water Tank Release Button
H. Water Tank (Removable)
I. Fabric Brush (Removable)
J. Lint Brush (Removable)
A
D
I
J
F
G
H
E
C
B
COMPONENTS

BEFORE FIRST TIME USE
• Remove and safely discard the protective cover to prevent choking
hazard for children.
• Unwind and straighten the cord.
• To avoid blowing the electrical outlet, it is recommended that no other
appliances are plugged in the same outlet as your steamer during use.
ASSEMBLING/OPERATING YOUR GARMENT STEAMER
1.
Press the water tank release button, pull out the water tank, and fill water
into the water tank until it reaches MAX level. Do not fill the water tank past
the MAX indicator line. Place the water tank back into the body of the unit.
2.
Fabric brush can be attached by snapping on to the steamer nozzle and will
lock into position with a “click”.
3.
Connect the power cord to compatible electrical outlet and press the power
button. The power indicator light will flash indicating preheating. Once the
indicator light stops flashing, the steamer is ready for use.
4.
After use, press the power button to turn off the steamer. When the power is
off, the light will be off.
5.
The automatic safety feature on this steamer protects the unit by turning off
the control circuit after 8 minutes of no usage.
HOW TO STEAM
1. Hang your garment or fabric.
2. Turn on your steamer and allow 2-3 minutes for steam to come out.
3. Steam control button controls steam flow when triggered.
4. For continuous steam, hold down the steam control button and slide down
to lock in place.
5. If using steamer with fabric/lint brush, ensure the steamer is turned off and
cooled down completely before attaching the brush to the steamer nozzle
to avoid scalding. Fabric/lint brush can be attached by snapping on to the
steamer nozzle and will lock into position with a “click”. Gently press the
fabric/lint brush against the garment’s wrinkles/creases, moving your arm
in an up and down motion.
INSTRUCTIONS FOR USE

HOW TO STEAM CURTAINS
1. Wash and dry curtains.
2. Fabric brush should be used when steaming delicate fabrics.
3. Hang the curtains and steam in an up and down motion.
4. Lightly stretch the curtain with one hand while the other hand is steaming
the other side to remove creases and wrinkles easily.
HOW TO STEAM UPHOLSTERY
1. Cushions and slip covers should be removed for steaming.
2. Fabric brush should be used when steaming delicate fabrics.
3. Steam in up and down motion to remove creases and wrinkles.
INSTRUCTIONS AFTER EACH USE
Press the power button to turn off the steamer and disconnect the power
cord from the electrical outlet.
Wait at least 30 minutes for the appliance to cool down completely prior to
draining remaining water.
Remove the water tank to empty the remaining water from the tank.
Put water tank back into the unit and store in a stable surface.
Always empty the water tank after each use.
Only use tap, filtered, or distilled water.
Do not fill the water tank with hot water or corrosive cleaning agents.
Do not attempt to disassemble the appliance.
Always ensure the steam outlet holes are clean and free from scaling.
Once the appliance has been disconnected from the power outlet, allow 30
minutes for the appliance to cool down.
Wrap the cord safely around the steamer and store on a flat surface.
CARE INSTRUCTIONS
STORAGE

Problem Possible solution
The steamer does not heat up Check main plug is inserted correctly.
Check power supply.
Check power switch.
The steamer does not produce
steam
Check if there is enough water in the
water tank
Press the power switch to see if the
indicator is on.
Hold the steamer in an upright
position.
Water spills from the water tank Make sure water is not over the MAX
level. Make sure water tank inlet
cover is properly closed.
The steamer is producing a loud
humming or pumping sound
Check water level; if there’s no water
or water level is low, refill the water
tank.
The steamer does not seem to be
removing creases easily
Hold the steamer in an upright
position and stretch the fabric
downward to ensure best results.
Unsure when to use the fabric/lint
brush
Use fabric brush on delicate fabrics.
Use lint brush to pick up lint, pet hair,
dust and more.
Avoiding discoloring of metal
accessories on the garment
Do not directly hover the garment
steamer over the metal accessories.
Use caution and steam around the
metal accessories.
TROUBLESHOOTING GUIDE