SETUP & TAKE DOWN INSTRUCTIONS
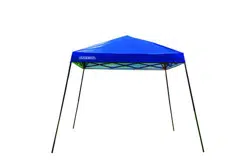
THANK YOU FOR PURCHASING A GUIDESMAN INSTANT CANOPY!
Please carefully review the following instructions and familiarize yourself with
parts included and how to operate your canopy. Reference parts list for names
of each part noted in instructions.
Parts Included: Fully Assembled Frame (1) Canopy Top (1) Carry Bag (1) Stakes (4)
1
2
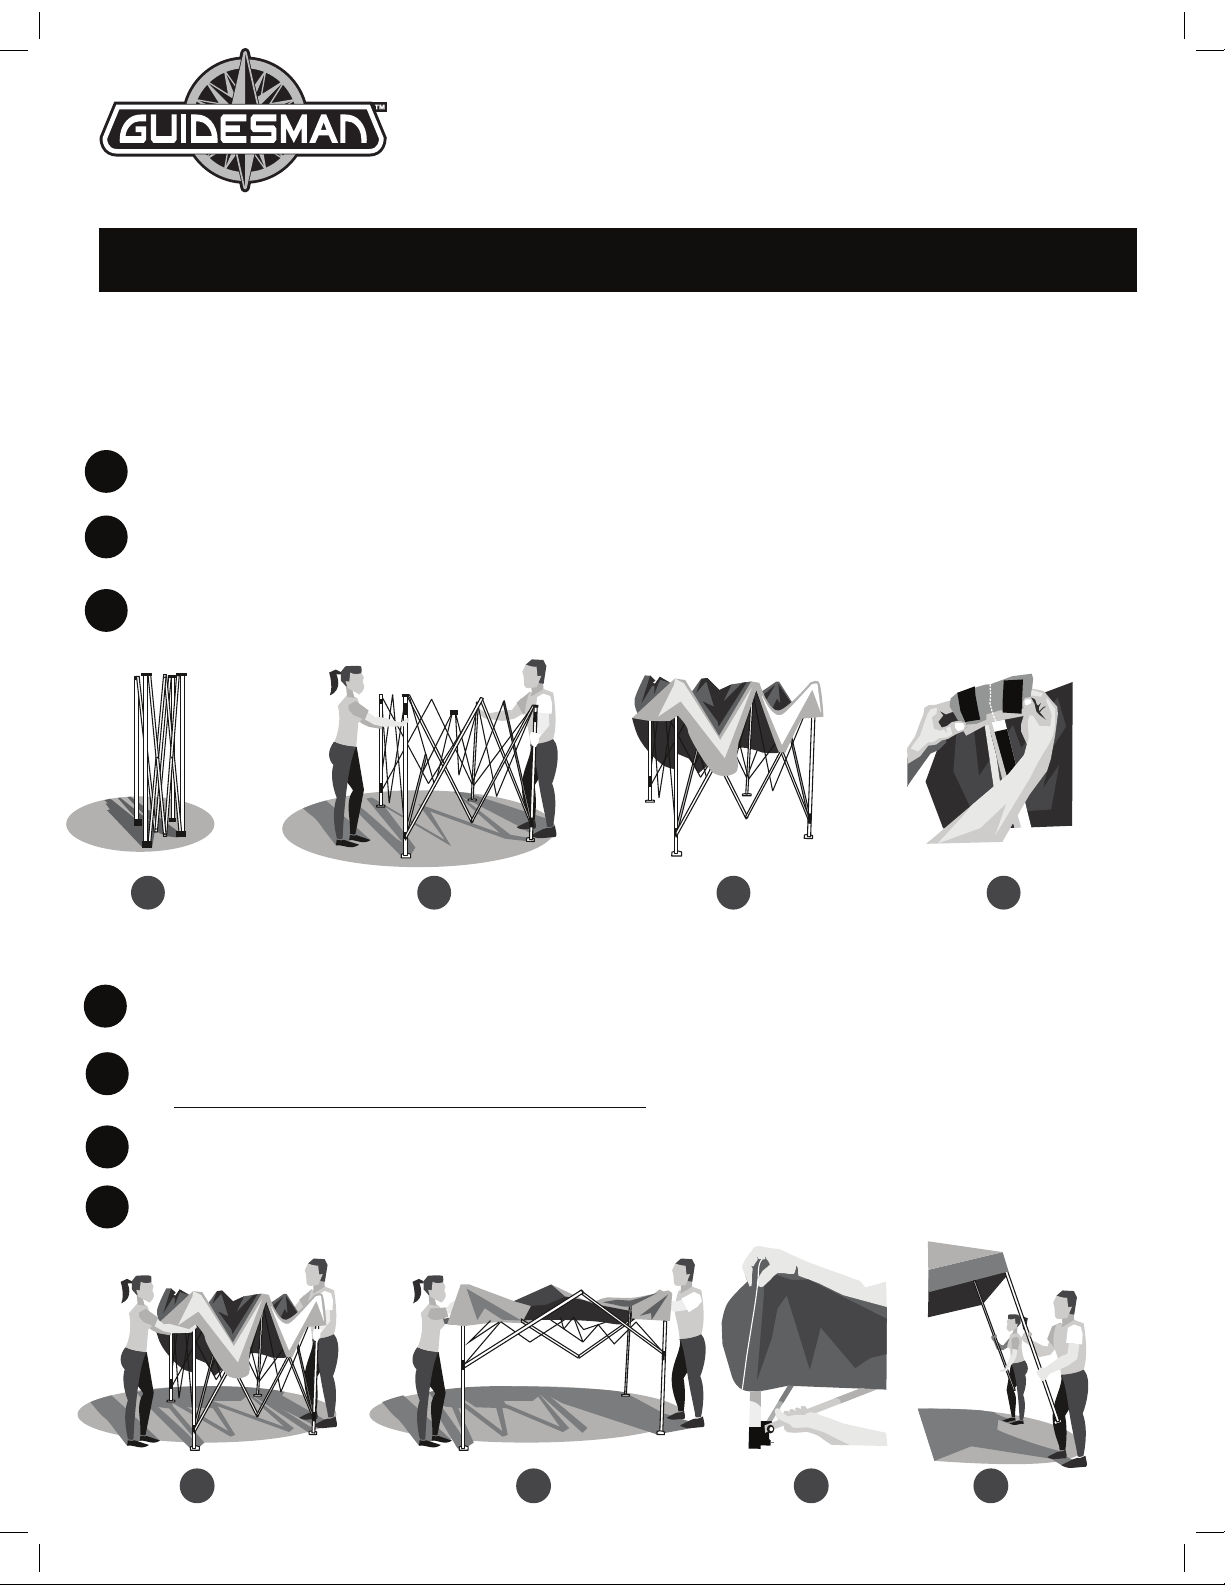
SECURING THE CANOPY TOP TO THE FRAME
Place the canopy frame in the desired location (Fig. 1A).
With partner, stand opposite side of the frame and hold the outer legs.
While holding the legs li slightly off the ground taking a few steps backwards
to extend frame at full arm’s length as shown (Fig. 2A)
Unfold the canopy top and place it over the open frame (Fig. 3A). Secure each corner by attaching the corner
of the canopy top to the black fastening strip (Fig. 3B). Pull all 4 corners down until completely
over black fastening strip. Your canopy top is now secure to the frame.ī
3
1
2
3
SETUP
Place the canopy in the desired location for shade. With partner standing on the opposite side of the canopy,
hold the outer legs and li slightly off the ground stepping backwards (Fig. 1A).
With partner hold the top and bottom of the middle of the eaves where it makes a diamond shape as
pictured in (Fig. 2A) liing slightly off the ground walking backward to extend the frame.
Be careful not to pinch your fingers as the frame opens!
At the top of the leg, place one hand on the top corner pushing down and with the other hand just below the
latch slider liing up until it locks into position as pictured in (Fig. 3A). Repeat on other 3 legs.
With partner standing on the same side, li outer leg to slide out inner leg until the chrome
button clicks into place at desired height as shown (Fig. 4A). Repeat on opposite legs.ī
4
1AFig. 3AFig. 3BFig. 2AFig.
1AFig. 3AFig. 4AFig. 2AFig.
]Ïī½ËīÕī ½°°½å¡·ī:½°ÏĊī#272-1778, #272-1779, #272-1780

SECURING YOUR CANOPY: To harness your canopy to the ground, insert the included metal stakes into each foot
corner. For additional stability, you can purchase from our Customer Support Center {·½Ë bags custom designed to
secure quickly to each leg for additional weight to secure your canopy on any surface.ī
1AFig. 3AFig. 3BFig. 2AFig.
1AFig. 3AFig. 2AFig.
1
TAKE DOWN
Stand on the same side as your partner. In tandem slightly li leg and depress the chrome button to unlock
the inner leg. Push inner leg into outer leg as shown in (Fig. 1A). Repeat on opposite legs.
At each leg ÈÚÏ the ËīÚÕÕ½· Õ½īÚ·°½®īÕī¡°¡·ī{Ï϶°ë as shown (Fig. 2A).
As the ceiling unlocks be careful not to pinch your fingers. PLEASE NOTE: make sure all latch sliders are unlocked
before closing the frame. Closing the canopy frame with any latch sliders locked will cause damage to the
frame.
Standing opposite from your partner hold top of the eaves and slightly li walking slowly towards each other
until about ½ way closed (Fig. 3A). Be careful not to pinch your fingers as the frame closes!
With partner hold outer legs and walk slowly towards each other until fully closed (Fig. 3B).
Store Canopy in carry bag. Please see instructions below.ī
WARNING!: KEEP ALL FLAME AND HEAT SOURCES AWAY FROM THE FABRIC TOP.
Fabric top meets the flammability requirements of CPAI-84. The fabric will burn if le in
continuous contact with any flame source. The application of any foreign substance to the
fabric top may render the flame-resistant properties ineffective.
This product contains TDCPP and/or TCEP, flame retardant chemicals known to the State of
California to cause cancer.
© East Reso
urce Outdoor Inc. All Rights Reserved.
2
3
1
CARRY BAG INSTRUCTIONS
Close your instant canopy completely as shown in (Fig. 1A).
Unzip the carry bag at end and place open end of carry bag over the top of the canopy (Fig. 2A).
Slide carry bag down until the canopy is completely covered.
Flip the bag on opposite end to close bag and zipper shut. (Fig. 3A).
2
3
QUESTIONS?
Emai°:īguidesman@answernet.com
Cal°: (866) 761-0070