Loading ...
Loading ...
Loading ...
15
Getting Started
Step 3: Easy Setup
1 Connect the supplied AC adaptor in the
numeric order shown below. When
removing them, do so in reverse order.
2 Press 1 to turn on the player. Power
indicator lights up.
3 Turn on the TV and press TV INPUT button
on the remote to set the input selector.
This will show the signal from the player
on your TV screen.
4 Perform [Easy Setup].
Follow the on-screen instructions to make
the basic settings using </M/m/, and
press ENTER on the remote.
b
• When [Easy Setup] is complete, the player will
automatically find the available network.
• If there is no output or black screen appears,
refer to “Troubleshooting” (page 26).
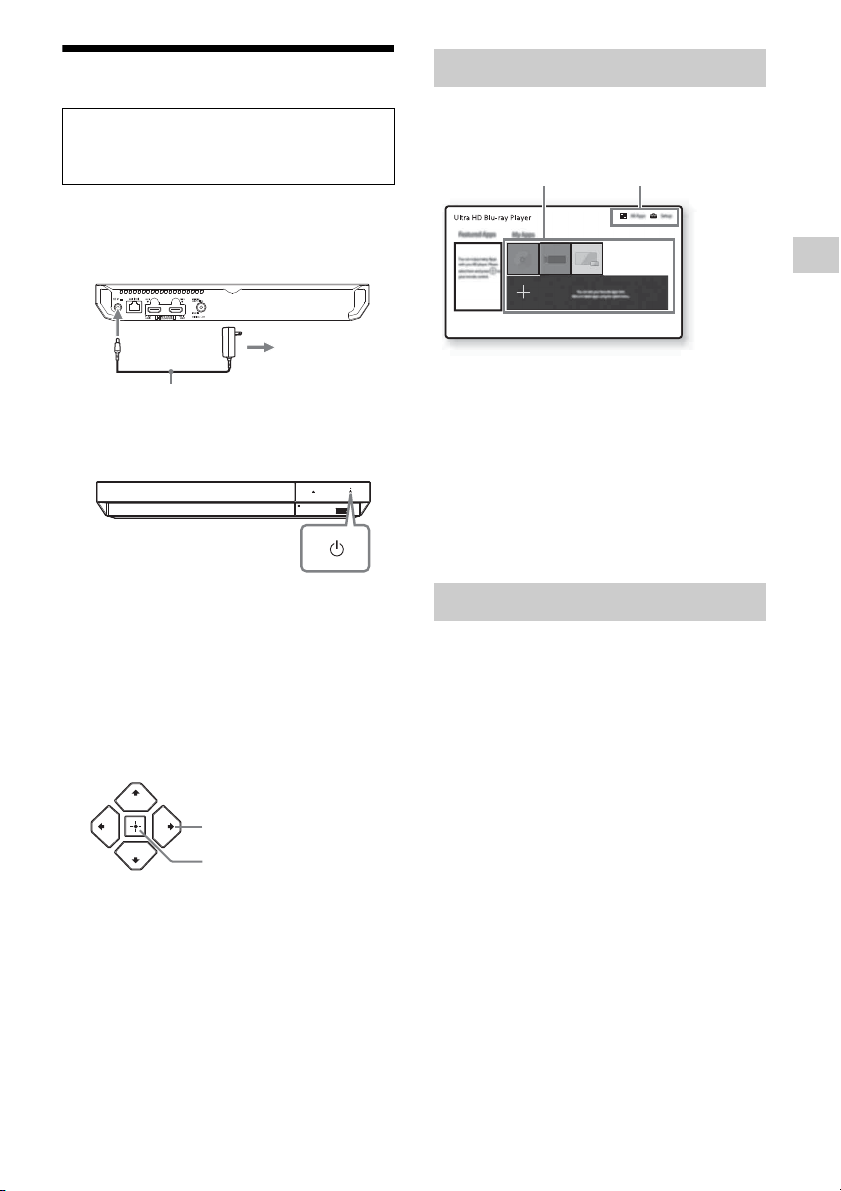
The home screen appears when you press
HOME. Select an application using
</M/m/,, and press ENTER.
[My Apps]: Manages favorite application.
You may add shortcuts for application from
[All Apps].
[Featured Apps]: Displays recommended
application.
[All Apps]: Shows all available applications.
You can add applications to [My Apps] by
pressing OPTIONS, and select [Add to My
Apps].
[Setup]: Adjusts the player’s settings.
Various settings and playback operations are
available by pressing OPTIONS. The available
items differ depending on the situation.
[Move Application]: Arranges applications in
[My Apps].
[Remove Application]: Deletes applications
in [My Apps].
[Register as Favorite]: Registers 1
application into FAVORITE remote button.
[Data Contents]: Displays the contents of the
mixed disc.
When turned on for the first time
Wait for a short while before the player
turns on and starts [Easy Setup].
to AC outlet
1 to DC IN
12 V
AC adaptor (supplied)
ENTER
</M/m/,
Home screen display
Available options
Application
Tools
Loading ...
Loading ...
Loading ...