Loading ...
Loading ...
Loading ...
10
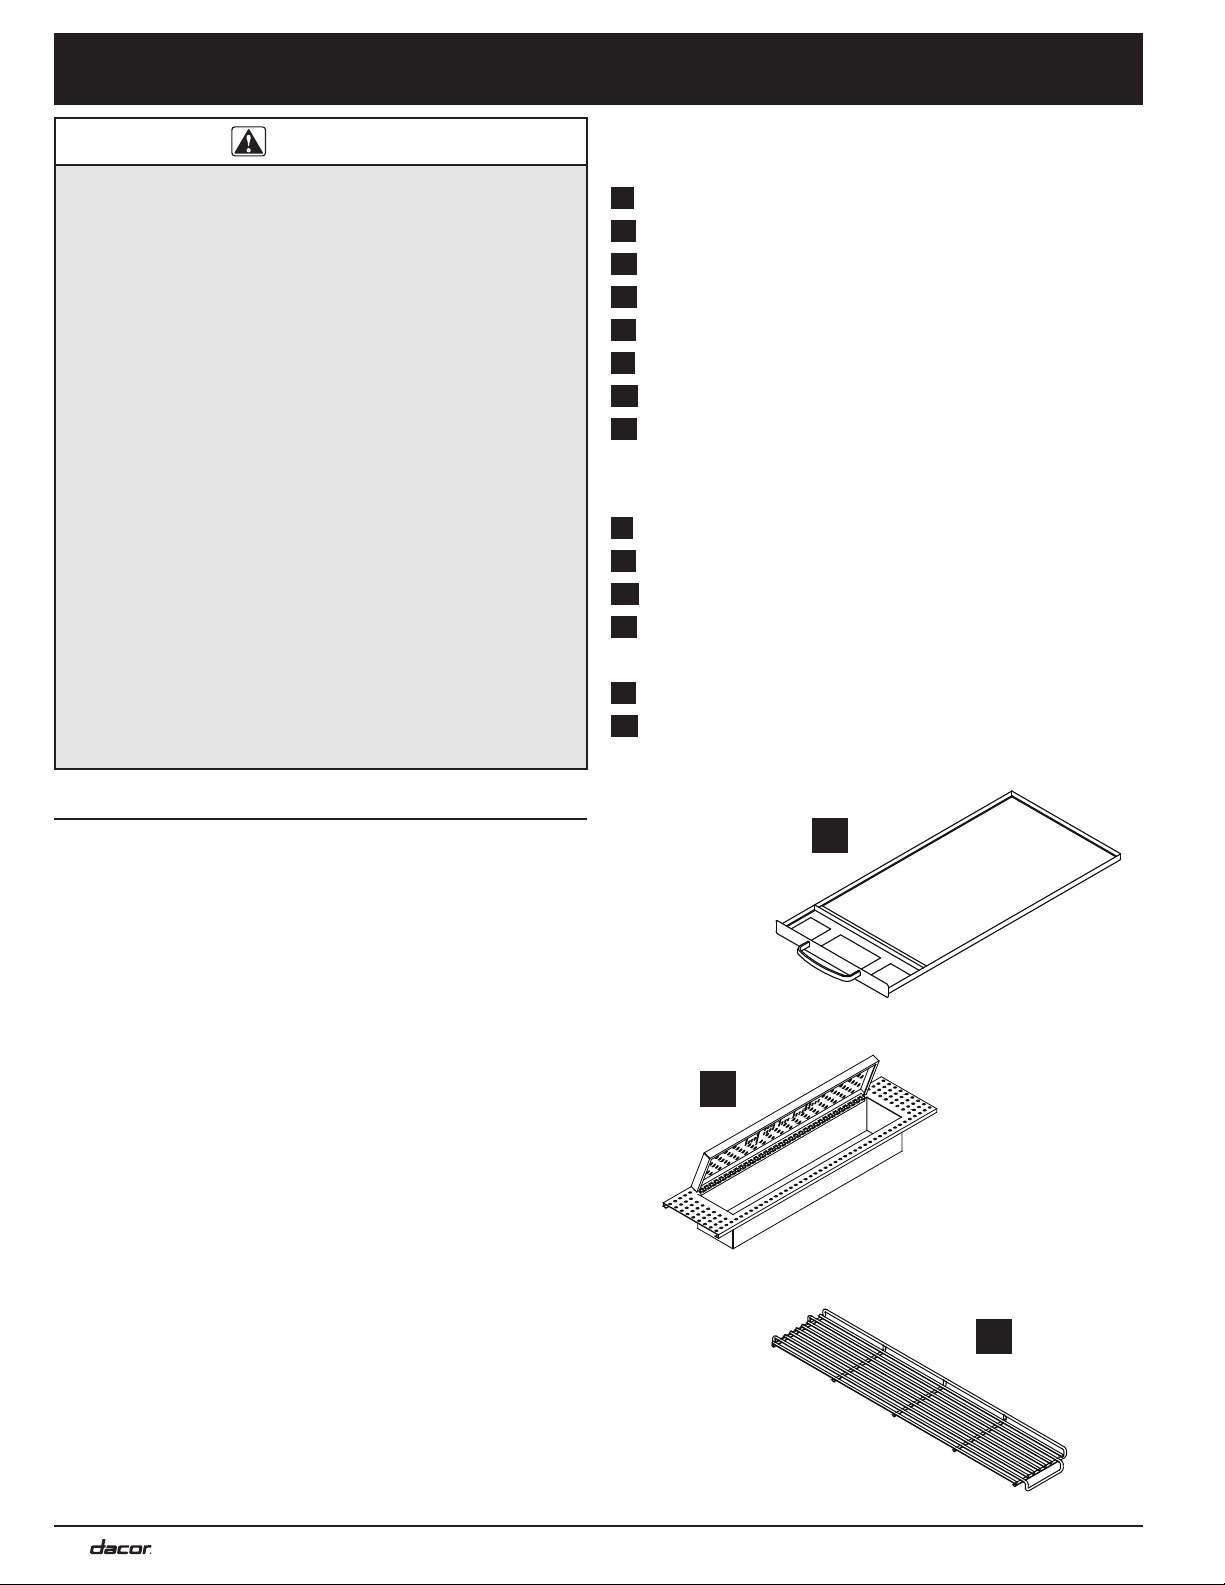
Parts List
All models:
A Drip tray -
B Smoker box
C Warming rack
D Regulator assembly
E Grills (2 large, 2 small)
F Flame spreaders (2 large, 1 small)
G Rotisserie rod and forks
H Rotisserie motor
Cleaning cream (PN A302)
Models OB52, OBS52 only:
L Side burner cover
K Side burner grate
M Side burner caps (2)
N Side burner heads (2)
LP Models equipped for use with an LP cylinder:
P 3/4” coupling
Q 3/4” nipple
Installation Instructions
WARNING
• Before installing the appliance, make sure the elec-
trical and gas (on tank-less installations) service
meets the requirements specified in the Planning the
Installation section of this manual.
• This appliance must be installed by a licensed
plumber or gas fitter when installed within the
Commonwealth of Massachusetts.
• Excessive weight warning: Since the appliance and
grill cart are heavy, install the appliance with the help
of at least one other person.
• Make sure the power cord is NOT connected to the
electrical outlet while connecting the gas line to the
appliance.
• Do not apply excessive pressure when tightening con-
nections and fittings.
• Do not use plumber’s putty or Teflon tape on gas com-
pression connections. Doing so can defeat the proper
sealing of these fittings.
• Use only approved gas line thread compound or tape
to seal gas connections.
• The maximum gas supply pressure to the regulator
must not exceed 1/2 pound per square inch.
Preparing for Installation
1. Before removing the unit from the box, check the
labeling on the box to make sure that the appliance is
equipped for the gas type to be used. Liquid petroleum
(propane) units are identified by the “LP” designa-
tion at the end of the model number. Do not proceed
with installation if you do not have the correct model.
Conversion in the field from one gas type to another is
not permissible.
2. With the help of an assistant, remove the appliance
and all the parts from the box. Check to make sure all
parts are included.
3. Remove all shipping materials from the appliance and
peel off the protective plastic coating.
4. To reduce weight during installation, make sure all
loose parts are removed from the grill.
A
C
B
PN 700481
PN 27738
PN 101154
Loading ...
Loading ...
Loading ...