Loading ...
Loading ...
Loading ...
Optimal Product Setup
When the product is switched on, the default brightness setting is F3, with all the eects operating.
However, if the product is in a bright room, it is recommended that the toplights are switched o.
If the product is operating in a darker room, it is recommended that the toplights are switched on,
and the brightness eect is changed to Pulsing.
Please note: The product will maintain the most recent brightness settings if switched to standby.
If the product is unplugged at the wall, it will revert to factory setting.
Thermal Safety Cut-out
A thermal safety cut-out is incorporated in the fan heater to prevent damage due to overheating.
This can happen if the heat outlet was restricted in any way. If the cut-out operates, unplug the
heater from the socket outlet and allow approximately 10 minutes before reconnecting. Before
switching the heater back on remove any obstruction that may be restricting the heat outlet, then
continue normal operation.
CAUTION: In order to avoid a hazard due to inadvertent resetting of the thermal cutout, this
appliance must not be supplied through an external switching device, such as a timer, or connected
to a switch that is regularly switched on and o by the utility.
User Modes:
Mode Name /Discription Action (Actions cannot be input by remote control)
Disable/Enable Heat Options
on product and remote control
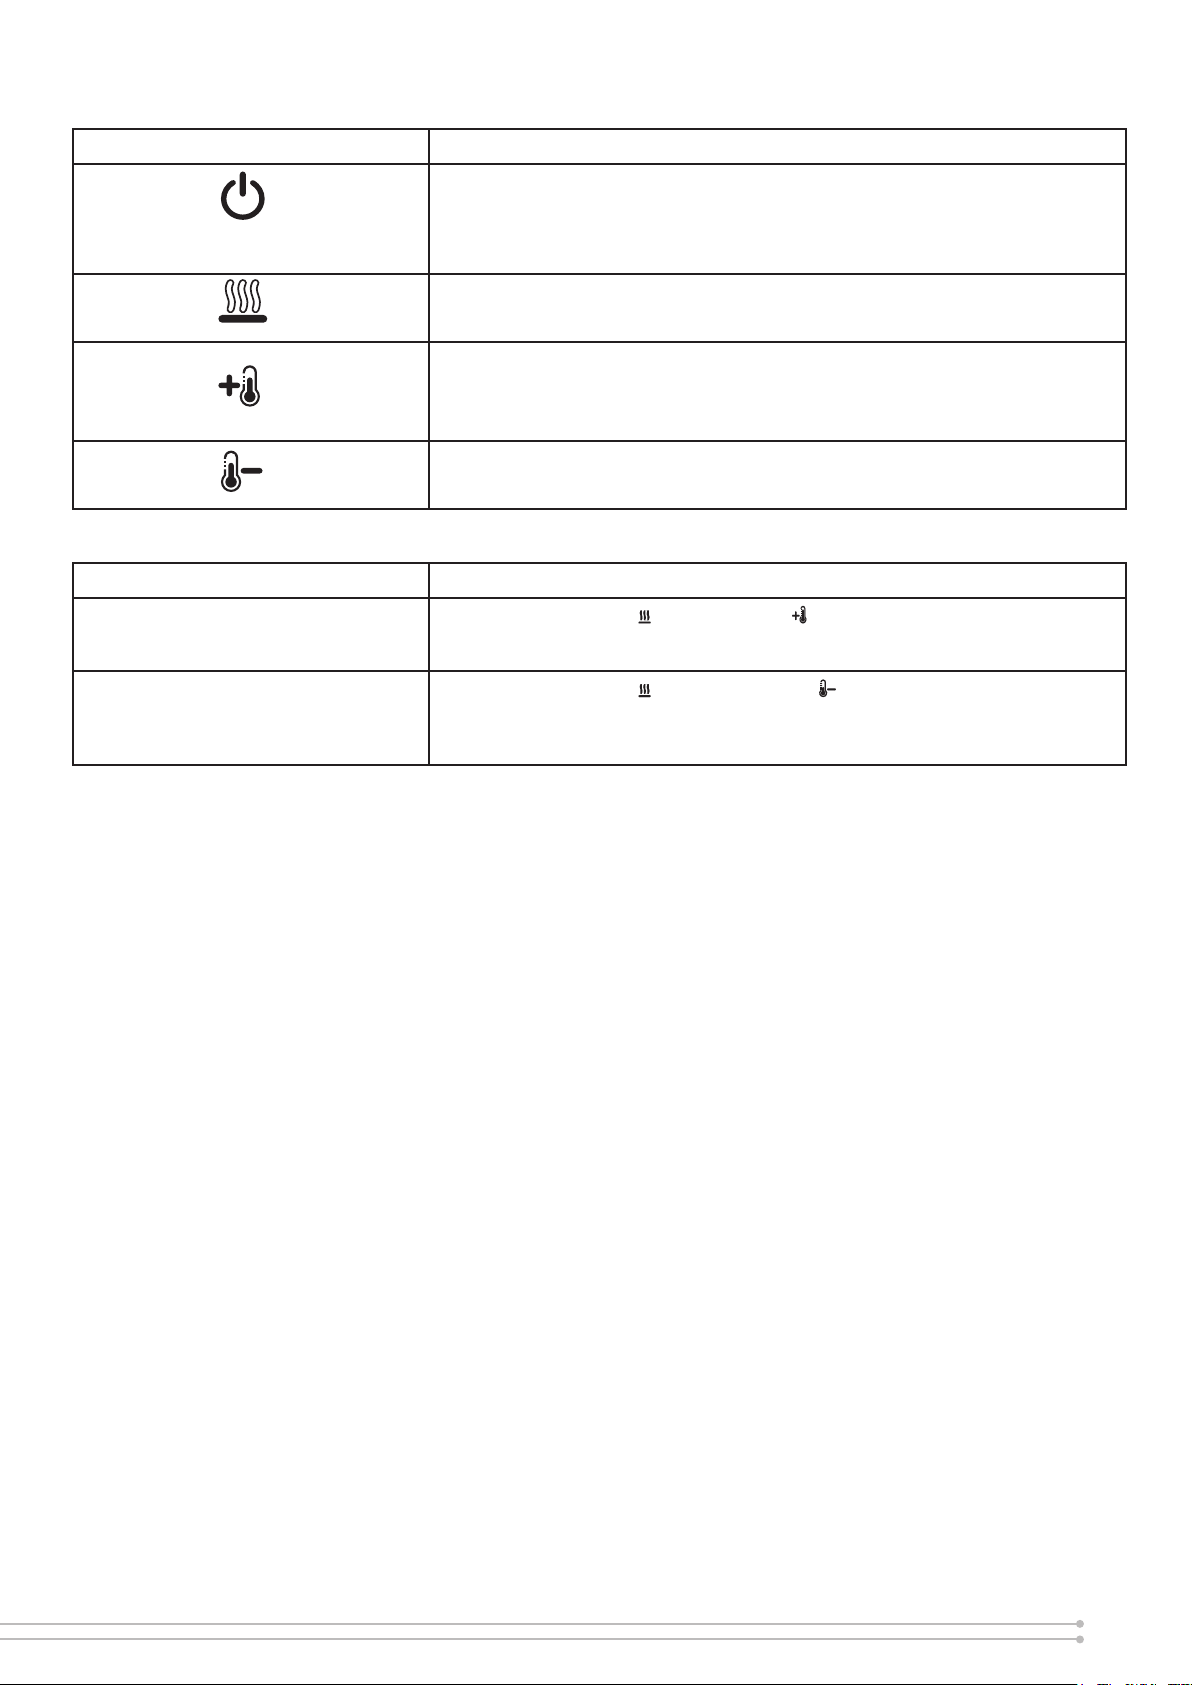
Hold both Heat Cycle ( ) and Temp Up ( ), on the product, for 5 seconds,
when the heater has been disabled the display will read “--” and beep. To
enble heat repeat this action.
Disable/Enable Heat Options
on product only
Hold both Heat Cycle ( ) and Temp Down ( ), on the product, for 5 seconds,
when the heater has been disabled the product will beep. This will disable
heat control functions on the product only. To enble heat repeat this action.
Note: the remote control will still be able to operate heat functions.
Operating Instructions (On Board Controls)- See Figure 9
Icon Description
Press Once to turn the product ‘ON’.
Press a second time to put the product into ‘STANDBY’
(When returning from ‘STANDBY’ mode the product will return to previous
settings unless the product has been unplugged, in which case it will reset to
factory settings)
‘HEAT’ switch cycles the unit sequentially through the 4 settings: LOW HEAT,
HIGH HEAT, COOL BLOW and OFF. The heat setting will be indicated by an
icon in the display
Press multiple times to increase the heater temperature in 2
0
C increments. The
highest temperature that can be set 30
0
C.
When High Heat is selected, the letters ‘HH’ appear in the display, this means
the heat will remain ON continusously and is not controlled by the thermostat.
Press multiple times to lower the heater temperature in 2
0
C increments. The
lowest temperature that can be set is18
0
C.
7
Loading ...
Loading ...
Loading ...