
Loading ...
Loading ...
Loading ...
11
Before using the appliance for the first time
This section tells you everything you need to do before using
the appliance for the first time.
■ Set the clock
■ Heat up the cooking compartment
■ Clean the accessories
■ Read the safety information at the start of the instructions for
use. This is very important.
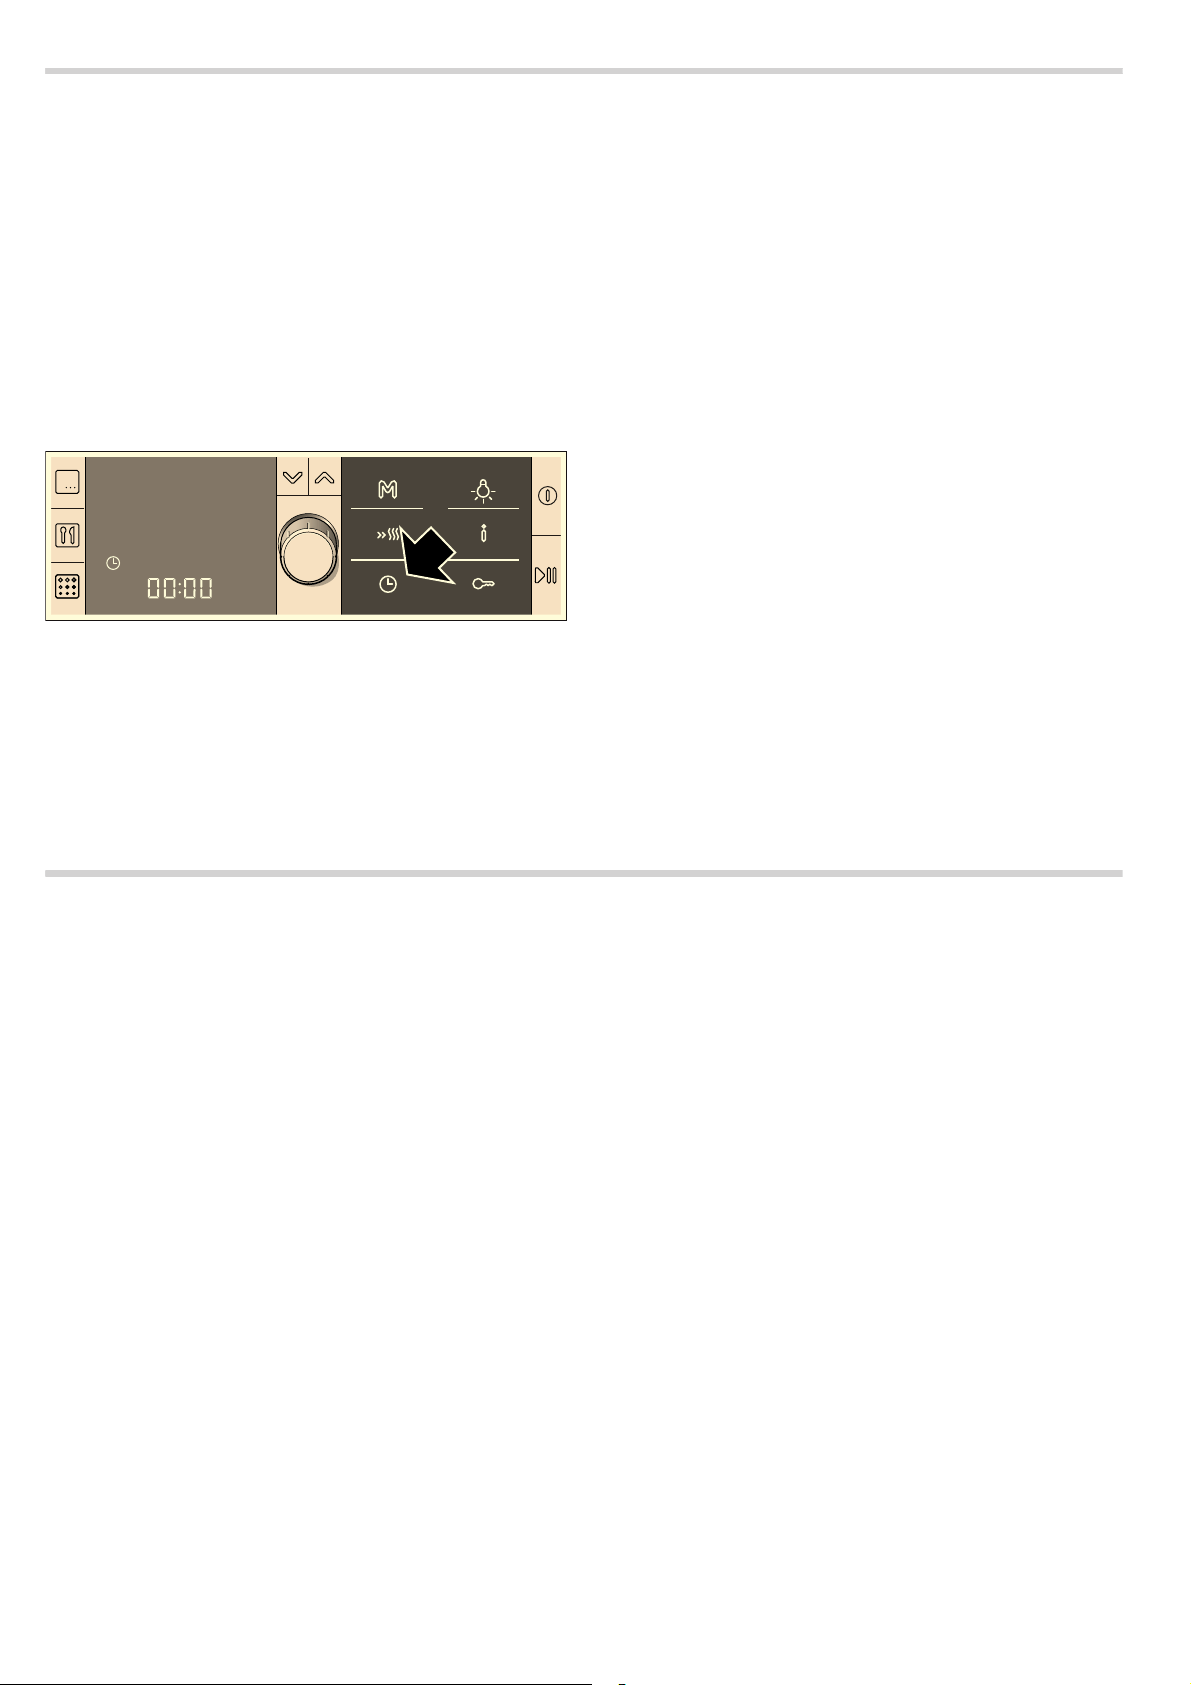
Setting the clock
Once your new appliance has been connected, the 0 symbol
and
‹‹:‹‹ appear in the display. Set the clock and then the
oven is ready to use.
1. Press the 0 button.
The [
0] symbol for the clock is shown in brackets
and [
‚ƒ:‹‹] appears.
2. Turn the rotary selector to set the current time.
3. Press the 0 button.
The current time is saved.
Note: You can read how to change the time in the Time-setting
options section.
Heating up the cooking compartment
To get rid of the new cooker smell, heat up the cooking
compartment when it is empty and the oven door closed. Set
% Top/bottom heating and 240 °C.
Make sure that the cooking compartment contains no leftover
packaging, e.g. polystyrene pellets.
1. Press the % button.
The
: 3D hot air heating type and a temperature of 160 °C
are suggested. Brackets are shown around the type of
heating.
2. Turn the rotary selector to change the type of heating to
% Top/bottom heating.
3. Press the X button to switch to the temperature.
Brackets are shown around the temperature.
4. Using the rotary selector, change the temperature to 240 °C.
5. Press the n button.
Appliance operation begins. The
n symbol lights up in the
display.
6. Switch the oven off after 60 minutes using the % button.
The temperature indicator bars show the residual heat in the
cooking compartment.
Cleaning the accessories
Before you use the accessories for the first time, clean them
thoroughly with hot soapy water and a soft dish cloth.
Setting the hob
This section informs you how to set the hotplates. The table
shows heat settings and cooking times for various meals.
Setting procedure
Adjust the heat setting of the individual hotplates using the
hotplate controls.
Position 0 = off
Position 1 = lowest heat setting
Position 9 = highest heat setting
When you switch on a hotplate, the indicator lamp lights up.
Large dual-circuit hotplate and extended
cooking zone
The size of these hotplates can be altered.
Switching on the large area
Turn the hotplate control to position 9 - where you will feel slight
resistance - then continue turning to the
ö/õ/í/æ symbol =
large dual-circuit hotplate or extended cooking zone
Then immediately turn it back to the desired heat setting.
Switching back to the small area
Turn the hotplate control to 0 and reset.
The small dual-circuit hotplate is particularly good for heating
small amounts.
Caution!
Never turn the hotplate control beyond the
ö/õ/í/æ symbol
to 0.
Loading ...
Loading ...
Loading ...