Loading ...
Loading ...
6
USE
Operation and use
1. Plug into the outlet socket.
2. The appliance emits a beep. The power indicator light
(A)
comes on and remains lit while the appliance is
powered.
3. The appliance switches to stand-by.
4. Press the ON/STAND-BY
(B)
to turn the appliance on.
It begins heating the room according to the current
settings.
5. Press the MODE
(D)
button to select one of the following
operating modes:
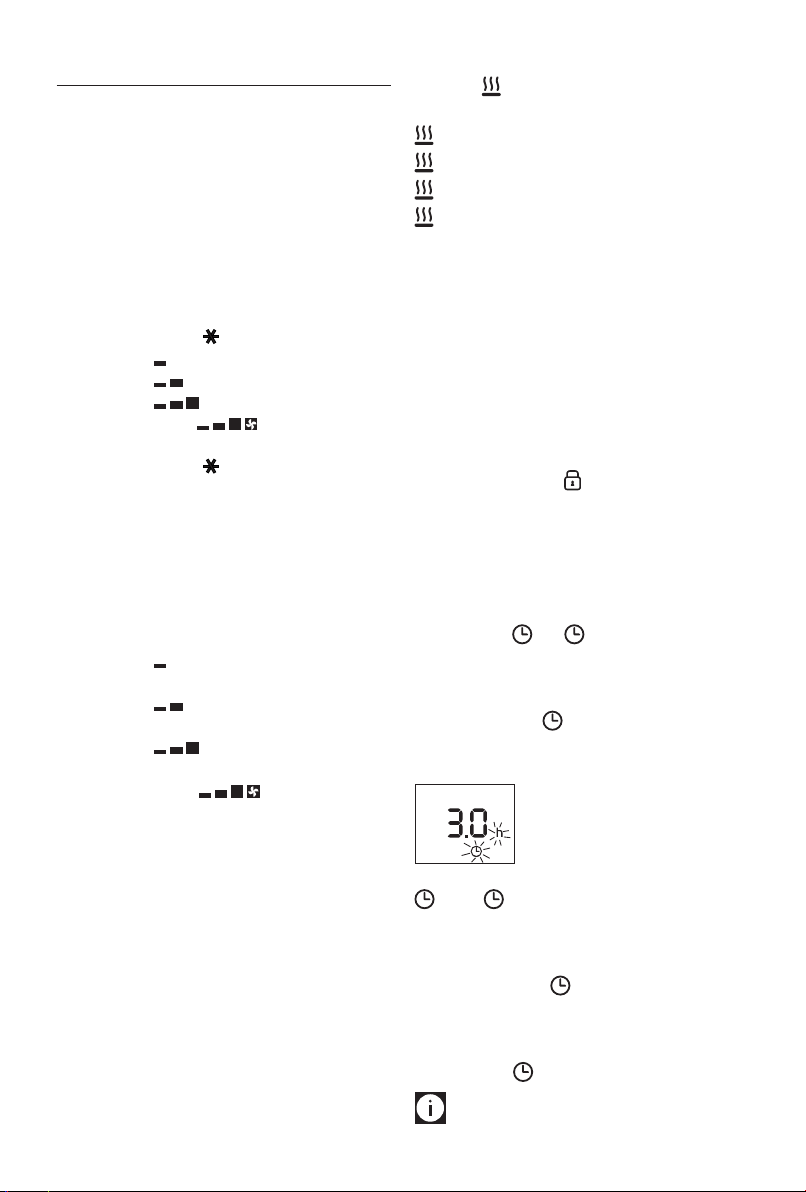
Freeze prevention
Heating 1
Heating 2
Heating 3
Heating 3 + Fan
5.1 Freeze prevention
In this mode, the appliance keeps the room at a
temperature of 45°F (7°C) to avoid freezing.
5.2 Heating 1, 2, 3 and Heating 3 + Fan
In this mode, the desired temperature can be selected by
pressing the adjustment buttons + and –. By pushing
the + or - button once, the temperature (shown on the
display) will increase or decrease by 1 degree.
Heating 1
The appliance operates at low power.
Heating 2
The appliance operates at medium power.
Heating 3
The appliance operates at high power.
Heating 3 + Fan
The appliance operates at the maximum power with
the fan. The setting temperature range available is from
61°F to 90°F (16°C to 32°C).
6. “ECO plus” function
The “ECO plus” function is available in Heating 1, 2 3 and 3
+ fan modes only. To activate the function, press the “ECO
plus”
(E)
button. When this function is active the appliance
automatically sets the most appropriate power level
to guarantee optimum comfort while reducing energy
consumption.
While the “ECO plus” function is active, the appliance may
switch automatically to a lower heating power than the one
displayed.
Working indicator
The symbol indicates the heating status by means of its
colors.
RED: the unit is heating at the maximum power.
YELLOW: the unit is heating at the medium power.
GREEN: the unit is heating at the minimum power.
absent: the unit is not heating.
Brightness of the display
The appliance allows two dierent brightness settings for the
display. The highest is active when any key button is pressed.
After a few seconds of keyboard inactivity, the brightness will
decrease to the operating brightness level.
Key lock
In order to avoid accidental operation, you can lock the
keyboard using the keylock function. To activate this function
press buttons + and -
(C)
together for at least 3 seconds. The
display shows the symbol and a double acoustic signal
will be emitted. To deactivate the function proceed in the
same way.
Timer function
This function can be activated in two dierent ways.
Delayed start: With the appliance on-standby, press the
timer button (F) . The symbol is displayed ashing
together with the hours left before the appliance comes on.
Change the hours using the + and -
(C)
buttons, then wait
a few seconds for the program to be stored. The display will
return to o and the symbols remains on. When the
programmed time has elapsed, the appliance will come on
with the previous settings.
Delayed stop: with the appliance on, press the timer button
(F)
. The symbol is displayed ashing together with
the hours left before the appliance goes on-standby. Change
the hours using the + and -
(C)
buttons, then wait a few
seconds for the program to be stored.
The current settings and symbol are displayed.
At the end of the set time the appliance switches on-standby
automatically. To go back to operating without the timer,
press the timer button twice.
The timer symbol disappears from the display.
Please note: the time is settable from 0.5 to 24 hours.
Loading ...