Loading ...
Loading ...
4
5
OPERATING YOUR TOASTER
OPERATING YOUR TOASTER
1. Place toaster on a dry, level, stable surface.
2. Plug power cord into a standard 120-V, 60 Hz AC-only 2-prong electrical outlet.
3. The blue LED display will light up, the toaster alert will sound, and the toast shade
number will display the last previous setting.
NOTE: The screen will go dark if no control button is pressed within 2 minutes of the screen
lighting up. The screen will relight as soon as a control button is pressed.
NOTE: To silence the toaster alert sound, press the Lighter and Darker button at the same
time for 3 seconds.
4. Press the Lighter or Darker button to the desired shade of darkness. As you press the
button, the shade level will appear in the LED display, from 1 (light) through 9 (Dark).
For the first time you toast, set the selector midway to 5, and adjust as desired for
future toasting.
IMPORTANT: Before toasting bread for the first time, run the toaster without bread
through a cycle on the maximum heat setting (9). The toaster may emit a thin smoke or
distinct odor neither of which are harmful to breathe or detrimental to the toaster.
5. Place bread slices or other items to be toasted in the slots. The long slots permit two
standard slices of bread, bagel halves or English muffins to be toasted side by side
in each slot. Also, long slices of artisan bread can be inserted horizontally and
toasted in the slots.
Once items are inserted into slots, press the Toast/Cancel button. The bread guides
will lower the items into the toaster and automatically adjust to hold them in place.
Press the Toast/Cancel control button to begin toasting in both slots. The toasting
time countdown will display in the LED screen.
To toast only in the front slot, press the Front Slot Toast button prior to Toast/Cancel.
6. Press the Toast/Cancel button at any time to cancel toasting. Canceling will turn off
the heating elements and raise the food. After 3 seconds the toaster alert will sound
5 times.
7. Press the Defrost button to defrost and toast frozen bread. Press the Lighter or Darker
buttons to decrease or increase the setting. Press the Toast/Cancel button to start the
defrost and toast cycle. After 3 seconds the time countdown will appear in the LED
display. Decrease or increase setting at any time during cycle by pressing the Lighter
or Darker button. To cancel the cycle at any time, press and hold the Toast/Cancel
button for 3 seconds.
8. Press the Raise/Check button at any time during a toasting cycle to visually inspect
the bread. The bread will raise and the countdown will cease. After 5 seconds the
bread will lower back into the toaster and the countdown will resume.
The Warm button can be used independently to warm bread without toasting. It may
also be pressed during a toasting cycle to keep toast warm for 3 minutes at finish of
toasting cycle.
To Warm Bread
Press Warm button. The number 1 will appear in the LED display. Press Toast/Cancel
button. After 3 seconds a countdown of 30 seconds will begin in the display. At end of
countdown the warmed bread will raise and the ready alert will sound 5 times.
Keep Toast Warm
Press Warm button during a toasting cycle. At end of toasting cycle countdown the
bread will not raise, but will remain lowered in the slots for 3 minutes. During the 3
minutes the heating element will work intermittently to achieve lower temperature
required for warming. Bread may be raised from slots at any time by pressing Raise/
Check button.
NOTE: The Warm function can be added to the Defrost and Bagel cycles.
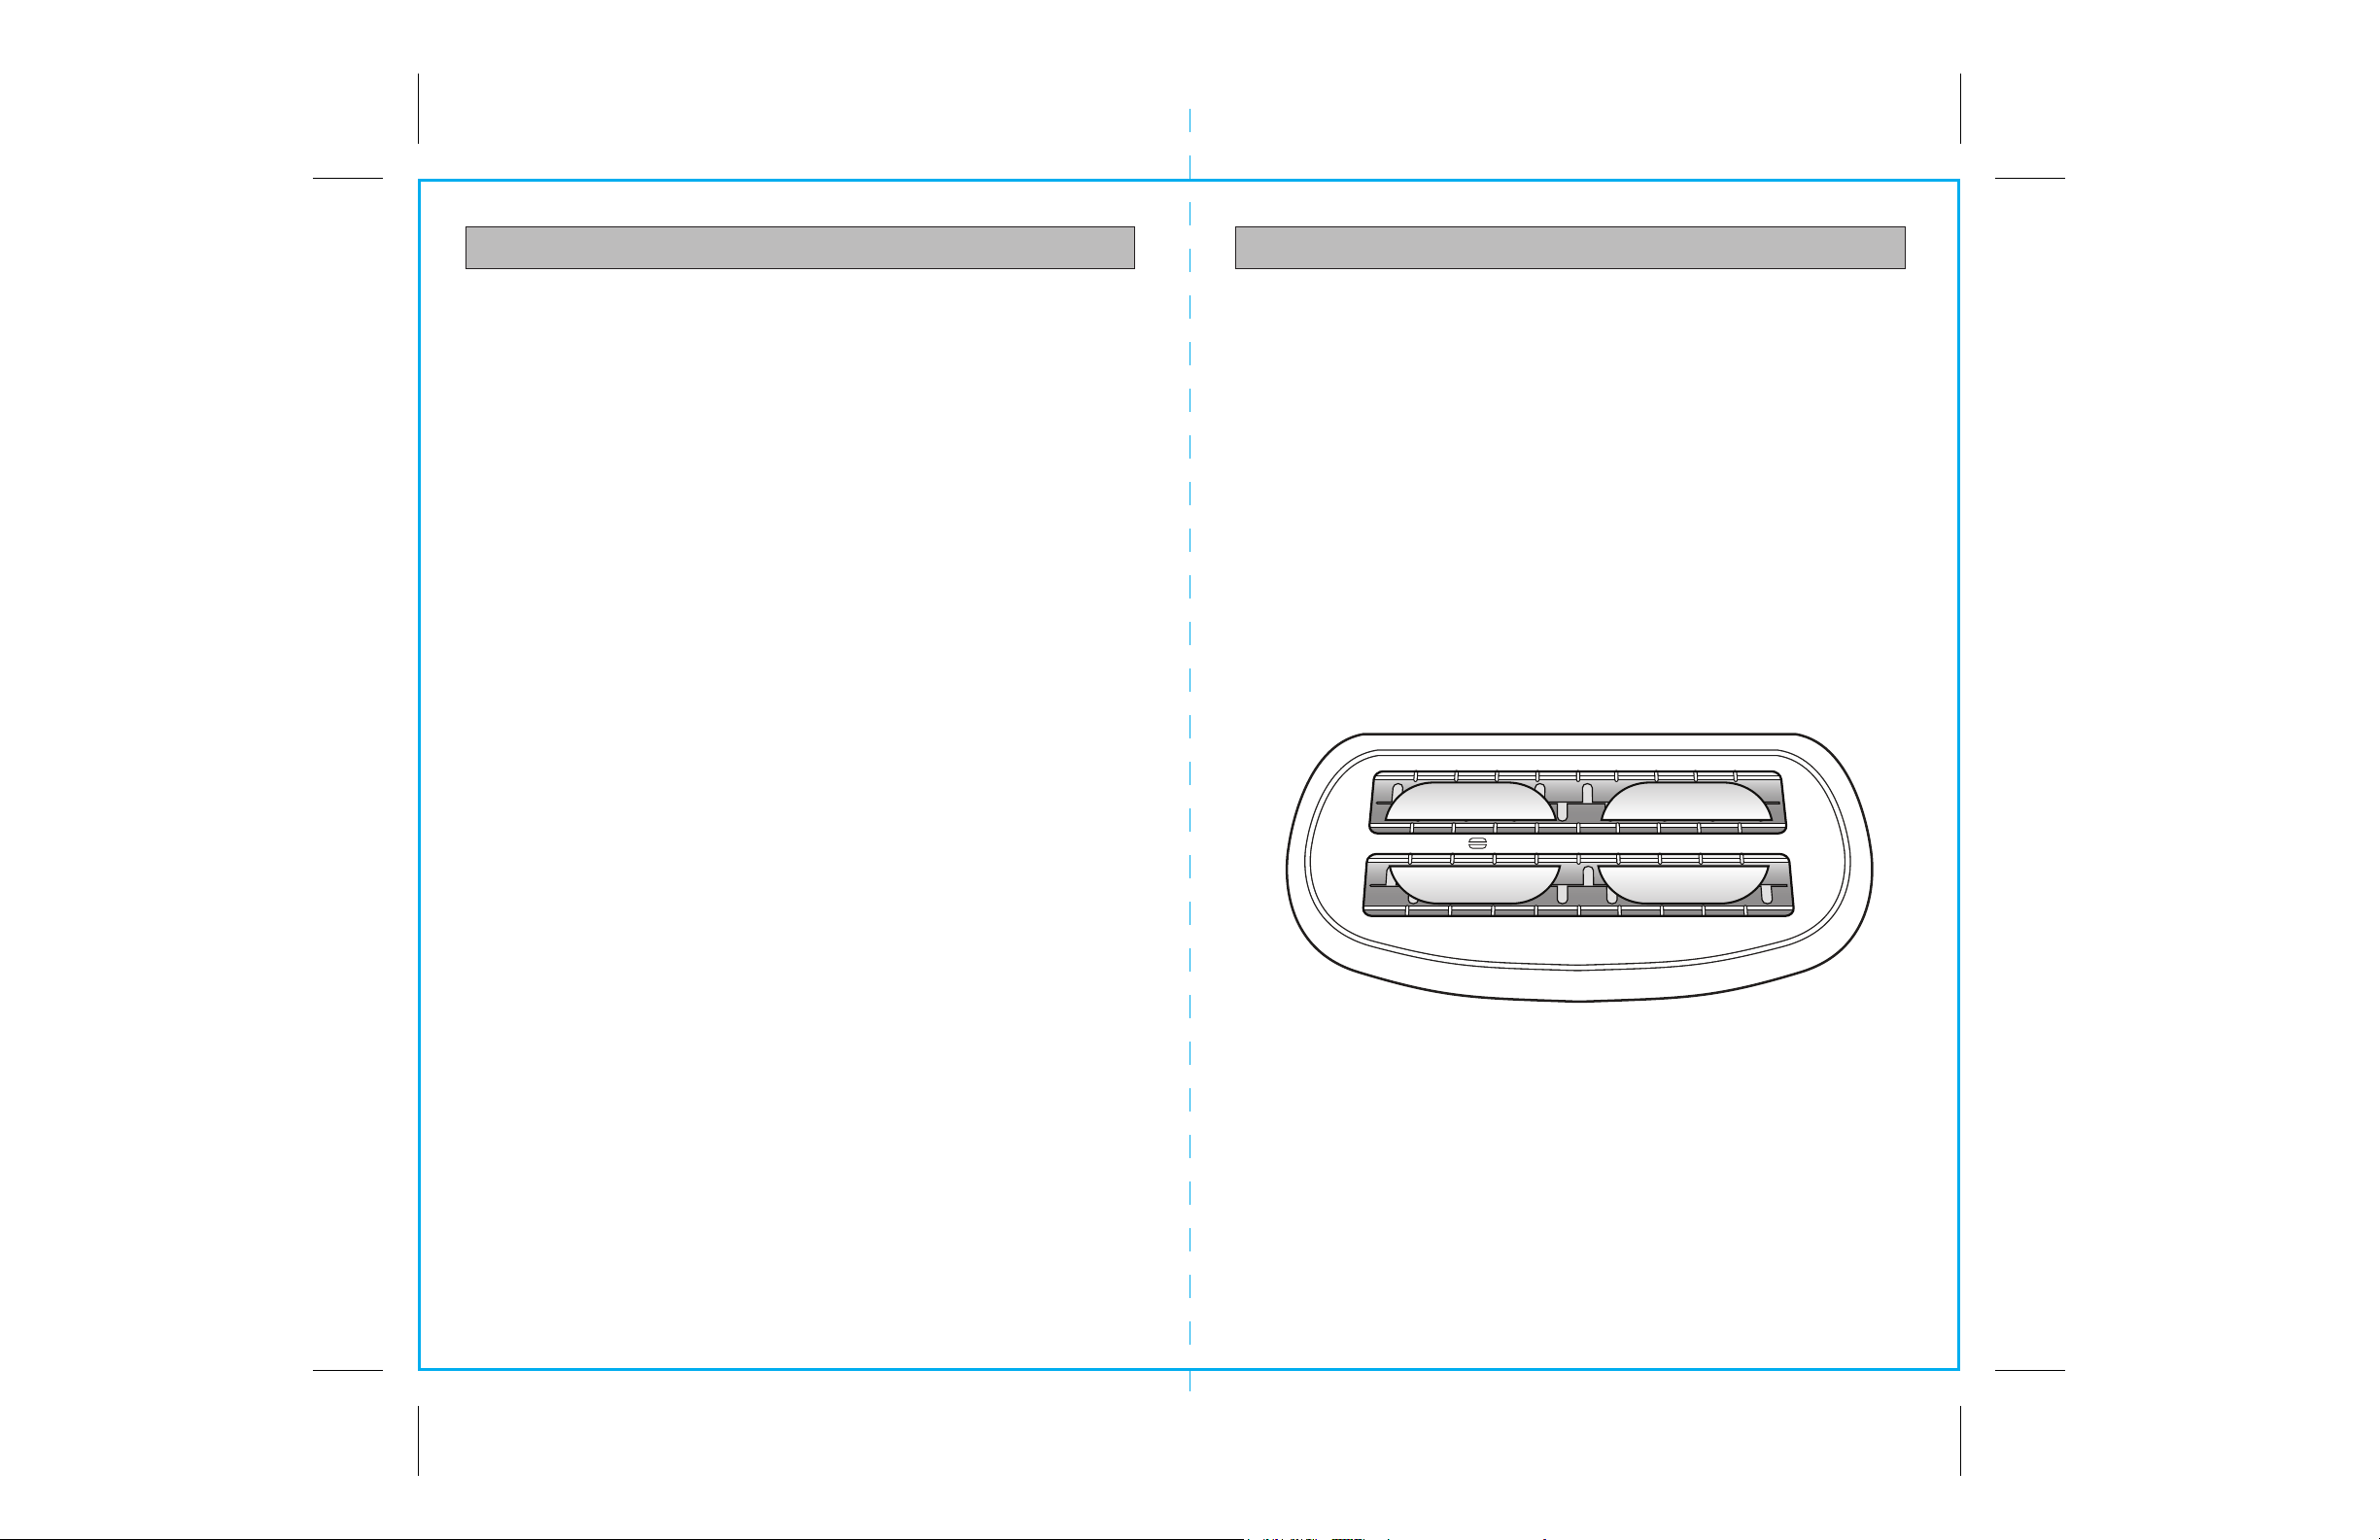
Fig. 3
BAGELS FACE INWARDS
CAUTION: HOT SURFACE
Loading ...